Beginner Guide to Tap and Hold Images
Never made a tap and hold image before? Start here. This guide explains every term in plain language and walks you through your first one, step by step, with the free CarouseLabs Tap & Hold Image Maker.
Free · No login required
Skip ahead and start now, or read the full guide below.
If you have seen the term 'tap and hold image' floating around and felt a little lost, this guide is written specifically for you. There is nothing to be embarrassed about — the format looks impressive, but the actual process is simpler than it looks, and you do not need any prior design or technical experience to make one.
We are going to slow down and explain every piece: what the term means, why the effect works, and exactly what to click, in order, without assuming you already know anything. By the end, you will have made your first tap and hold image using the free CarouseLabs Tap & Hold Image Maker, and you will actually understand what happened, not just have copied steps blindly.
What “Beginner Guide to Tap and Hold Images” Means
Let's start with the basics. When you scroll X (formerly Twitter) on your phone, images in your feed are shown at a reduced quality to load quickly — this is completely normal and happens to every image, not just tap and hold ones. But if you press and hold down on an image instead of just glancing at it, X briefly shows you a higher-quality, full version before you let go.
A tap and hold image takes advantage of that difference on purpose. Using a tool like the CarouseLabs Tap & Hold Image Maker, you choose which parts of your image show up clearly in that lower-quality feed view, and which parts stay hard to see until someone presses and holds. It is not a bug or a trick against the platform — it is simply designing your image around a rendering behavior that already exists.
Why People Use This Effect
People enjoy tap and hold images because they turn scrolling into a small game. Instead of just looking at a picture, you get to 'unlock' something by pressing and holding, and that tiny bit of interactivity is more memorable than a normal photo.
If you are new to this, it also helps to know that the trend is not limited to any one type of account — you will see it used for jokes, art reveals, before-and-afters, and even simple announcements. It is a beginner-friendly format precisely because there is no 'correct' subject matter, just a mechanic anyone can apply to any image.
How to Create This with CarouseLabs
Take this slowly the first time. Each step below explains not just what to click, but why that step matters, so nothing feels like a mystery.
- 1
Step 1: Open the free Tap & Hold Image Maker
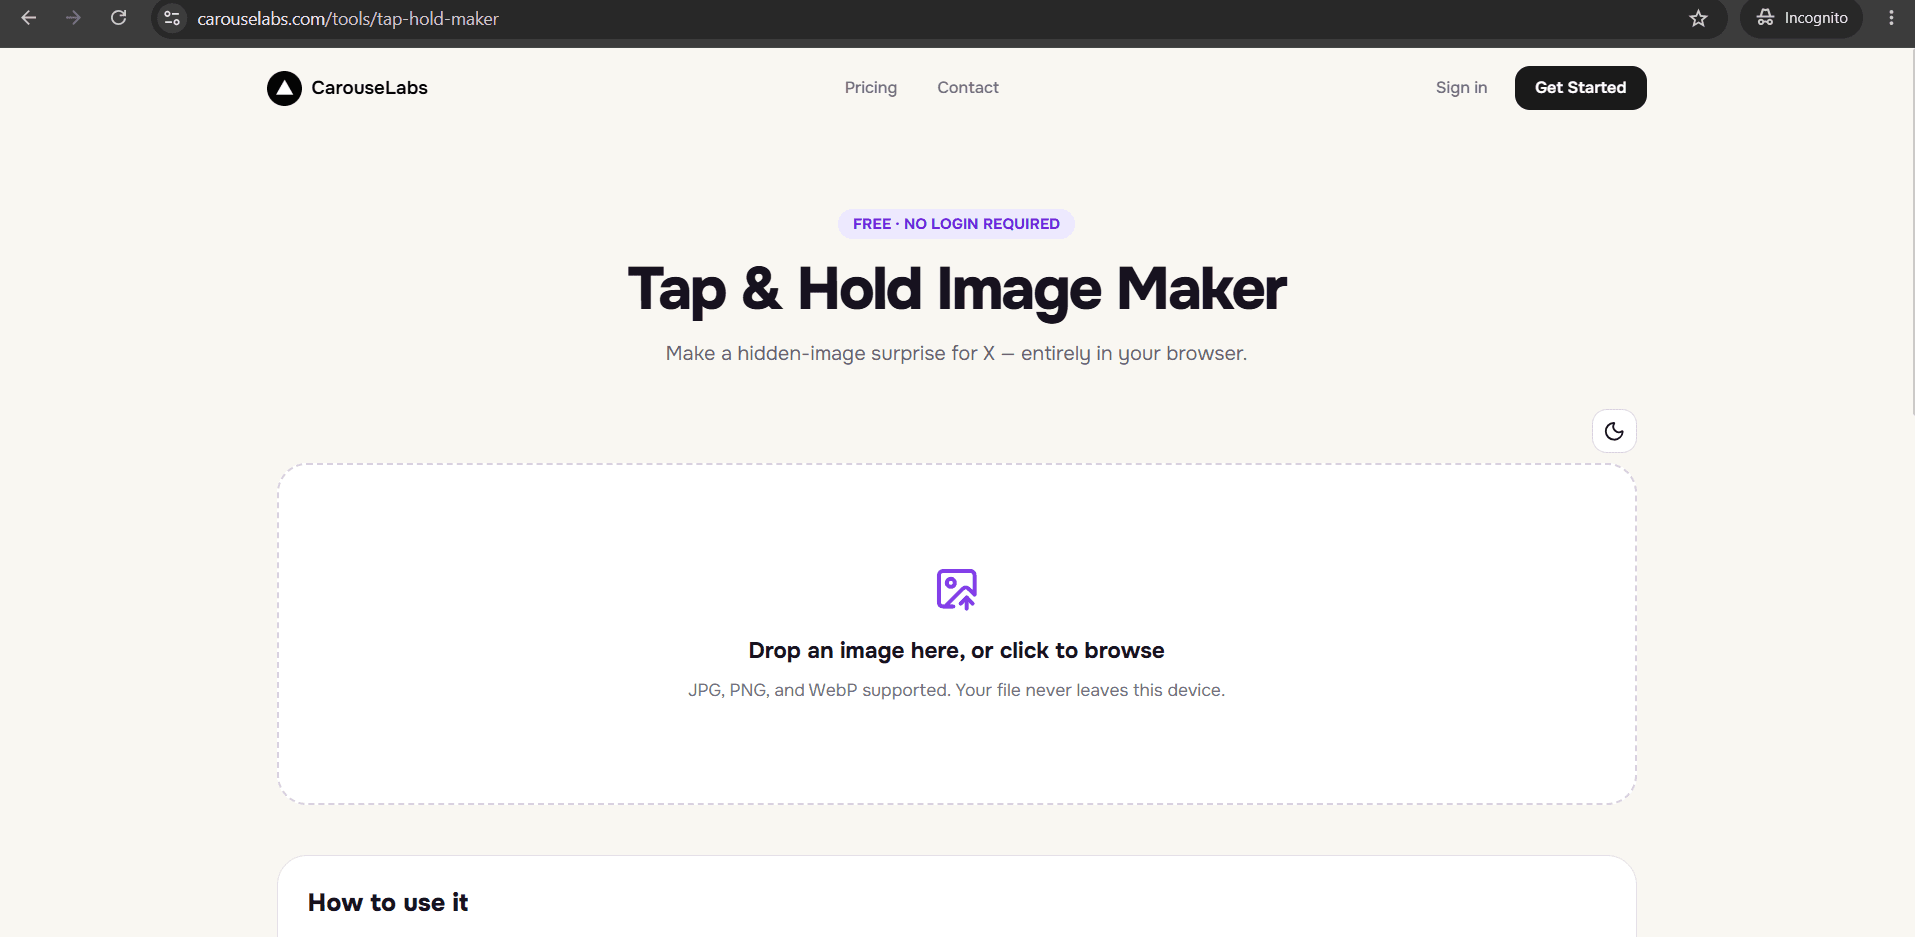
In your browser, go to /tools/tap-hold-maker on CarouseLabs. You do not need to sign up, log in, or enter any payment details — the page loads and you can start immediately. If you are not sure what browser to use, any recent version of Chrome, Safari, Firefox, or Edge works fine.
30 sec - 2
Step 2: Upload a photo
Choose a photo saved on your device — a JPG, PNG, or WebP file all work. You can either drag the file onto the upload area or click it to open your device's file browser. Nothing is uploaded to the internet at this point; the image loads directly into your browser.
15 sec - 3
Step 3: Learn the brush tool by trying it
You will see a brush tool with a size slider. Click and drag over the image to 'paint.' Whatever you paint stays visible in the compressed feed view; whatever you leave unpainted becomes the hidden part that only shows up on tap and hold. Do not worry about getting it perfect — there is an Undo button that reverses your last strokes and a Clear button that starts you over completely.
1-2 min - 4
Step 4: Look at both preview boxes
You will notice two preview panels update automatically as you paint. One, called Timeline View, is an approximation of what people scrolling will see. The other, Tap & Hold View, shows the entire image on a black background — this is what appears when someone presses and holds. Look at both before moving on, since they show you the two 'halves' of what you are building.
30 sec - 5
Step 5: Download your file
When you are happy with how both previews look, click the button labeled Download for X. This saves a special file format (called PNG-8) to your device that is built to hold up well under X's compression. If you plan to share the image somewhere other than X, there is also a WebP download option.
10 sec - 6
Step 6: Post it correctly on X
Open X in a browser on your computer (not the phone app) and create a new post using the file you just downloaded. This desktop step matters — the X phone app compresses images differently and can accidentally undo your work. Once posted, anyone viewing it on their phone can press and hold to see the hidden part.
20 sec
Try it as you read
Open the maker in another tab and follow along with the steps above.
Tips for Better Results
It is okay to make a few 'practice' images first
Nobody gets the visible area perfectly balanced on the first try. Make two or three practice images with photos you do not plan to post, just to get comfortable with the brush tool.
Don't worry about the technical terms
You do not need to understand image compression, file formats, or how X's servers work. CarouseLabs handles all of that automatically when you click Download for X.
Start with a very simple photo
A photo with one clear subject and a plain background is much easier to work with as a beginner than a busy scene with lots of detail.
Use Undo instead of starting over
If a brush stroke goes wrong, click Undo rather than clearing the whole image — it is faster and lets you keep the parts you already got right.
Remember: unpainted equals hidden
The one rule to memorize is that whatever you paint stays visible, and everything you leave alone becomes the hidden part. This trips up a lot of beginners at first.
Post from a computer, not your phone, the first time
Since the desktop-vs-app posting step is easy to forget, do your very first post from a laptop or desktop computer so you don't have to think about switching apps.
Examples
Your first practice image
Use any casual photo — a pet, a snack, a view from your window — just to learn how the brush and previews behave.
Simple face reveal
A beginner-friendly project: keep the background visible and hide just the face, revealing it on tap and hold.
Before-and-after snapshot
Show one version of something visible (a room, a project, a plate of food) and hide a different version underneath.
Common Mistakes
Getting confused about what 'painting' does
Fix: Remember: painting an area keeps it VISIBLE. It does not hide it. This is the single most common point of confusion for beginners using the CarouseLabs brush tool.
Posting from the X app on your phone
Fix: Always post your downloaded image from X in a desktop web browser. The mobile app compresses images in a way that can break the effect entirely.
Choosing the wrong download option
Fix: If you are posting to X, always choose Download for X (the PNG-8 option), not the WebP option, which is meant for other platforms.
Skipping the preview panels
Fix: Beginners sometimes download immediately without checking Timeline View and Tap & Hold View first. Always look at both — it takes a few seconds and prevents surprises.
Expecting a perfect result on the first try
Fix: It is completely normal for your first tap and hold image to need a couple of rounds of adjustment. This is a skill that gets easier with just a little practice.
Frequently Asked Questions
You do not need any design background to make a tap and hold image — just an image, a few minutes, and the free CarouseLabs Tap & Hold Image Maker. Every term in this guide, from 'brush' to 'PNG-8,' maps to something simple you click, not something you need to study.
Give it a try now with a photo you already have. Following the six steps above, most beginners have a working tap and hold image finished in well under ten minutes.
Make your beginner guide to tap and hold images right now
Everything above happens inside one free browser tool — no signup, no design software.
Create your Tap & Hold image nowFree forever · Works entirely in your browser