Tap and Hold Image Tutorial
Follow along and make your first tap and hold image in the time it takes to read this page, using only the free CarouseLabs Tap & Hold Image Maker.
Free · No login required
Skip ahead and start now, or read the full guide below.
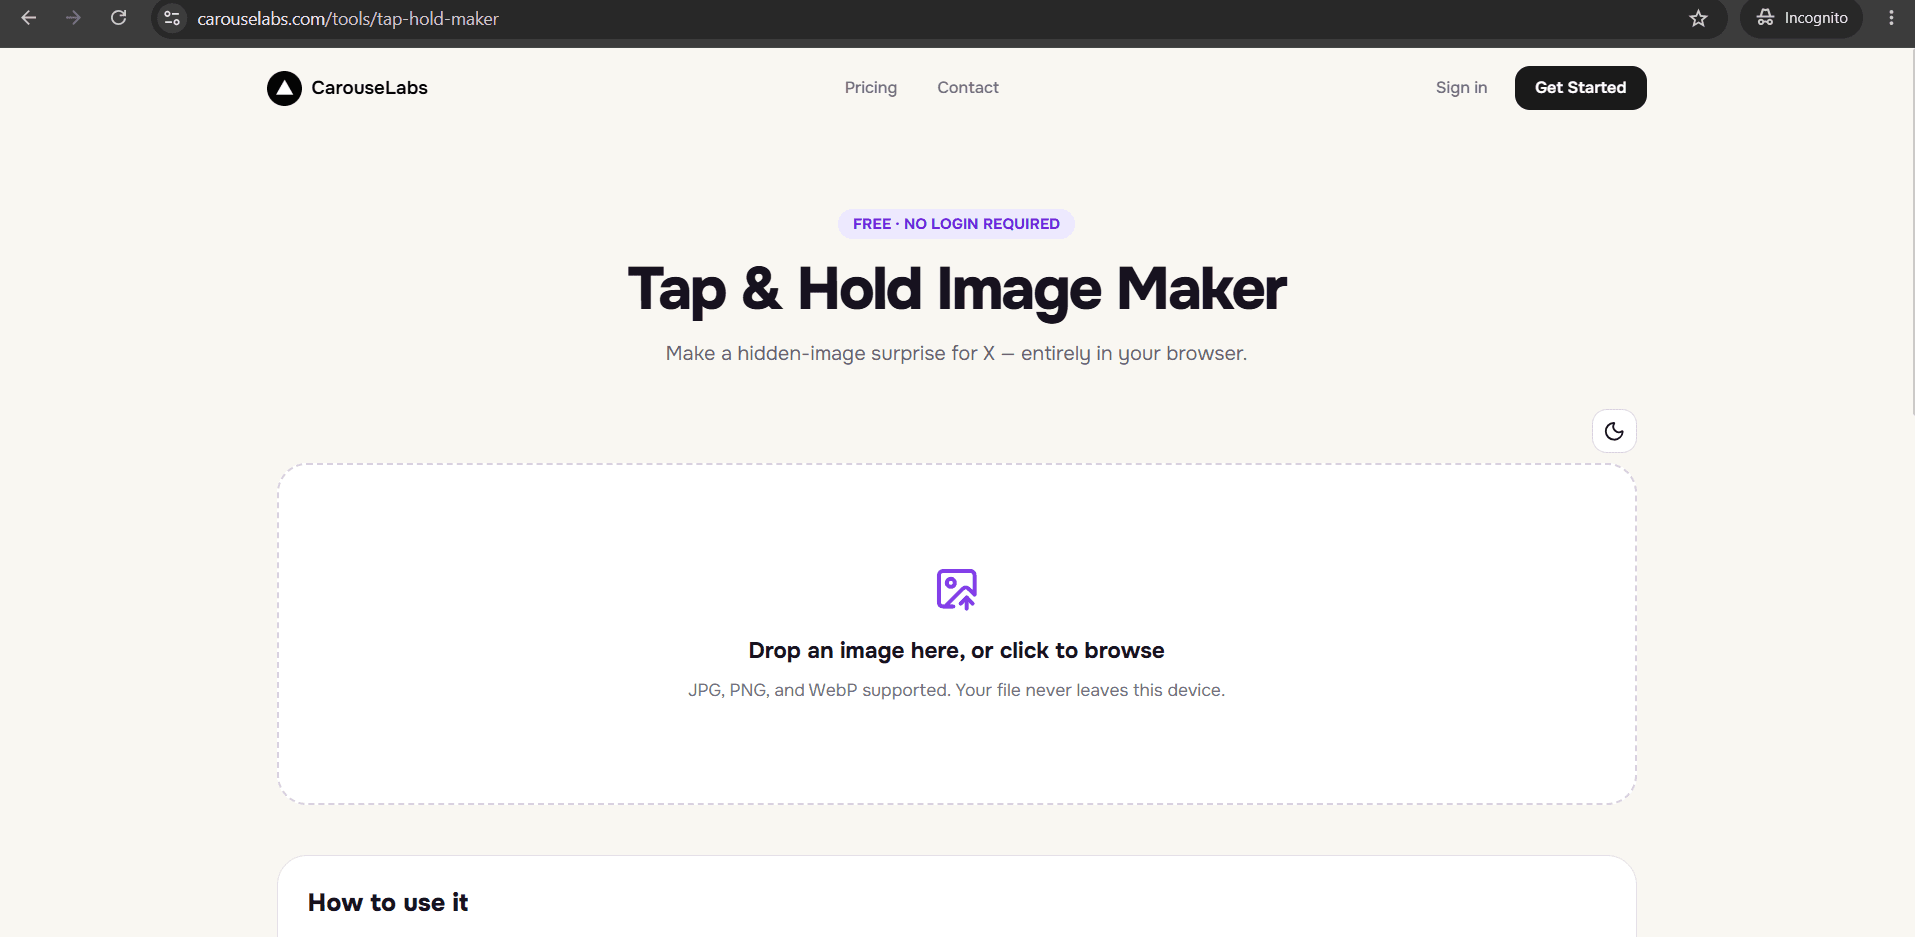
This tutorial is built to be followed along with, not just read. Open the CarouseLabs Tap & Hold Image Maker in a second tab before you start, because by the time you finish this page you should have an actual finished image sitting in your downloads folder, not just a mental idea of how the format works.
There is nothing to install and nothing to configure. Every step below happens inside the browser, using one tool, with one image you choose. If you have never made a tap and hold image before, this is the version of the tutorial written to get you there fastest — clear steps, no jargon left unexplained, and a finished result at the end.
What “Tap and Hold Image Tutorial” Means
A tap and hold image is a single image file that shows two different things depending on how it is viewed on X. Scrolling past it in the timeline shows one version, quietly under-detailed. Pressing and holding it shows another — the full picture, briefly, before you let go.
That difference is not random. It comes from painting specific regions of the image so they behave differently under X's timeline compression versus its full-resolution tap-and-hold preview. The brush tool inside the CarouseLabs Tap & Hold Image Maker is what lets you control exactly which regions do which, which is the entire skill this tutorial teaches.
Why People Use This Effect
Most images on a timeline get about half a second of attention. A tap and hold image asks for more than that, and gets it, because the format itself is an invitation — the viewer has to physically interact with the post to see the whole thing, and that interaction is far more memorable than a passive glance.
It also travels well. Once a follower discovers what tap and hold means by trying it once, they carry that knowledge into every future post that uses the same trick, which is part of why the format keeps circulating across different accounts and niches instead of being tied to one creator or moment.
How to Create This with CarouseLabs
Follow these six steps in order, checking your progress against both preview panels as you go, and you will end this tutorial with a working tap and hold image ready to post.
- 1
Open the Tap & Hold Image Maker
Go to /tools/tap-hold-maker on CarouseLabs. It is free, works in any modern browser on desktop or mobile, and does not ask you to create an account before you can start.
30 sec - 2
Upload the image you want to use
Drag a JPG, PNG, or WebP file into the upload zone, or click to select one from your device. Everything happens locally in your browser during editing — nothing is sent to a server while you work.
15 sec - 3
Paint the areas that should stay visible
Grab the brush tool, set a size with the slider, and paint over whatever you want visible in the timeline. Anything left unpainted stays hidden until someone taps and holds. Made a stroke you regret? Undo goes back up to 10 steps, and Clear resets you completely.
1-2 min - 4
Compare Timeline View and Tap & Hold View
Both preview panels update live as you paint. Timeline View shows roughly what a scrolling follower sees; Tap & Hold View shows the full reveal on a black background. Switch between them until the balance feels right.
30 sec - 5
Download the finished file
Click Download for X to get an optimized PNG-8 built specifically for X's compression behavior. If you plan to post the image somewhere other than X, use the WebP download instead.
10 sec - 6
Post it on X from desktop
Upload the file to a new post using X in a desktop browser, not the mobile app. Followers browsing on mobile can then tap and hold your post to reveal the hidden portion for themselves.
20 sec
Try it as you read
Open the maker in another tab and follow along with the steps above.
Tips for Better Results
Do a practice round before your real image
Run through all six steps once with any throwaway photo just to see how the two preview panels react to your brush strokes. It only takes a couple of minutes and removes most of the guesswork from your first real attempt.
Zoom in on Tap & Hold View before downloading
This is the only panel that shows what your followers will actually see during the reveal. A quick check here catches mistakes that Timeline View alone would miss.
Start with a small brush size
It is much easier to paint more visible area than to undo an overly broad stroke. Start small in the CarouseLabs brush tool and widen it only if the visible portion feels too sparse.
Pick an image with one clear subject
Tutorials go smoother with simple source material. A single subject against a plain background makes it obvious which parts you are hiding and which you are revealing.
Re-check both previews after every adjustment
A single new brush stroke can change how the whole image reads. Get in the habit of glancing at Timeline View and Tap & Hold View after each change, not just once at the end.
Examples
Simple portrait reveal
Paint only a small crop of a face visible, hiding the rest so the full portrait appears on tap and hold — a good first project for this tutorial.
Two-panel comparison
Keep one state of an object or scene visible and hide a contrasting second state underneath it.
Text-then-image reveal
Leave a short caption visible in the timeline and hide the image it refers to, so the punchline lands on tap and hold.
Silhouette teaser
Show only the outline or a dark silhouette of a subject while hiding the full-color version underneath.
Common Mistakes
Skipping the preview panels entirely
Fix: Always view both Timeline View and Tap & Hold View before downloading. They are the only way to know what you are actually about to post.
Posting from the X mobile app
Fix: Use a desktop browser to publish the file you downloaded from CarouseLabs. The mobile app recompresses images on upload, which is the most common reason a working file stops working after posting.
Downloading before finishing your brush work
Fix: If you keep editing after an export, remember to download again. The first file will not include any changes made afterward.
Choosing WebP for an X post
Fix: Use the PNG-8 download specifically when posting to X — it is the format CarouseLabs tunes for X's timeline compression. Save WebP for other platforms.
Frequently Asked Questions
By following the six steps above, you have gone from a blank tab to a finished tap and hold image using nothing but the free CarouseLabs Tap & Hold Image Maker. The workflow does not change as you make more of them — it just gets faster.
If this was your first one, try a second image right away while the steps are fresh. Repetition is what turns this tutorial into a habit you can use anytime you want a post to stop the scroll.
Make your tap and hold image tutorial right now
Everything above happens inside one free browser tool — no signup, no design software.
Create your Tap & Hold image nowFree forever · Works entirely in your browser