What Is a Hidden Image on X?
A hidden image on X shows less than the full picture while you scroll, then reveals the rest the moment you press and hold it on mobile. Here's what's actually going on.
Free · No login required
Skip ahead and start now, or read the full guide below.
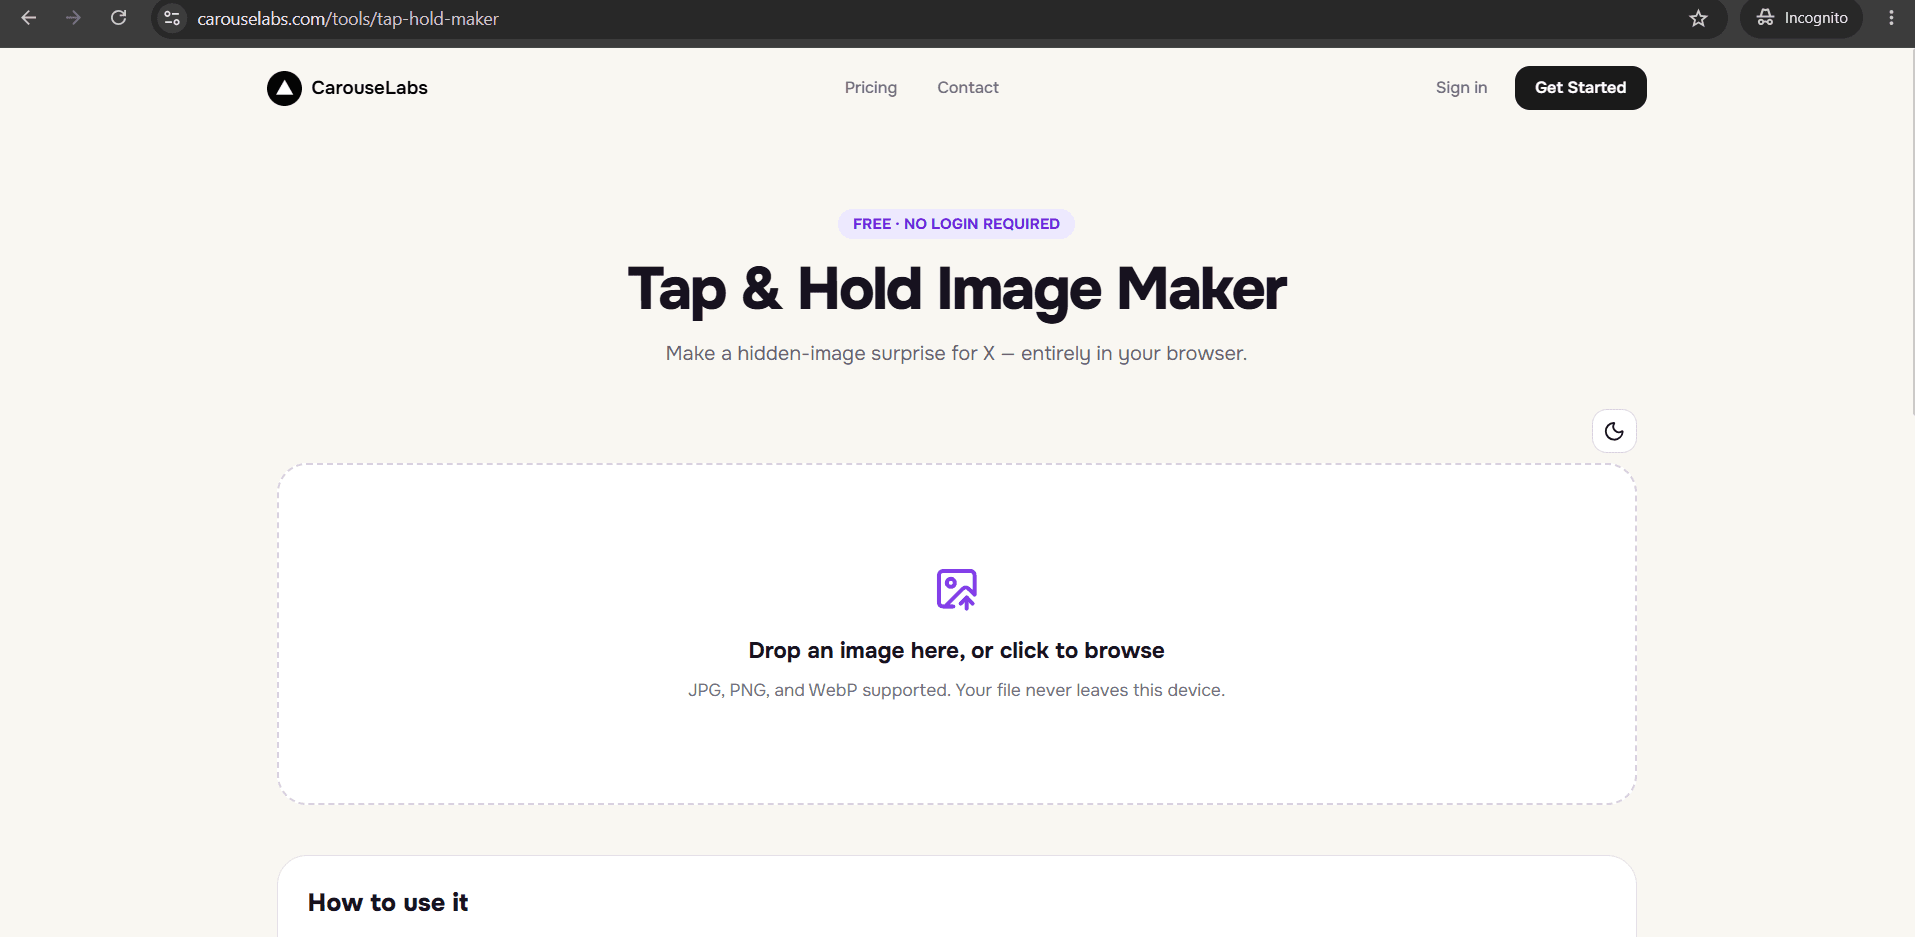
'Hidden image' is the name people give to a specific kind of X post: a picture that looks normal, maybe even a little plain, until a reply tells you to tap and hold it — and suddenly there's more to the image than you first saw. If you've seen the term without seeing the mechanic explained, it can sound like the image is somehow encrypted or locked. It isn't. It's one image file, built so that part of it only becomes visible under a specific viewing condition on X.
This page explains exactly what is hidden, where it's hidden, and why X's own image handling is what makes the hiding possible in the first place. Then, because knowing the theory is only useful if you can act on it, we'll walk through building your own hidden image on X using the free CarouseLabs Tap & Hold Image Maker.
What “What Is Hidden Image on X” Means
Nothing is encrypted, watermarked, or layered inside a hidden image on X — there is only one image, and it is fully present in the file the whole time. What's 'hidden' is detail that gets crushed out of visibility when X compresses the image for its fast-scrolling timeline view. Areas of the picture that are low-contrast, deliberately darkened, or subtly blended into their surroundings survive that compression poorly, so they read as flat or empty while scrolling — even though the pixel data for them is sitting right there in the file.
The 'reveal' happens because tapping and holding an image on X triggers a different, higher-fidelity render than the one used in the feed. For that brief moment, more of the original detail comes through, and whatever was hidden by compression becomes visible. Making a hidden image on X is really the process of deciding, area by area, what should survive the timeline's compression and what should depend on that higher-fidelity render — which is exactly what the brush tool in the CarouseLabs Tap & Hold Image Maker lets you control directly.
Why People Use This Effect
Hidden images do well on X specifically because the platform's format — short posts, fast scrolling, reply threads — rewards anything that makes people stop and interact rather than scroll past. A picture that only gives up its full meaning after a tap turns a passive view into an action, and actions are what get amplified through replies and quote posts telling other people to try it too.
It also fits how X culture already spreads formats: someone posts a hidden image, a reply explains the trick for anyone who missed it, and that reply becomes the built-in instruction manual for the next round of hidden images to spread even faster.
How to Create This with CarouseLabs
Here is exactly how to build a hidden image for X using the free CarouseLabs Tap & Hold Image Maker — no design software or account needed.
- 1
Open the CarouseLabs Tap & Hold Image Maker
Go to /tools/tap-hold-maker in your browser. It's free and runs entirely client-side, with nothing to install or sign up for.
30 sec - 2
Upload the image you want to hide part of
Drag in a JPG, PNG, or WebP, or use the file picker. The image stays local to your browser while you edit it — it isn't sent to a server.
15 sec - 3
Brush over the part that should stay visible on X
Everything you paint stays visible in the timeline. Everything you leave unpainted is what gets hidden until someone taps and holds. Undo and Clear are available if a stroke doesn't land right.
1-2 min - 4
Check both preview panels before exporting
Timeline View shows roughly what followers see while scrolling; Tap & Hold View shows the full reveal on a black background. Confirm the hidden part is actually hidden and the reveal is actually complete.
30 sec - 5
Download the optimized file
Use 'Download for X' to export an indexed PNG-8 tuned for how X compresses images, or grab the WebP version if you're posting the hidden image somewhere other than X.
10 sec - 6
Post it on X from a desktop browser
Upload the downloaded file through X on desktop rather than the mobile app, since the app's own image processing can undo the hiding effect. Followers on mobile can then tap and hold to reveal it.
20 sec
Try it as you read
Open the maker in another tab and follow along with the steps above.
Tips for Better Results
Decide what's hidden before you decide what's visible
Start from the reveal — what should the tap-and-hold moment show — and work backward to what small portion needs to stay visible for the timeline view to still make sense.
Low-contrast regions hide more reliably than high-contrast ones
Flat, dim, or blended areas of a photo compress into near-invisibility more consistently than sharp-edged, high-contrast details.
Always confirm in Tap & Hold View, not just Timeline View
It's the only preview in the CarouseLabs Tap & Hold Image Maker that shows what actually appears on press-and-hold, so treat it as the final check before download.
Keep the visible portion self-contained
If the visible sliver of the image looks like an accident rather than an intentional crop, viewers may scroll past without realizing there's anything to tap.
Re-export after every edit
A downloaded file reflects the canvas at the moment you clicked download — re-download any time you change a brush stroke.
Examples
Dim background, lit subject
A subject stays visible while a darkened background hides extra detail until tap and hold.
Caption-only timeline view
Only a short piece of text or a small graphic stays visible; the full photo is the hidden payload.
Partial-frame reveal
A cropped-looking sliver of the image stays visible, hinting that more exists just off-frame.
Before/after hidden image
One state of a scene stays visible while a changed or later state is hidden inside the same file.
Common Mistakes
Calling it 'hidden' but leaving too much visible
Fix: If most of the image survives compression, there's nothing left to discover. Use the brush tool sparingly and check Timeline View to confirm only the intended portion shows.
Uploading through the X mobile app
Fix: Mobile upload re-compresses the file in a way that can flatten the hidden effect entirely. Always post the downloaded file from a desktop browser.
Using a photo with no clear low-detail region
Fix: Busy, high-contrast images resist compression evenly across the whole frame, which makes it hard to hide anything convincingly. Pick images with some natural flat or dark space to work with.
Skipping the Tap & Hold View before posting
Fix: This is the only way to confirm the reveal actually works. Check it in the CarouseLabs Tap & Hold Image Maker every time before you export.
Frequently Asked Questions
A hidden image on X isn't hidden in any technical or secretive sense — it's a single file built so part of its detail only survives X's higher-quality tap-and-hold render, not the compressed timeline view. Once that's clear, making one is a matter of choosing what stays visible and exporting in the right format.
Try it yourself with the free CarouseLabs Tap & Hold Image Maker — upload a photo, paint the visible area, and watch both preview panels update as you build your own hidden image.
Make your what is hidden image on x right now
Everything above happens inside one free browser tool — no signup, no design software.
Create your Tap & Hold image nowFree forever · Works entirely in your browser