How to Create a Tap and Hold Image
A practical, start-to-finish process for creating a tap and hold image using the free CarouseLabs Tap & Hold Image Maker — from picking the right photo to posting it on X.
Free · No login required
Skip ahead and start now, or read the full guide below.
Creating a tap and hold image is less about technical skill and more about making a handful of good decisions: which photo to start from, what part of it to hide, and how dramatic that hidden part should feel once revealed. The actual mechanics — painting a mask and exporting a file — take about a minute once you know the process. The part that separates a forgettable post from one people stop and interact with is the creative choice underneath it.
This guide walks through that full process, decisions included, using the free CarouseLabs Tap & Hold Image Maker. There is nothing to install and nothing to configure beyond a browser tab, so you can go from an idea to a finished, downloadable image in one sitting.
What “How to Create Tap and Hold Image” Means
A tap and hold image is a single file that shows two different things depending on how X renders it. In the scrolling timeline, X compresses and shrinks images for speed, which is why only a faint, low-detail version is visible there. When someone presses and holds that same image on a mobile device, X briefly renders the full-quality file instead, and any detail that was hidden by compression becomes visible.
Creating one means deliberately building an image around that gap — painting the regions that should survive timeline compression, and leaving everything else to only appear during the full-quality tap-and-hold render. The CarouseLabs brush tool exists specifically to define that boundary without you needing to understand the compression behavior yourself.
Why People Use This Effect
Creators keep coming back to this format because it turns a static image into a small piece of interactive content without needing video, animation, or any special posting permissions. Anyone who can upload a photo can create one, which is part of why it spread from a niche trick into something used by meme accounts, artists, and brands alike.
It also rewards a bit of creative thought. The exact same technique can be used to build a punchline, a product teaser, a portrait reveal, or a spoiler-safe post — the mechanic stays the same, but what you choose to hide is what makes each one feel different, which keeps the format from getting stale.
How to Create This with CarouseLabs
Here is the full process for creating a tap and hold image, from opening the tool to posting the finished file, using only the free CarouseLabs Tap & Hold Image Maker.
- 1
Open the Tap & Hold Image Maker
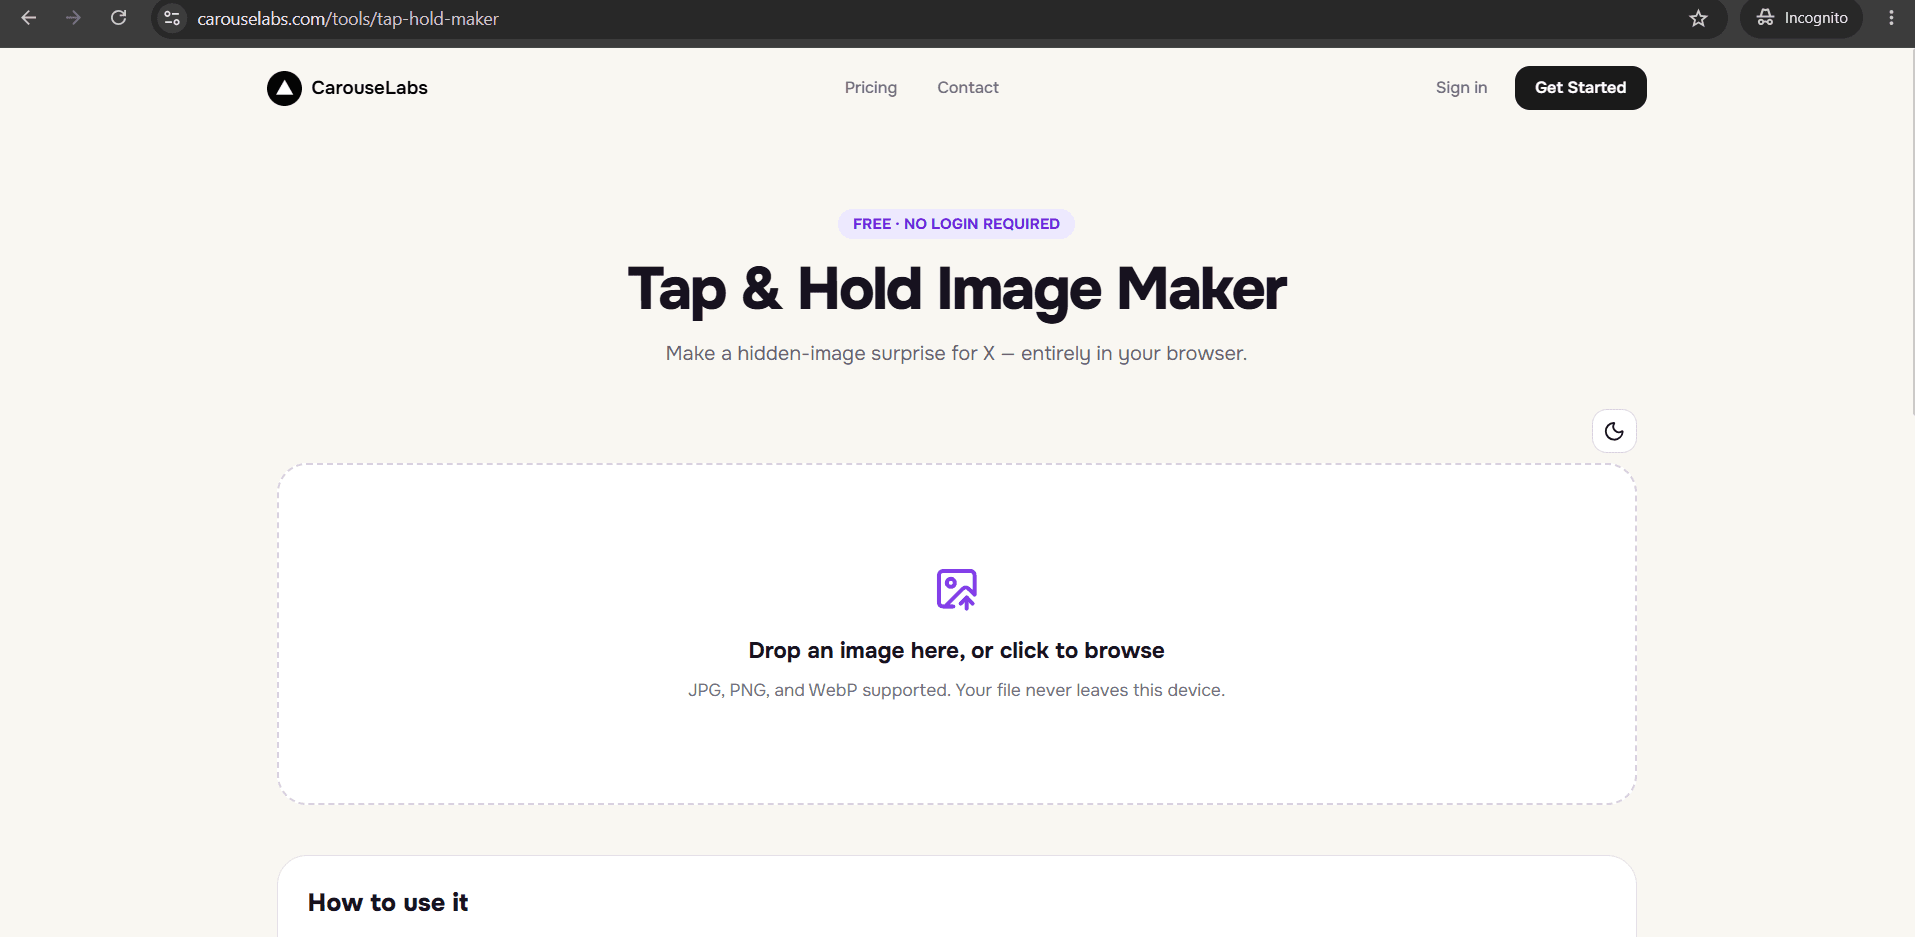
Go to /tools/tap-hold-maker in any browser. The tool loads instantly, requires no sign-up, and works the same on desktop or mobile for the editing stage.
30 sec - 2
Upload the photo you want to build from
Choose a JPG, PNG, or WebP image and either drag it onto the upload zone or select it from your files. It is processed locally in your browser, so nothing is sent to a server while you edit.
15 sec - 3
Decide what stays hidden, then paint the rest
This is the creative core of the process. Use the adjustable brush to paint over only the parts that should remain visible in the compressed timeline view — everything unpainted becomes the reveal. Undo and Clear are available if you want to rethink the split.
1-2 min - 4
Check both previews before committing
The Timeline View and Tap & Hold View panels update live as you paint. Look at both to confirm the visible portion reads as intentional and the hidden portion delivers the reveal you had in mind.
30 sec - 5
Export the finished file
Use Download for X to get an indexed PNG-8 built for X's compression, or the WebP option if the image is headed somewhere other than X.
10 sec - 6
Post it from a desktop browser
Upload the downloaded file to X from desktop web rather than the mobile app, which recompresses images on upload. Followers browsing on mobile will then be able to tap and hold to reveal it.
20 sec
Try it as you read
Open the maker in another tab and follow along with the steps above.
Tips for Better Results
Start with the reveal, not the visible part
Decide what the hidden payoff is first, then work backward to figure out how little of the image needs to stay visible to set it up. This keeps the visible portion purposeful instead of arbitrary.
Pick source images with one clear focal point
A single subject against a simple background is far easier to split into a convincing visible-versus-hidden pair than a busy, cluttered photo.
Sketch the mask mentally before you start painting
Knowing roughly where your brush strokes will go before you start saves time and produces a cleaner split than painting freehand and adjusting repeatedly.
Use the Undo button liberally
Because the brush shapes a hard boundary between visible and hidden, it is often faster to undo a stroke and repaint it than to try to fix it with more painting.
Re-check Timeline View after every few strokes
It is easy to lose track of how much you have painted. Glancing at Timeline View regularly keeps the visible area intentionally small rather than accidentally large.
Examples
Portrait-to-full-face reveal
Leave only an eye or a small crop visible, then reveal the complete portrait on tap and hold.
Setup-and-punchline pair
Show a plain setup image or line of text visible, and hide the punchline image beneath it.
Silhouette-to-product reveal
Keep a product's outline or edge visible while hiding the full, detailed shot underneath.
Caption-first reveal
Paint a short handwritten note or caption as the visible layer, hiding the photo it refers to.
Common Mistakes
Treating the brush step as purely mechanical
Fix: Pause before painting and decide what story the hidden portion tells. A mask painted without a reason behind it usually produces a reveal that feels random rather than satisfying.
Starting from a low-contrast or cluttered photo
Fix: Choose or crop a source image with a clear subject first. Busy backgrounds make the visible-to-hidden split harder to read at a glance in the timeline.
Exporting before checking Tap & Hold View
Fix: Always view the full reveal at least once before downloading. It is the only way to confirm the hidden portion looks the way you intended.
Posting through the X mobile app
Fix: Always publish the exported file from a desktop browser. Mobile app uploads apply extra compression that can undo the effect entirely.
Frequently Asked Questions
Creating a tap and hold image is a short, repeatable process: pick a photo, decide what deserves to be hidden, paint the rest visible, and export the file built for X. The CarouseLabs Tap & Hold Image Maker handles every technical step, which leaves the creative decisions as the only real work.
Open the free Tap & Hold Image Maker and create your first one now — most people are surprised how quickly a finished, working file comes together.
Make your how to create tap and hold image right now
Everything above happens inside one free browser tool — no signup, no design software.
Create your Tap & Hold image nowFree forever · Works entirely in your browser