Free Hidden Image Maker
Turn any photo into a hidden image that only reveals itself when someone taps and holds it on X — free, with no login and no watermark.
Free · No login required
Skip ahead and start now, or read the full guide below.
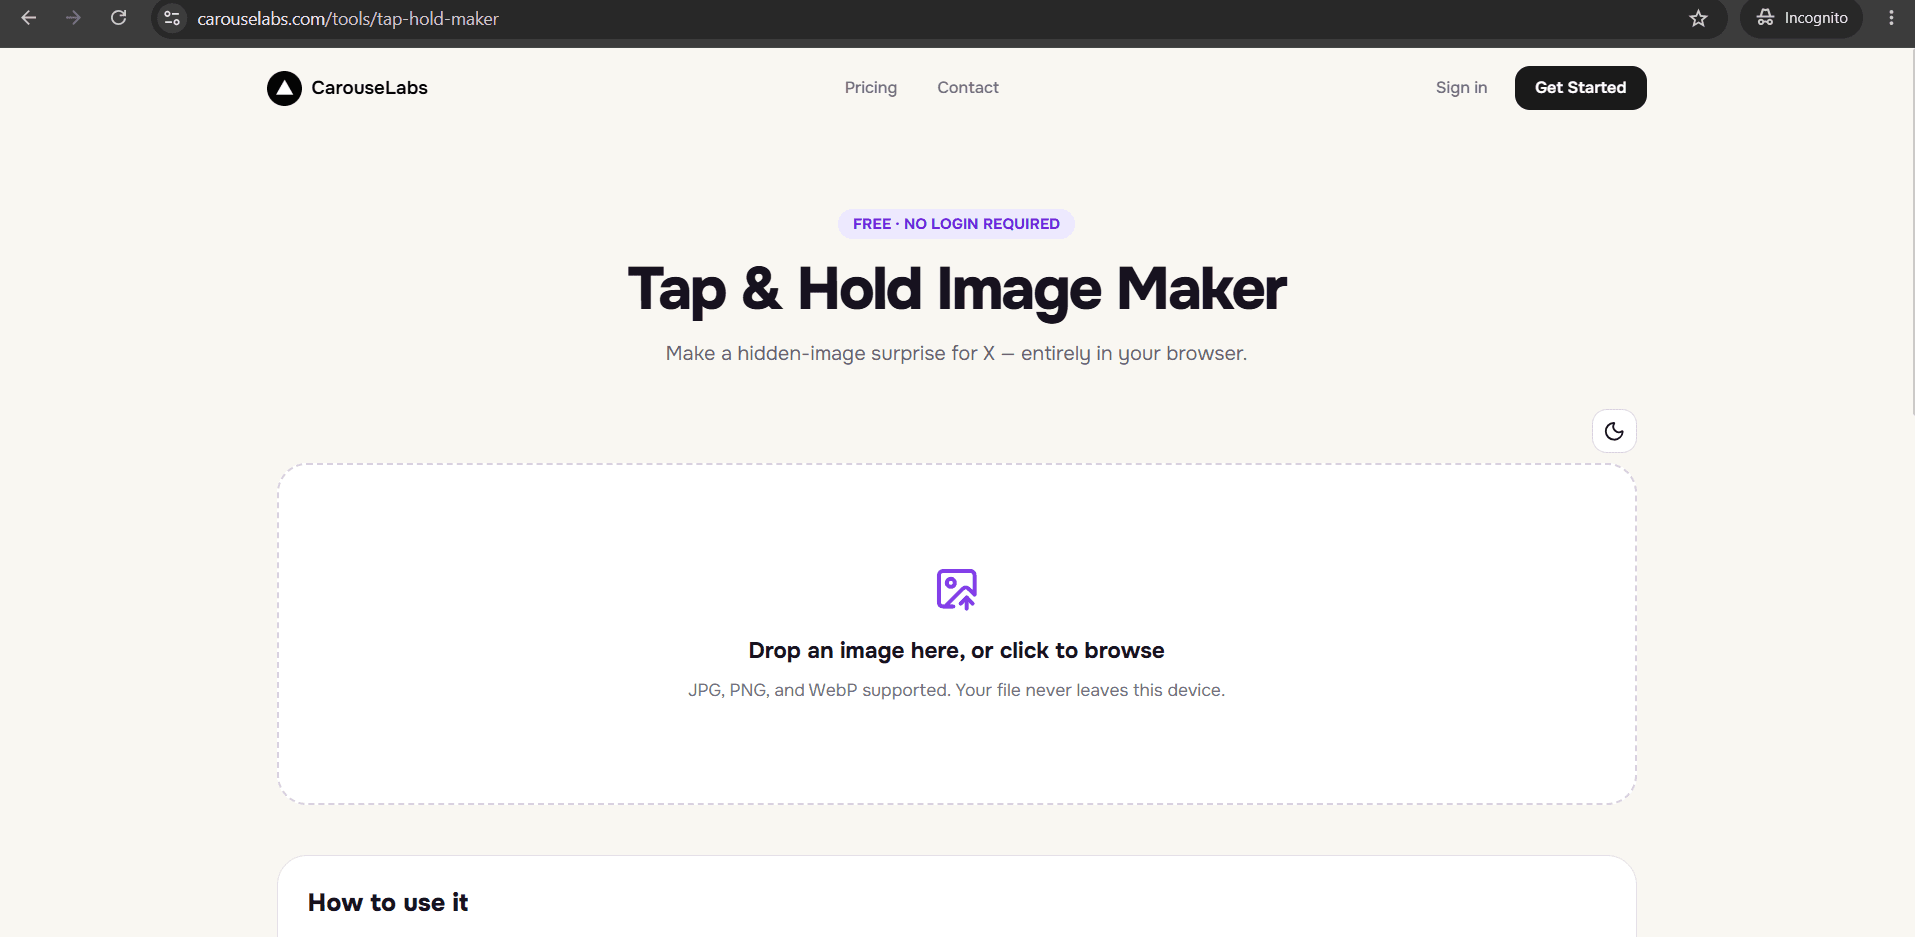
Not everyone who wants to make one of these knows the phrase 'tap and hold.' A lot of people describe it more simply as a hidden image — a post that looks like one thing in the feed and turns into something else the moment you press on it. If that is how you would describe what you are trying to make, you are in the right place.
The CarouseLabs Tap & Hold Image Maker is a free hidden image maker in exactly that sense: you choose what stays visible, everything else stays hidden until someone interacts with the post, and the whole process runs free in your browser with no account required.
What “Free Hidden Image Maker” Means
A hidden image is a single file where part of the picture is effectively invisible until a viewer takes a specific action to reveal it. On X, that action is pressing and holding the image on a mobile device. What looks like a plain, low-detail image in the scrolling timeline turns into the full picture the moment someone holds their finger on it — the 'hidden' part was there all along, just suppressed by how the timeline compresses and displays images.
'Hidden image' and 'tap and hold image' describe the same effect from two different angles: one names what happens to the content (it is hidden), the other names the action that unlocks it (tap and hold). The free CarouseLabs maker builds this by letting you paint exactly which regions of your image should stay visible in the timeline — anything you leave unpainted becomes the hidden portion revealed on tap and hold.
Why People Use This Effect
Hidden images work because they turn a passive scroll into an active choice. A normal photo gets a glance. A hidden image asks the viewer to do something to see the rest of it, and that small act of uncovering something feels rewarding in a way that a fully visible image cannot replicate.
The format also travels well because it is self-teaching — once someone reveals a hidden image for the first time, they immediately understand how it works and are primed to try it on the next one they encounter, which keeps the trend circulating across meme accounts, artists, and brands rather than fading out after a single viral post.
How to Create This with CarouseLabs
Here is how to make a hidden image with the free CarouseLabs Hidden Image Maker, from a blank upload to a finished, ready-to-post file.
- 1
Open the free Hidden Image Maker
Go to /tools/tap-hold-maker. The tool is free and loads directly with no account creation step, so you can start hiding part of your image right away.
30 sec - 2
Upload the image you want to hide part of
Drag your JPG, PNG, or WebP file into the upload area, or click to select it. It is processed locally in your browser, not uploaded to a server, while you edit it.
15 sec - 3
Paint over the part that should stay visible — not the hidden part
This is the step people get backwards: the brush marks what stays visible, and everything you leave unpainted is what becomes hidden. Use the brush size slider and Undo or Clear if a stroke reveals more than you intended.
1-2 min - 4
Preview what stays hidden and what gets revealed
Timeline View shows what a scrolling viewer sees before revealing anything; Tap & Hold View shows the full image once hidden content is unlocked. Compare both until the hidden portion feels right.
30 sec - 5
Download your hidden image for free
Click Download for X to get a PNG-8 file optimized to keep the hidden portion hidden under X's compression. A WebP option is available for sharing outside of X.
10 sec - 6
Post it from desktop and let followers reveal it
Upload the file to X from a desktop browser rather than the mobile app, since the app's compression can undo the hiding effect. Followers on mobile can then tap and hold to reveal what was hidden.
20 sec
Try it as you read
Open the maker in another tab and follow along with the steps above.
Tips for Better Results
Remember the brush selects what stays visible, not what gets hidden
It is easy to instinctively paint over the part you want hidden. Do the opposite: paint the part you want kept visible in the timeline and leave the rest untouched.
Keep the visible portion small for a stronger hidden effect
The less you leave visible, the more dramatic the reveal feels when the hidden portion appears. A small visible crop — a caption, an edge, a single detail — tends to work better than half the image.
Use Tap & Hold View to confirm what is actually hidden
This preview shows exactly what gets revealed, which is the only reliable way to check that the right content is hidden before you download.
High-contrast images hide and reveal more clearly
A clear subject against a simple background makes the transition between hidden and revealed read distinctly, compared to a busy or low-contrast photo.
The hidden portion is never uploaded anywhere during editing
Because CarouseLabs processes your image locally in the browser, whatever you are hiding stays on your device until you choose to download and share it.
Examples
Hidden face reveal
Keep a small crop of a portrait visible — like the eyes — and hide the rest of the face until tap and hold.
Hidden message
Show a plain background image while hiding a written message or caption layered underneath it.
Hidden product shot
Display a silhouette or partial edge of a product while hiding the full product image for a launch reveal.
Hidden punchline
Show a setup image in the visible portion and hide a second image that delivers the joke on tap and hold.
Common Mistakes
Painting the area you want hidden instead of the area you want visible
Fix: Double-check with Timeline View after every few strokes — if content you meant to hide is showing up there, you have painted the wrong region. Undo and try again.
Leaving too much of the image visible
Fix: If Timeline View shows most of the picture, the hidden part loses its impact. Aim to keep the visible area to a small fraction of the frame.
Posting through the X mobile app
Fix: The app's compression pass can flatten the difference between the hidden and visible regions. Always post the downloaded file from a desktop browser instead.
Choosing the WebP export for an X post
Fix: Use Download for X, which produces a PNG-8 tuned for X's specific compression behavior. Save WebP for sharing outside of X.
Frequently Asked Questions
A hidden image and a tap and hold image are the same thing described two ways, and making one comes down to painting what should stay visible and leaving the rest for the reveal. The free CarouseLabs Hidden Image Maker handles the technical side of keeping that hidden portion actually hidden until someone interacts with it.
Upload a photo into the free Hidden Image Maker and see your first hidden reveal appear in the preview panels within a minute.
Make your free hidden image maker right now
Everything above happens inside one free browser tool — no signup, no design software.
Create your Tap & Hold image nowFree forever · Works entirely in your browser