Tap and Hold Image Examples
A collection of tap and hold image examples across different formats, so you can see what works before you build your own.
Free · No login required
Skip ahead and start now, or read the full guide below.
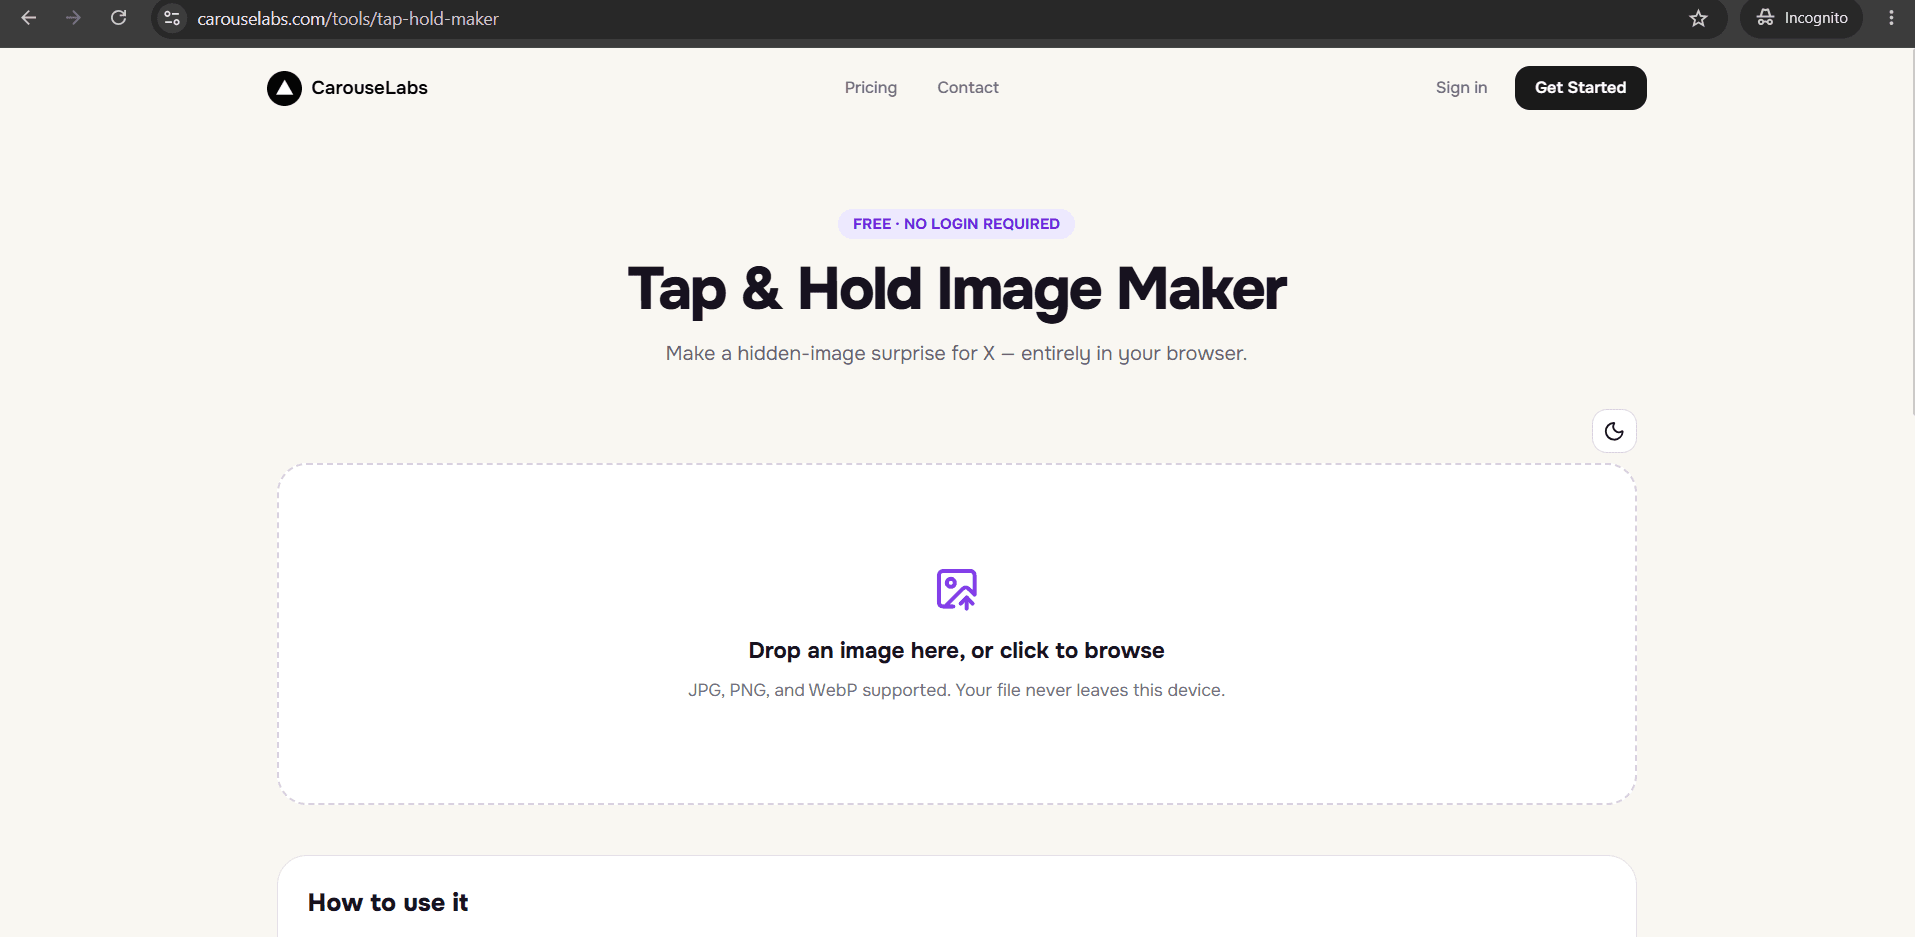
Before you open an editor, it helps to see what a finished tap and hold image actually looks like. This page collects a range of concrete examples — described specifically enough that you can picture exactly how each one is built — so you can find a format that fits what you want to post before you start painting anything.
Every example below can be recreated using only the free CarouseLabs Tap & Hold Image Maker and an image you already have. Once the pattern behind a few of these clicks, building your own version usually takes just a couple of minutes.
What “Tap and Hold Image Examples” Means
A tap and hold image is a single file that shows one thing in the X timeline and a fuller, different version when a viewer presses and holds it on mobile. The examples here differ mainly in what gets hidden and why — a face, a punchline, a discount code, a plot twist — but the underlying mechanic is identical every time: paint the areas that should stay visible, and leave the rest unpainted.
Because the mechanic never changes, the creative decision that actually matters is what you choose to hide and how much of the original image stays visible. That single choice is what separates a forgettable tap and hold image from one people stop to interact with.
Why People Use This Effect
Examples spread faster than explanations because they show the payoff instantly. Reading that 'X images can hide content until tapped' is abstract; seeing a specific photo where only an eye is visible until you tap and hold makes the mechanic click right away, which is why roundups like this one get saved and shared as reference material.
They are also useful because tap and hold images genuinely vary by purpose — memes, marketing, spoilers, portraits, and quizzes all use the same technique for very different goals. Seeing several categories side by side makes it far easier to identify which approach fits your own content.
How to Create This with CarouseLabs
Once an example clicks for you, here is exactly how to build your own version using the free CarouseLabs Tap & Hold Image Maker.
- 1
Open the Tap & Hold Image Maker
Go to /tools/tap-hold-maker. It is free, requires no login, and runs entirely in your browser on desktop or mobile.
30 sec - 2
Upload the image behind your idea
Drag in the photo or graphic your example is built from. It is processed locally in your browser and never uploaded to a server during editing.
15 sec - 3
Paint the part that matches the example you liked
Use the adjustable brush to mark the small portion that should stay visible in the timeline — say, an eye for a portrait reveal or a caption for a punchline reveal. Undo and Clear are available if a stroke goes wrong.
1-2 min - 4
Compare Timeline View against Tap & Hold View
Check both live preview panels to confirm the reveal matches your intention — subtle enough in Timeline View, and satisfying once revealed in Tap & Hold View.
30 sec - 5
Download the export built for X
Click Download for X for the optimized PNG-8 file, or choose the WebP option if you plan to share the image somewhere other than X.
10 sec - 6
Post it from a desktop browser
Upload the downloaded file to X from desktop web rather than the mobile app, so the compression stays consistent and followers can tap and hold to reveal it.
20 sec
Try it as you read
Open the maker in another tab and follow along with the steps above.
Tips for Better Results
Start from the example closest to your goal
Rather than starting from a blank idea, pick the example above closest to your intent and adapt it — it is much faster than designing a reveal from scratch.
Keep the visible sliver small
Every strong example on this page hides most of the image. A small, deliberate visible area creates a far more satisfying reveal than a large one.
Use a clear focal subject
Examples built from images with one obvious subject read more clearly than busy scenes, because the visible fragment still makes sense on its own.
Preview on your own phone before posting widely
Open your draft post privately and tap and hold it yourself first, so you know the reveal works exactly as intended before followers see it.
Keep your source image so you can try variations
Since the CarouseLabs Tap & Hold Image Maker re-renders instantly from your brush strokes, keeping the original file lets you try two or three reveal styles from the same photo.
Examples
Portrait reveal
Only an eye or a sliver of a face is visible in the timeline; the full portrait appears on tap and hold.
Product silhouette reveal
A blurred outline or single edge of a product stays visible, while the full product shot is hidden for a launch-day reveal.
Setup-and-punchline meme
A caption or reaction image sets up a joke in the visible area, with the punchline image hidden underneath.
Quote teaser
The first few words of a quote or headline stay visible, with the rest of the text revealed only on tap and hold.
Location reveal
A cropped corner of a map or landmark stays visible while the full photo of a travel destination is hidden.
Common Mistakes
Copying an example's crop without matching its contrast
Fix: An example works partly because of good contrast between subject and background. If your source image is busier, adjust which region you paint rather than copying the same crop blindly.
Leaving too much of the image visible
Fix: Check Timeline View after every stroke. If the visible portion already tells the whole story, the tap-and-hold reveal has nothing left to add.
Skipping the Tap & Hold View preview
Fix: This is the only panel that shows what the reveal actually looks like. Always check it before downloading.
Uploading the exported file through the X mobile app
Fix: Post from a desktop browser instead. The mobile app recompresses images on upload, which is the most common reason a working example stops working after posting.
Frequently Asked Questions
The fastest way to make a good tap and hold image is to start from a pattern that already works rather than inventing one from scratch. Pick the example above closest to what you are trying to say, then rebuild it with your own photo in the CarouseLabs Tap & Hold Image Maker.
Open the free tool, upload an image, and paint your first reveal — most of the examples on this page take only a couple of minutes to recreate.
Make your tap and hold image examples right now
Everything above happens inside one free browser tool — no signup, no design software.
Create your Tap & Hold image nowFree forever · Works entirely in your browser