How to Make a Tap and Hold Image
A complete, beginner-friendly walkthrough for making your own tap and hold image using the free CarouseLabs Tap & Hold Image Maker — no design experience needed.
Free · No login required
Skip ahead and start now, or read the full guide below.
If you have scrolled X and stopped on a post that looked like a plain thumbnail — until you pressed and held it and a completely different image appeared underneath — you have already seen a tap and hold image in action. It is one of the simplest ways to stop someone mid-scroll, because the interaction itself becomes part of the content: the reader is not just looking at a picture, they are unlocking one.
Making one used to mean understanding image compression, alpha channels, and how X strips metadata from uploads, which is why most guides on this topic turn into a technical rabbit hole. This guide skips all of that. CarouseLabs' free Tap & Hold Image Maker handles the technical part automatically, so the only thing you need to learn is where to click. By the end of this page you will have made your first tap and hold image and know exactly how to post it so it works for your followers.
What “How to Make Tap and Hold Image” Means
A tap and hold image is a single image file that displays two different things depending on how it is viewed. On the X timeline, where images are shown at reduced quality and small size, only a lightly visible version appears. When a viewer presses and holds that image on a mobile device, X briefly shows the full, high-quality version before releasing it — revealing detail that was effectively invisible in the feed.
The effect is not a trick or an exploit. It relies on a real, predictable difference between how X compresses images for the scrolling timeline versus how it renders the same file during a tap-and-hold preview. A tap and hold image is built by deliberately painting certain regions so they behave differently under those two rendering conditions — which is exactly what the brush tool in the CarouseLabs Tap & Hold Image Maker is designed to do.
Why People Use This Effect
Tap and hold images spread because they reward curiosity instead of just asking for it. A normal image gets glanced at and scrolled past. A tap and hold image gives the viewer a reason to stop, engage physically with the post, and then — because the reveal feels like a small discovery — reply, quote, or send it to someone else to try. That extra step is exactly what the X algorithm rewards with more distribution.
They also work well because the format doubles as its own explanation. Once someone reveals a hidden image for the first time, they immediately understand the mechanic and are far more likely to try it on the next one they see, which is why the trend keeps resurfacing across meme accounts, brands, and artists rather than fading after one viral moment.
How to Create This with CarouseLabs
Here is exactly how to make a tap and hold image from a blank browser tab to a finished download, using only the free CarouseLabs Tap & Hold Image Maker.
- 1
Open the CarouseLabs Tap & Hold Image Maker
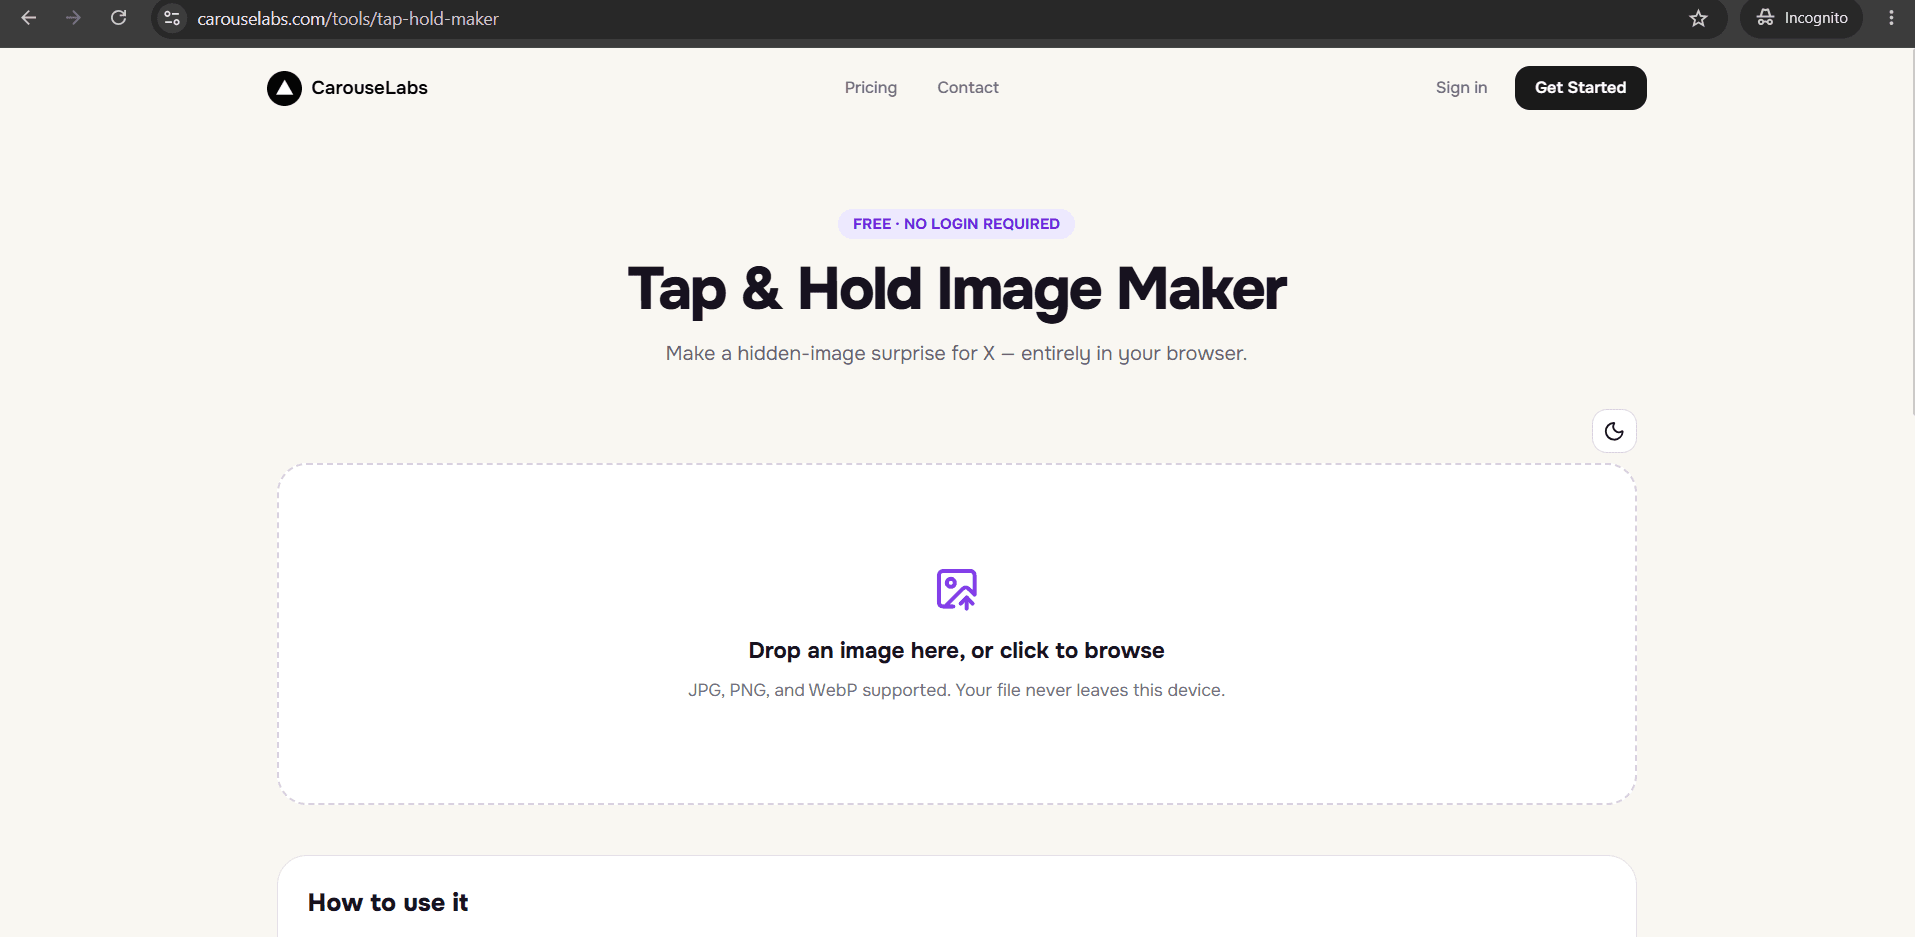
Go to the free Tap & Hold Image Maker at /tools/tap-hold-maker. It runs entirely in your browser, works on desktop or mobile, and does not require an account, email address, or payment to use.
30 sec - 2
Upload your image
Drag your JPG, PNG, or WebP file onto the upload area, or click it to browse your device. The image never leaves your device during editing — CarouseLabs processes everything locally in the browser.
15 sec - 3
Use the brush tool to select the visible areas
Adjust the brush size with the slider, then paint over the parts of the image you want to stay visible in the X timeline. Everything you leave unpainted becomes the part that is hidden until someone taps and holds. Use Undo or Clear at any point if you want to redo a stroke.
1-2 min - 4
Preview the Timeline View and Tap & Hold View
Check both live preview panels before exporting. Timeline View shows approximately what followers will see while scrolling; Tap & Hold View shows the full reveal on a black background. If the hidden portion feels too obvious or too subtle, adjust your brush strokes and both previews update instantly.
30 sec - 5
Download your image
Click Download for X to export an optimized PNG-8 file, which is the format that preserves the effect most reliably on X. A WebP option is also available if you plan to share the image somewhere other than X.
10 sec - 6
Share it on X
Upload the downloaded file to a new post from a desktop browser rather than the X mobile app, since the app can recompress images differently. Once posted, followers on mobile can tap and hold the image in their timeline to reveal the hidden version.
20 sec
Try it as you read
Open the maker in another tab and follow along with the steps above.
Tips for Better Results
Post from a desktop browser, not the mobile app
X's mobile app applies its own compression pass on upload, which can flatten the effect. Uploading from desktop web keeps the file closer to what CarouseLabs exported.
Keep the visible area under about a third of the image
The more of the image you leave visible in Timeline View, the less dramatic the reveal feels. Small, deliberate reveals — an eye, a caption, a corner of a scene — tend to perform better than large ones.
Check both previews before every export
It is easy to paint a stroke that looks fine in Tap & Hold View but accidentally reveals too much in Timeline View. Get in the habit of glancing at both panels after each brush stroke.
Use high-contrast source images
Images with a clear subject against a simpler background make the hidden-to-revealed transition read more clearly than busy, low-contrast photos.
Re-download after every edit
If you go back and adjust your brush strokes after an export, download again — the previous file will not reflect your changes.
Examples
Portrait reveal
Paint only the eyes or a small crop visible, hiding the rest of a portrait so the full face appears on tap and hold.
Punchline reveal
Show a setup image or caption in the visible area, then hide a second image that acts as the punchline underneath.
Before-and-after reveal
Leave a plain 'before' state visible and hide a dramatically different 'after' state beneath it.
Product teaser
Show a blurred silhouette or edge of a product while hiding the full product shot for a launch-day reveal.
Common Mistakes
Uploading through the X mobile app instead of desktop
Fix: Always publish the exported file from a desktop browser tab. The mobile app's extra compression pass is the single most common reason a tap and hold image stops working after posting.
Painting too much of the image as visible
Fix: If more than roughly a third of the image is visible in Timeline View, the hidden portion loses impact. Use a smaller brush and check Timeline View often while painting.
Skipping the WebP-vs-PNG choice
Fix: For X specifically, always choose the PNG-8 export. It is the format CarouseLabs optimizes for X's timeline compression; WebP is better suited to other platforms.
Never checking the Tap & Hold View before exporting
Fix: This preview is the only way to confirm what the reveal actually looks like. Always view it at least once before downloading.
Frequently Asked Questions
Making a tap and hold image comes down to three things: upload an image, paint the areas that stay visible, and export the file built for X's compression. The CarouseLabs Tap & Hold Image Maker handles every technical part of that process automatically, which is what makes this format approachable for anyone — not just people comfortable with image editing software.
The fastest way to understand the effect is to make one. Open the free Tap & Hold Image Maker, upload a photo, and see your first hidden reveal appear in the preview panels within a minute.
Make your how to make tap and hold image right now
Everything above happens inside one free browser tool — no signup, no design software.
Create your Tap & Hold image nowFree forever · Works entirely in your browser