The Best Hidden Image Generator: Why Precision Is the Real Test
A hidden image generator lives or dies on one thing: how precisely it controls what stays hidden. Here's what to check, and how CarouseLabs handles it.
Free · No login required
Skip ahead and start now, or read the full guide below.
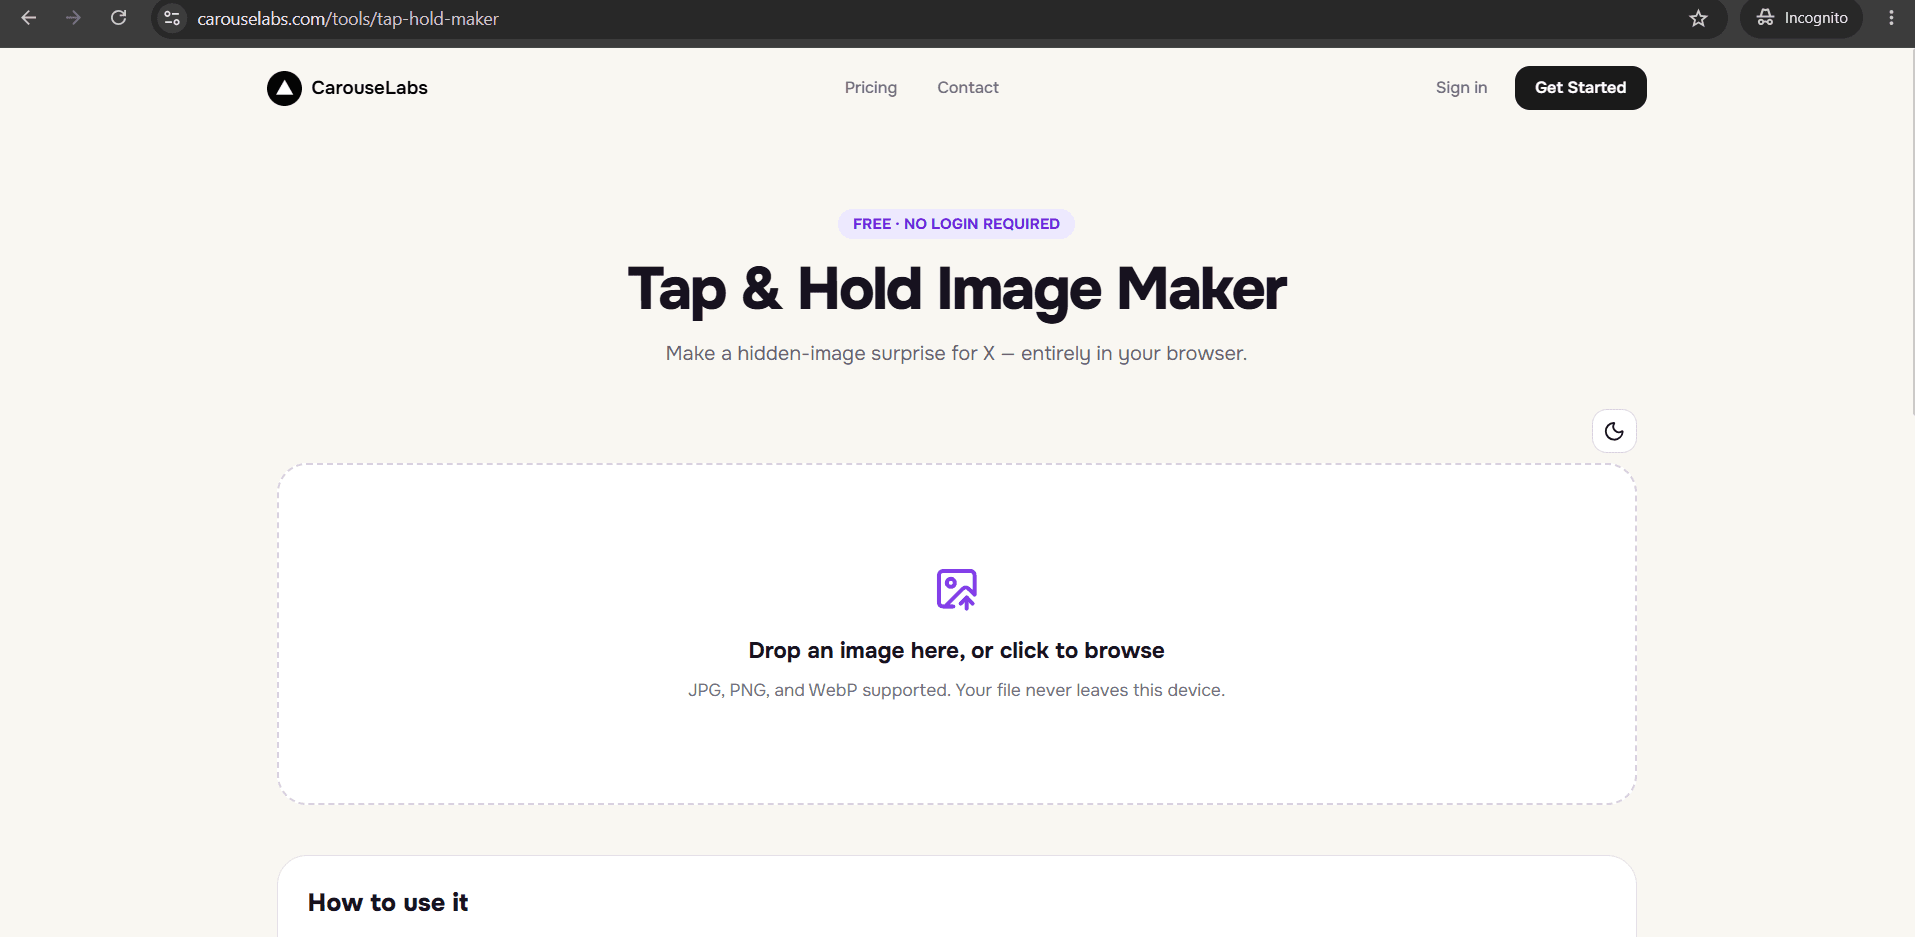
The word "generator" makes it sound like a hidden image tool should be automatic — upload a photo, click a button, done. In reality, the tools that produce genuinely good results are the ones that give you fine, deliberate control over exactly which pixels stay hidden and which stay visible, because that boundary is the entire effect. A generator with no control just guesses, and guessing produces images that either hide too much or accidentally reveal the punchline in the timeline.
This page focuses on the specific criterion that matters most for this category — control precision — along with the handful of supporting features that make that control usable, and shows how the free CarouseLabs Tap & Hold Image Maker delivers on each one.
What “Best Hidden Image Generator” Means
A hidden image generator has one job that is harder than it sounds: decide, pixel by pixel, which parts of an image survive the platform's compressed timeline view and which parts effectively disappear until someone taps and holds. That decision is what creates the hidden effect, and it needs to be exact — a boundary that is a little too generous gives away the reveal before anyone interacts with the post.
The tools that do this well give the user a manual, adjustable brush rather than an automated "hide everything" toggle, because only the person making the image knows which detail should stay teasingly visible and which should stay fully hidden. Precision here is not a nice-to-have; it is the actual product.
Why People Use This Effect
People look specifically for the "best" hidden image generator because a slightly imprecise one is worse than no tool at all — it produces an image that looks like it's supposed to have a hidden element but clearly doesn't hide anything, which reads as a mistake rather than an effect. Getting the hidden boundary right the first time saves a wasted post and a confused audience.
It also matters because the best hidden-image ideas are often small and specific — a single hidden word, one hidden face in a group photo, a hidden detail in the corner of a scene. Pulling that off requires a brush that can be as precise as the idea itself, not a generator that only works at the scale of "half the image."
How to Create This with CarouseLabs
Here is how CarouseLabs' brush-based control actually works in practice, from opening the tool to posting a hidden image that hides exactly what you intended.
- 1
Open the free Tap & Hold Image Maker
Go to /tools/tap-hold-maker in any browser. No account is required, and there is nothing to install before you can start painting.
30 sec - 2
Upload the image you want to hide part of
Add a JPG, PNG, or WebP file by drag-and-drop or the file picker. It is processed locally in your browser, not uploaded to a server, while you work.
15 sec - 3
Set your brush size and paint the visible area precisely
Adjust the brush slider until it matches the scale of the detail you're working with — small for a single feature, larger for broader areas — and paint only what should remain visible. Undo individual strokes or Clear the whole selection at any time.
1-2 min - 4
Confirm the hidden boundary in both previews
Timeline View shows what stays visible in the compressed feed; Tap & Hold View confirms what's hidden until reveal. Zoom in mentally on the edges of your brushwork — this is where over-hiding or under-hiding shows up first.
30 sec - 5
Download the optimized export
Use Download for X to get an indexed PNG-8 file that preserves your exact hidden boundary through X's compression, or export as WebP for other platforms.
10 sec - 6
Post from desktop to keep the boundary intact
Upload the file to X from a desktop browser, not the mobile app, so the precise hidden area you painted isn't blurred or flattened by extra recompression.
20 sec
Try it as you read
Open the maker in another tab and follow along with the steps above.
Tips for Better Results
Look for an adjustable brush, not a fixed shape
CarouseLabs lets you resize the brush with a slider, so you can hide something as small as a single word or as large as a full background without switching tools.
Undo and Clear should be one click away
Precision work means making small mistakes along the way. Undo removes your last stroke instantly, and Clear resets the whole selection if you want to start the hidden boundary over.
The hidden area should be confirmed visually, not assumed
Tap & Hold View shows exactly what's hidden on a black background before you ever export, so you're never guessing whether a detail is actually concealed.
Check the edges, not just the center, of your brushwork
Imprecise tools often leave a faint outline around the hidden area in the compressed view. Zoom into Timeline View near the edges of your strokes to make sure the boundary is clean.
Your image should stay local while you make these fine adjustments
Because CarouseLabs processes the file in your browser rather than a server round-trip, brush adjustments update instantly with no upload lag between strokes.
Examples
Single hidden word
A caption stays visible while one specific word — the punchline or answer — is precisely hidden until tap and hold.
One face in a group photo
Everyone in a group shot stays visible except one person's face, brushed out with a small precise selection.
Hidden detail in a busy scene
A small object tucked in the corner of a photo stays hidden while the rest of the scene is fully visible in the timeline.
Partial reveal for suspense
Only a sliver of an image — an edge, a shadow — stays visible, with almost the entire frame hidden for maximum reveal impact.
Common Mistakes
Using a large brush for a small, specific hidden detail
Fix: Scale the brush down to match what you're actually hiding. A word or a single facial feature needs a small, controlled brush, not a broad stroke that hides more than intended.
Never zooming in on the boundary between hidden and visible
Fix: Check Timeline View closely near the edges of your brushwork, where a generator with weak precision tends to leave the hidden area partially visible.
Treating the first brush pass as final
Fix: Use Undo liberally. Precision usually comes from two or three adjustment passes, not one attempt.
Assuming the generator handled it without checking Tap & Hold View
Fix: Always confirm visually that the hidden portion reveals correctly before downloading — don't rely on assumption.
Frequently Asked Questions
The best hidden image generator is not the one with the most features — it's the one that gives you exact control over the hidden boundary, backed by a live preview that proves the result before you post it. Brush precision, Undo and Clear, and dual live previews are the whole test.
Try it on a detail that requires real precision, like a single hidden word, using the free CarouseLabs Tap & Hold Image Maker, and judge for yourself how tight that boundary is.
Make your best hidden image generator right now
Everything above happens inside one free browser tool — no signup, no design software.
Create your Tap & Hold image nowFree forever · Works entirely in your browser