Hidden Image Tutorial
Learn how to hide part of an image so it stays invisible in the X timeline and only appears when someone taps and holds — built entirely with the free CarouseLabs Tap & Hold Image Maker.
Free · No login required
Skip ahead and start now, or read the full guide below.
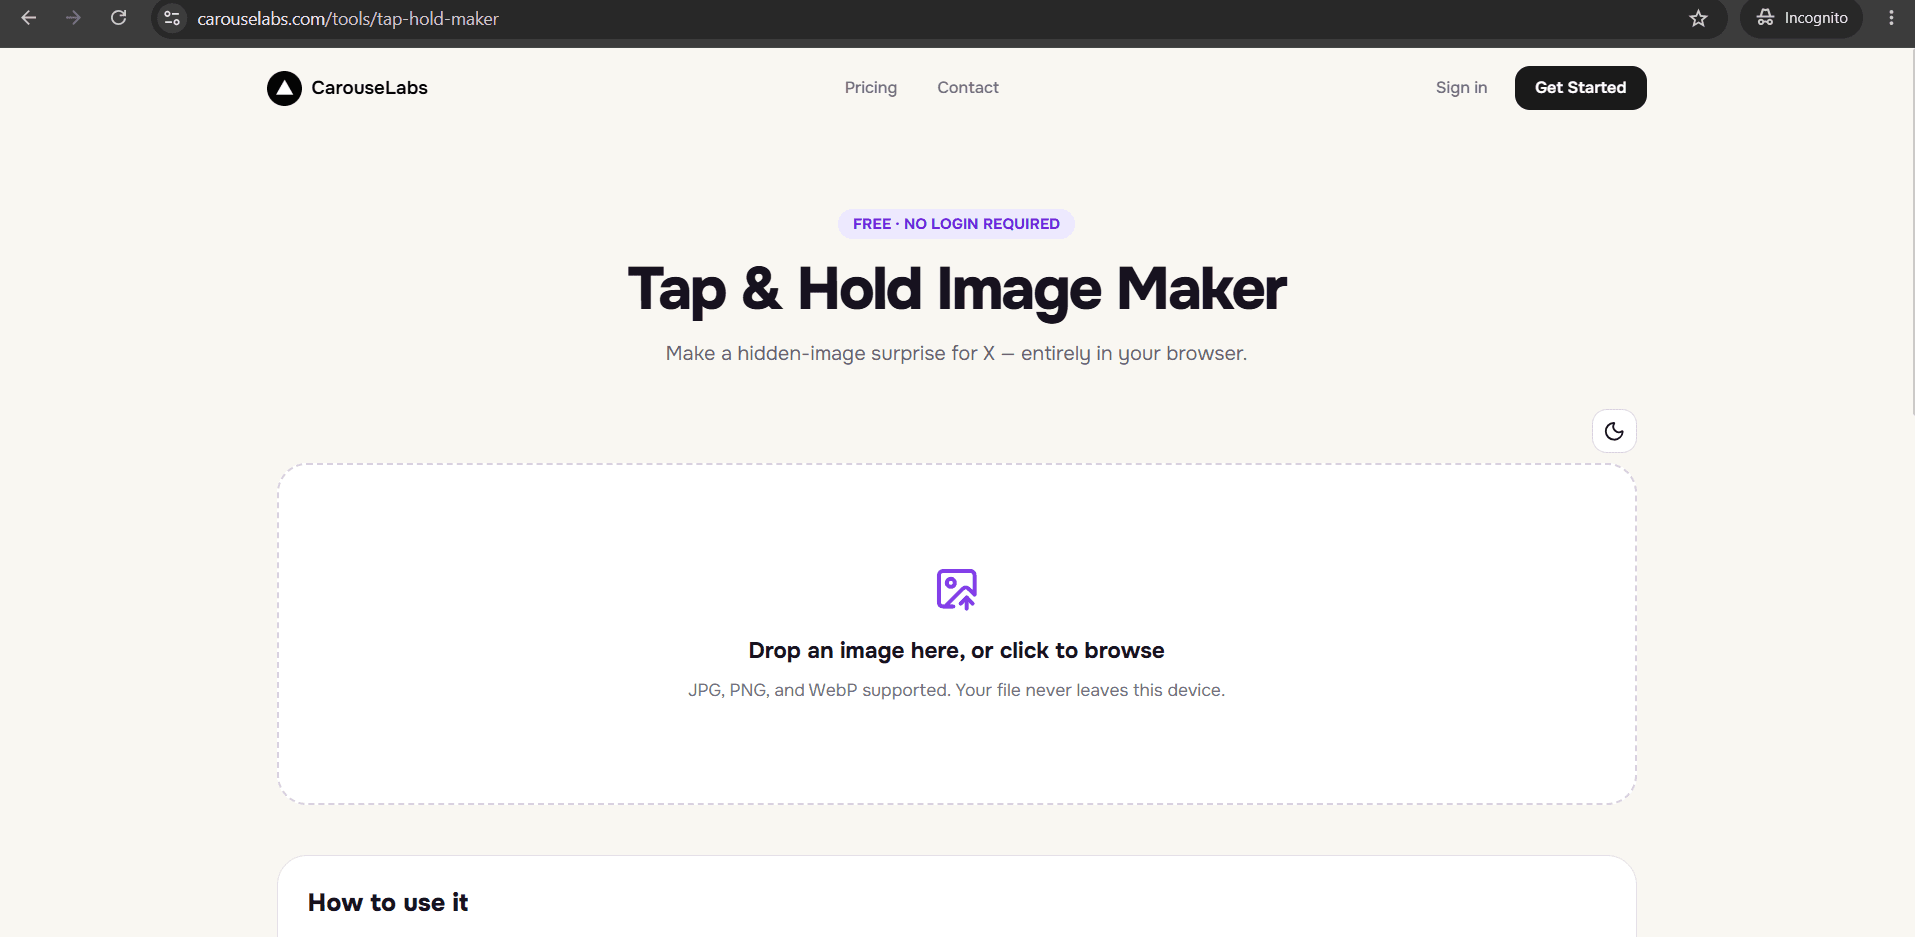
The word 'hidden' is doing the real work in this format. A hidden image is not blurred, cropped, or watermarked — it is a normal, full-quality image where a chosen portion is deliberately kept out of sight until the viewer takes a specific action. This tutorial is about that hiding process specifically: how to choose what to hide, how to hide it correctly, and how to confirm it stays hidden until someone taps and holds.
Everything below is done with the free CarouseLabs Tap & Hold Image Maker, which is built around exactly this hide-then-reveal mechanic. No other software is needed — just an image and a few minutes with the brush tool.
What “Hidden Image Tutorial” Means
In this format, 'hidden' specifically means: not rendered clearly in X's compressed timeline view, but fully present in the underlying file. Nothing is deleted or removed from the image — the full picture exists in the file the whole time. What changes is how much of it becomes visible under two different rendering conditions.
You control what counts as hidden by using the brush tool to paint the opposite — the areas you want to stay visible. Everything you do not paint defaults to hidden. That is the entire logic of the CarouseLabs Tap & Hold Image Maker: paint what should show, and the rest becomes the hidden portion by default.
Why People Use This Effect
Hiding part of an image taps into simple curiosity. A caption that says 'there's more here' rarely performs as well as an image that visibly withholds something, because the withholding itself becomes proof that there is something worth uncovering.
It also creates a natural reason for people to explain the format to others. Someone who does not know to tap and hold might scroll right past a hidden image — but the moment a friend tells them what they are missing, they go back and try it, which extends a single post's reach well past its first impression.
How to Create This with CarouseLabs
Follow these six steps to hide part of any image and confirm it stays properly hidden before you post it.
- 1
Open the CarouseLabs Tap & Hold Image Maker
Head to /tools/tap-hold-maker. It is free, requires no login, and runs directly in your browser, giving you the exact tool this hidden-image tutorial is built around.
30 sec - 2
Upload the photo you want to partially hide
Drop in a JPG, PNG, or WebP file, or select one from your files. The image stays on your device during editing — nothing is uploaded to a server while you work on it.
15 sec - 3
Paint everything you do NOT want hidden
This is the key mental flip for a hidden image: you are painting the visible parts, not the hidden ones. Adjust brush size with the slider and paint only what should stay visible — everything else becomes hidden automatically. Use Undo or Clear to correct mistakes.
1-2 min - 4
Confirm what is actually hidden using both previews
Timeline View shows what stays hidden in the scrolling feed. Tap & Hold View shows the full image, hidden parts included, on a black background. Check both to be sure nothing you meant to hide is accidentally showing.
30 sec - 5
Download the hidden-image file
Use Download for X for a PNG-8 export optimized to keep the hidden portion properly hidden under X's compression. Use the WebP option for other platforms.
10 sec - 6
Post it and let followers uncover the hidden part
Publish from X on desktop, not the mobile app, since app-side compression can undo the hiding effect. Followers on mobile can then tap and hold to reveal what was hidden.
20 sec
Try it as you read
Open the maker in another tab and follow along with the steps above.
Tips for Better Results
Remember you are painting 'visible,' not 'hidden'
The brush in the CarouseLabs tool marks what stays visible. It is easy to instinctively paint over the thing you want hidden — do the opposite.
Hide something specific, not just 'the rest'
A hidden image lands better when the hidden portion is a clear subject — a face, an object, a punchline — rather than a vague leftover area.
Use a smaller brush for precise hiding
If the item you want hidden is close to something you want visible, a smaller brush size keeps the boundary between them clean.
Always verify with Tap & Hold View
This is the only preview that shows the hidden content directly, so it is the fastest way to confirm you hid the right part of the image.
Keep the hidden portion the larger share of the image
If the visible area takes up most of the frame, there is less left to be hidden, and the reveal feels smaller. Aim to keep the hidden portion dominant.
Examples
Hidden face reveal
Keep the background and shoulders visible while hiding the face itself, so the identity is the reveal.
Hidden object in a scene
Show a full room or landscape visible while hiding one specific object placed inside it.
Hidden second half of an image
Split the image conceptually and hide the second half — the ending of a visual story — until tap and hold.
Hidden detail for close followers
Hide a small detail meant as a reward for engaged followers who take the time to tap and hold every post.
Common Mistakes
Painting the area you meant to hide
Fix: Double check your strokes in Timeline View. If the part you wanted hidden shows up there, you painted the wrong area — use Undo and redo it.
Hiding too little of the image
Fix: If most of the picture is visible, the hidden portion will not read as a meaningful reveal. Reduce the visible area and keep more hidden.
Not testing Tap & Hold View before posting
Fix: This preview is the only direct check on what your hidden content actually looks like when revealed. Never skip it.
Posting through the X mobile app
Fix: Always publish the downloaded file from a desktop browser. The mobile app's compression can make hidden content partially visible in the timeline, defeating the effect.
Frequently Asked Questions
Hiding part of an image comes down to one flipped instinct: paint what should stay visible, and let everything else become hidden by default. Once that click happens, the rest of the process is quick.
Open the free CarouseLabs Tap & Hold Image Maker and try hiding something in your next image — the two preview panels will tell you immediately whether it worked.
Make your hidden image tutorial right now
Everything above happens inside one free browser tool — no signup, no design software.
Create your Tap & Hold image nowFree forever · Works entirely in your browser