How to Post a Tap and Hold Image on X
Building a tap and hold image correctly is only half the job — how you post it on X determines whether the effect survives. Here is exactly how to do it right.
Free · No login required
Skip ahead and start now, or read the full guide below.
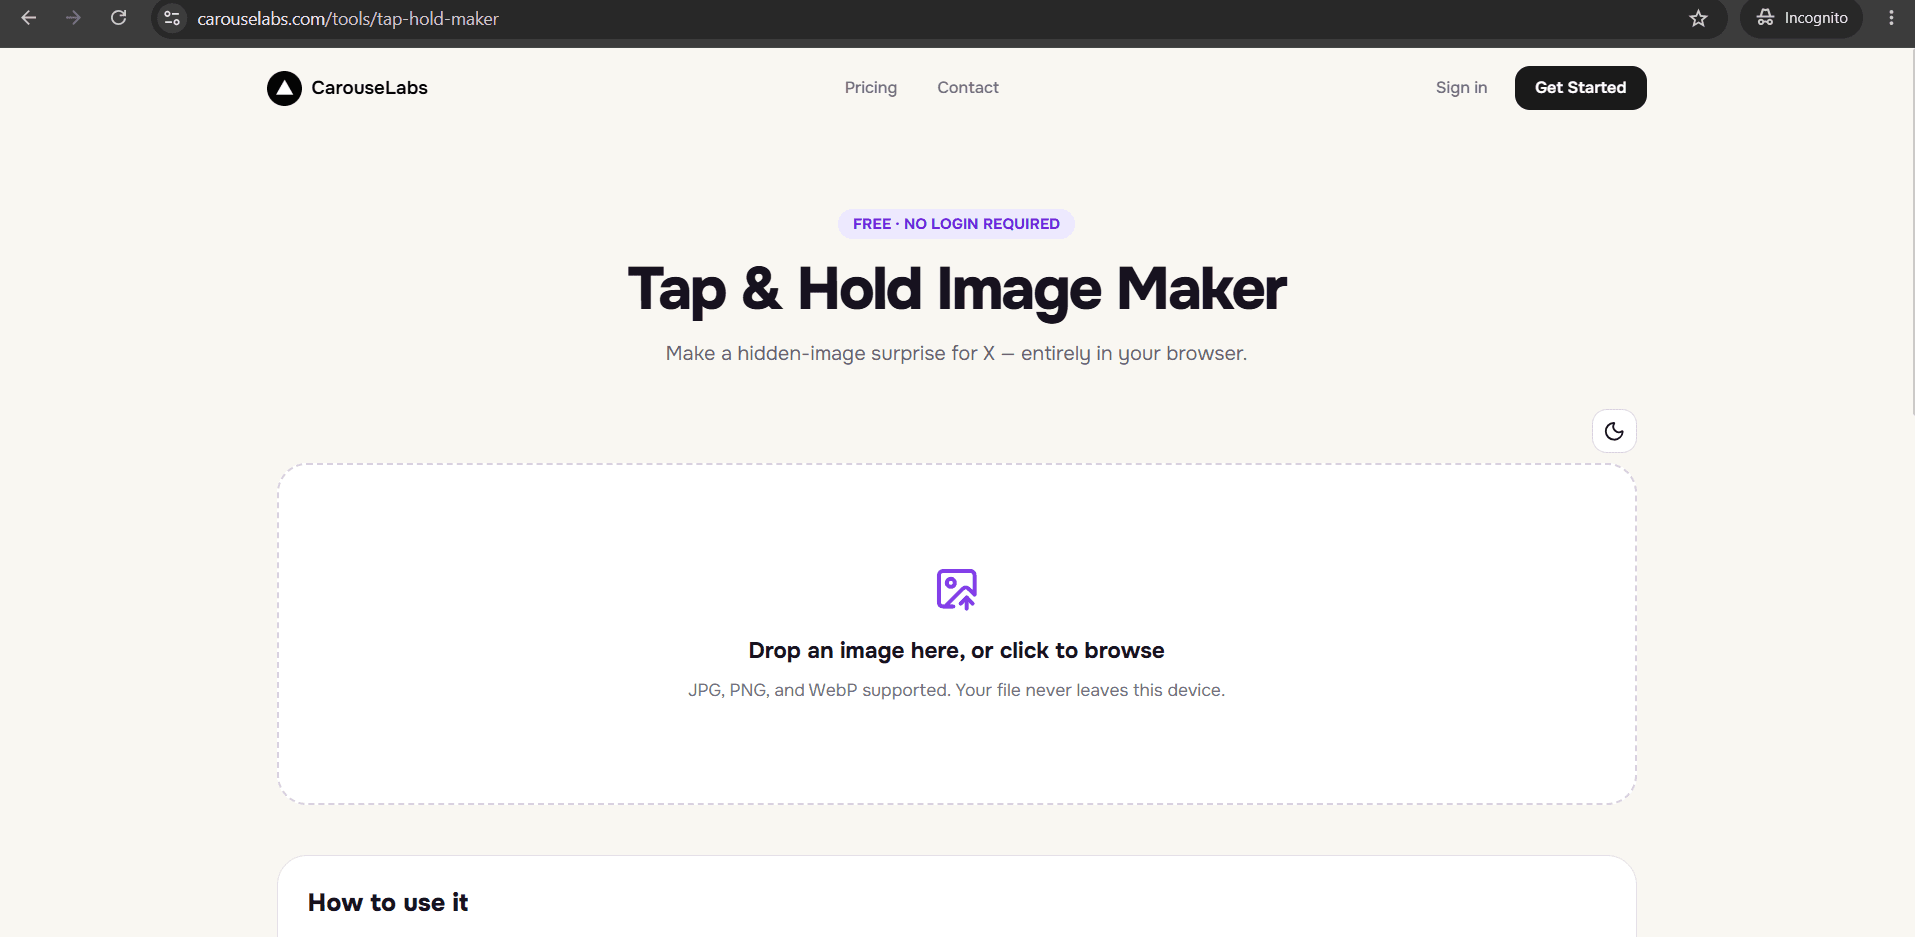
A perfectly built tap and hold image can still fail after posting, and it almost never has anything to do with how it was made. The most common reason a working file stops working is how it gets uploaded to X — the wrong app, the wrong export format, or the wrong posting flow can quietly flatten an effect that worked fine in preview.
This guide focuses specifically on that last step: posting. It assumes you already have, or are about to make, a tap and hold image using the free CarouseLabs Tap & Hold Image Maker, and walks through exactly how to publish it on X so the effect survives contact with the real platform.
What “How to Post Tap and Hold Image on X” Means
A tap and hold image only works because X renders the same file two different ways: a compressed, lower-quality version in the scrolling timeline, and a full-quality version during a tap-and-hold preview. Posting it correctly means getting the exported file into X's system through the upload path that preserves that difference.
X's mobile app and desktop web upload flows do not always handle image compression identically, and the export format you choose matters too. Posting is not just clicking share — it is making sure the file that reaches followers' timelines is the same one CarouseLabs built for you.
Why People Use This Effect
Getting the posting step right matters more than most people expect because it is invisible when it goes wrong. The image still uploads, the post still looks normal, and nothing throws an error — it simply stops revealing anything when someone taps and holds it, which quietly kills the entire point of making one.
Because this failure is so common and so easy to miss, understanding the posting step specifically has become almost as important as understanding the image-building step. A correctly built file posted the wrong way is functionally the same as posting a normal image.
How to Create This with CarouseLabs
Here is the complete process, from building the file to publishing it on X in a way that preserves the effect, using only the free CarouseLabs Tap & Hold Image Maker.
- 1
Open the Tap & Hold Image Maker
Go to /tools/tap-hold-maker. It is free, requires no login, and works entirely in your browser.
30 sec - 2
Upload the image you plan to post
Drag in a JPG, PNG, or WebP file. It is processed locally in your browser, so nothing reaches X until you choose to post the final download.
15 sec - 3
Paint the visible-versus-hidden split
Use the brush to mark what should stay visible in the compressed timeline. Everything unpainted only appears in the full tap-and-hold render.
1-2 min - 4
Confirm both previews before exporting
Check Timeline View and Tap & Hold View to make sure the split looks correct before you move on to posting — fixing it now is easier than fixing it after upload.
30 sec - 5
Download using the correct export option
Choose Download for X specifically. It exports an indexed PNG-8 tuned for X's compression — this is the file you should post, not the WebP alternative.
10 sec - 6
Publish from X on a desktop browser, not the app
Open X in a desktop web browser, start a new post, and attach the downloaded PNG directly. Avoid the X mobile app entirely for this step, since it recompresses images on upload in a way that can undo the effect.
20 sec
Try it as you read
Open the maker in another tab and follow along with the steps above.
Tips for Better Results
Always post from desktop web, no exceptions
This is the single highest-impact rule for posting a tap and hold image. The X mobile app's upload pipeline applies compression that the desktop web flow does not.
Post the image on its own, not inside a multi-image post
X displays multi-image posts in a grid layout that can crop or resize each image differently than a single-image post, which changes how much is visible in Timeline View.
Avoid re-saving the image from X itself before reposting
Downloading an image back off X and reposting it runs it through compression twice. Always post directly from the original file CarouseLabs exported.
Double-check the file is the PNG-8, not the WebP
If you exported both options while testing, confirm you are attaching the Download for X file, not the WebP version meant for other platforms.
Post as a new tweet rather than a reply when possible
Standalone posts tend to get the most predictable rendering treatment. Replies and quote posts can display images at different sizes depending on context.
Verify the post on a second, real mobile device after publishing
Preview panels in the tool are close approximations of X's behavior, but checking the live post on an actual phone confirms it is working before you rely on it.
Examples
Standalone image post
A single tap and hold image posted alone, with no additional attached images to interfere with rendering.
Thread opener
A tap and hold image used as the first post in a thread, drawing people in before the rest of the thread unfolds.
Reply-bait post
A tap and hold image posted as a standalone reply to a trending conversation, timed for visibility.
Common Mistakes
Uploading through the X mobile app
Fix: Post from a desktop browser instead. This one change resolves the large majority of tap and hold images that stop working after publishing.
Attaching the WebP export instead of the PNG-8
Fix: Go back into the CarouseLabs Tap & Hold Image Maker and use Download for X specifically — it produces the format built for X's timeline compression.
Posting the image inside a multi-image grid
Fix: Post it as a single, standalone image whenever the effect is the point of the post, since grid layouts can alter how the image displays.
Downloading the image from X and re-uploading it later
Fix: Always keep and reuse the original file exported from CarouseLabs. Re-saving from X compresses it a second time.
Not testing the live post before assuming it worked
Fix: Check the actual published post on a mobile device. Assuming success without testing means a broken effect can go unnoticed for the life of the post.
Frequently Asked Questions
Making a tap and hold image and posting it correctly are two different skills, and the second one is where most working files quietly fail. Export the PNG-8 using Download for X, post it as a standalone image from a desktop browser, and the effect will reach followers exactly as it looked in preview.
Open the free Tap & Hold Image Maker to build your file, then follow the posting steps above exactly — it is the difference between an image that works and one that just looks like it should.
Make your how to post tap and hold image on x right now
Everything above happens inside one free browser tool — no signup, no design software.
Create your Tap & Hold image nowFree forever · Works entirely in your browser