Tap and Hold Image FAQ
The most common questions people ask about tap and hold images, answered in one place.
Free · No login required
Skip ahead and start now, or read the full guide below.
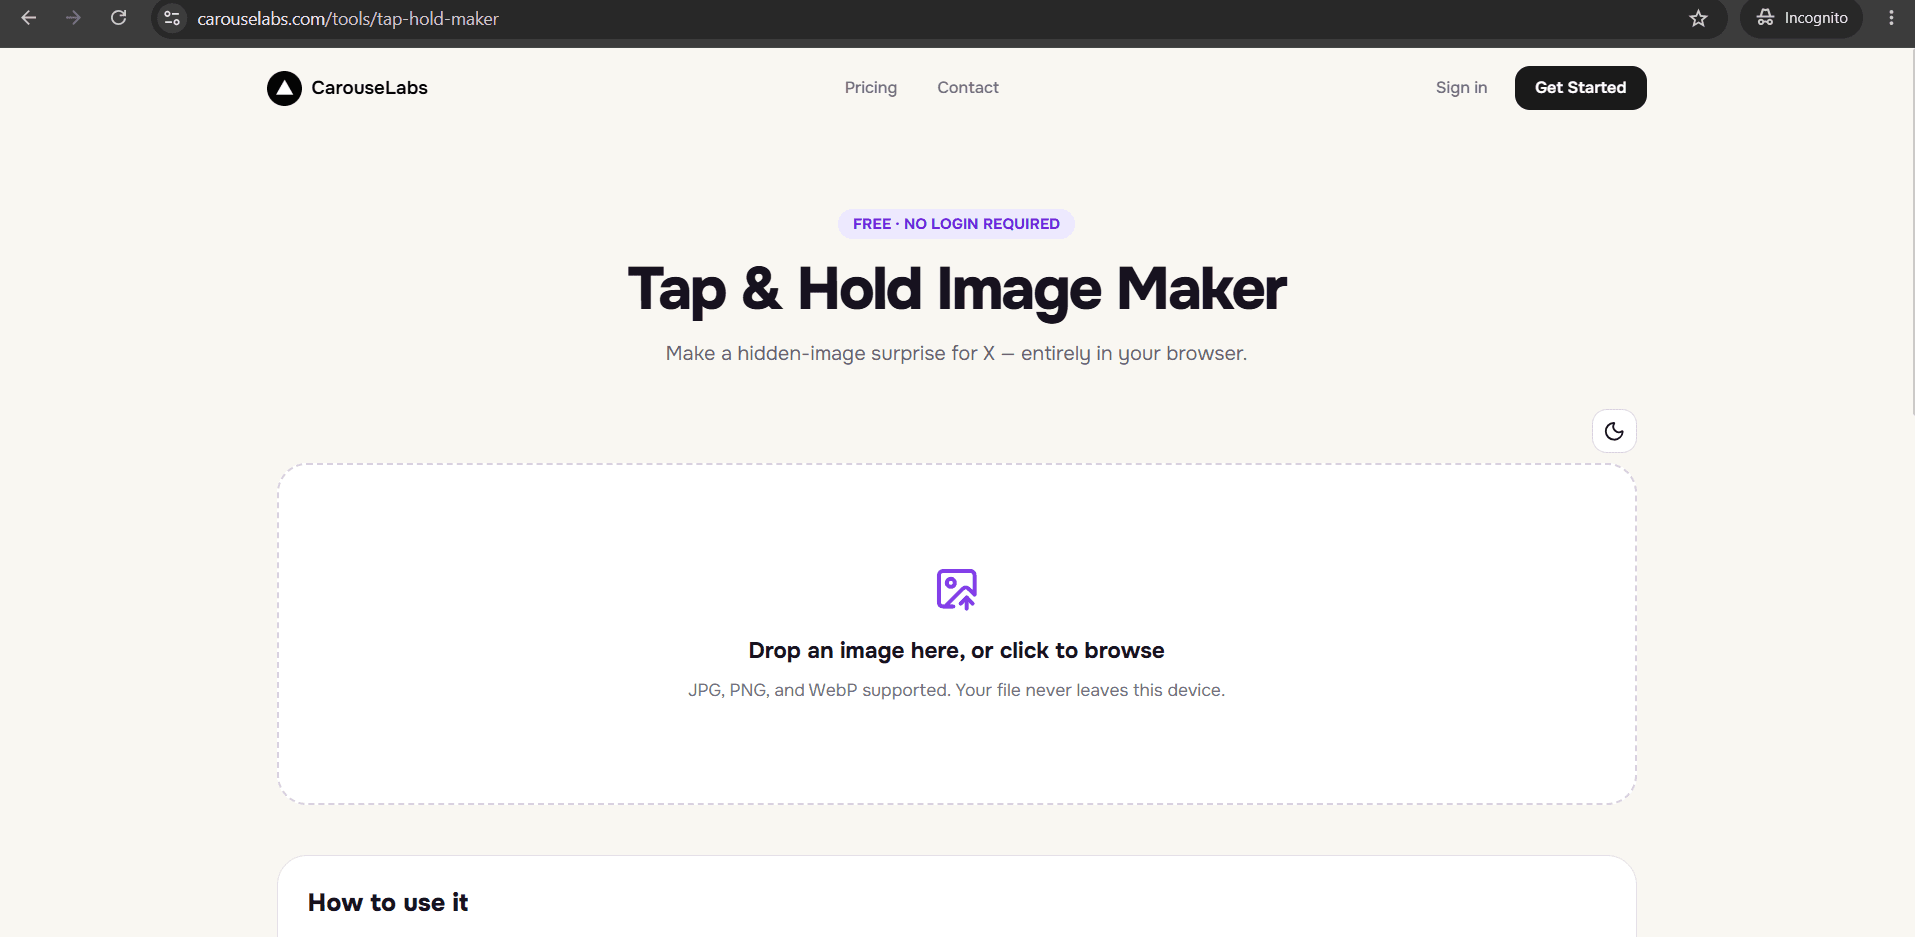
Between how the effect works, how to make one, and why it sometimes stops working, tap and hold images generate a wide range of questions. This page collects the ones that come up most often into a single reference, so you do not need to search separately for each one.
Wherever a question involves actually building or fixing an image, the answer routes through the same free tool: the CarouseLabs Tap & Hold Image Maker, which handles the technical side of the effect automatically.
What “Tap and Hold Image FAQ” Means
A tap and hold image shows one thing while a viewer scrolls X's timeline and a different, fuller version when that viewer presses and holds it on mobile. The questions on this page span the full lifecycle of that idea — understanding it, building it, and troubleshooting it when it does not behave as expected.
Because the format touches on image compression, X's specific rendering behavior, and creative decisions all at once, the questions people ask tend to fall into a few natural groups: what it is, how to build one, and why one might fail.
Why People Use This Effect
A single FAQ page tends to get referenced repeatedly because it saves someone from piecing together the answer to a specific question across multiple different articles. Once a question has been answered clearly here, it is easy to come back to.
It also reflects how varied the audience for this topic actually is — some readers are hearing about the format for the first time, others are actively troubleshooting a broken post, and a single page that serves both needs is more useful than several narrow ones.
How to Create This with CarouseLabs
For any question below that involves building or fixing an image, here is the exact process using the free CarouseLabs Tap & Hold Image Maker.
- 1
Open the Tap & Hold Image Maker
Go to /tools/tap-hold-maker. It is free, requires no account, and runs entirely in your browser.
30 sec - 2
Upload your image
Drag and drop a JPG, PNG, or WebP file, or select one from your device. It is processed locally in your browser and never uploaded during editing.
15 sec - 3
Paint the areas that should stay visible
Use the adjustable brush to mark the portion that stays visible in the X timeline. Everything left unpainted becomes the hidden, revealed portion.
1-2 min - 4
Check Timeline View and Tap & Hold View
Both live preview panels update instantly as you paint, showing what followers see while scrolling and what appears on tap and hold.
30 sec - 5
Download using Download for X
Export the optimized PNG-8 file built for X's timeline compression, or choose the WebP option for sharing elsewhere.
10 sec - 6
Post from a desktop browser
Upload the file to X using desktop web rather than the mobile app, so the reveal works correctly for followers who tap and hold on mobile.
20 sec
Try it as you read
Open the maker in another tab and follow along with the steps above.
Tips for Better Results
Bookmark this page for quick reference
Since it covers the full range of common questions, this page is often faster to check than searching for a single specific answer.
Start with the 'what it means' questions if you are new
Understanding the basic mechanic first makes the how-to and troubleshooting questions much easier to follow.
Jump straight to troubleshooting if something is broken
If your image is not revealing correctly, the export format and posting method questions below cover the two most common causes.
Use the CarouseLabs preview panels to answer your own questions
Many uncertainties — like how subtle a reveal should be — are easiest to resolve by just checking Timeline View and Tap & Hold View directly.
Re-check this page after any change in your process
If you change devices, browsers, or posting habits, revisit the relevant questions here to confirm your process still matches best practice.
Examples
Getting started question
'How do I make my first tap and hold image?' — answered by walking through the six-step tutorial above.
Troubleshooting question
'Why is my tap and hold image not revealing?' — usually resolved by re-exporting with Download for X and posting from desktop web.
Format question
'Should I use PNG or WebP?' — PNG-8 for X specifically, WebP for sharing elsewhere.
Common Mistakes
Assuming a single question covers your whole issue
Fix: Tap and hold problems are often caused by more than one factor at once — check the export format and posting method questions together, not just one.
Skipping the basic definition questions
Fix: Understanding how the compression gap works makes every other answer on this page easier to apply correctly to your own image.
Not testing your own answer before assuming it is fixed
Fix: After applying a fix based on an FAQ answer, tap and hold your own post to confirm it actually resolved the issue.
Looking for answers involving other software
Fix: Every question on this page is answered using only the free CarouseLabs Tap & Hold Image Maker — no other tool is needed at any step.
Frequently Asked Questions
Whether you are just learning what a tap and hold image is, building your first one, or troubleshooting a post that stopped working, the answer almost always comes back to the same free tool and the same handful of habits: paint a small visible area, export with Download for X, and post from a desktop browser.
If your specific question was not covered here, the how-to and troubleshooting guides linked below go deeper on each part of the process.
Make your tap and hold image faq right now
Everything above happens inside one free browser tool — no signup, no design software.
Create your Tap & Hold image nowFree forever · Works entirely in your browser