How Does a Tap and Hold Image Work?
The tap and hold effect isn't magic — it's a predictable result of how X renders the same image file at two different quality levels. Here's the mechanism, explained plainly.
Free · No login required
Skip ahead and start now, or read the full guide below.
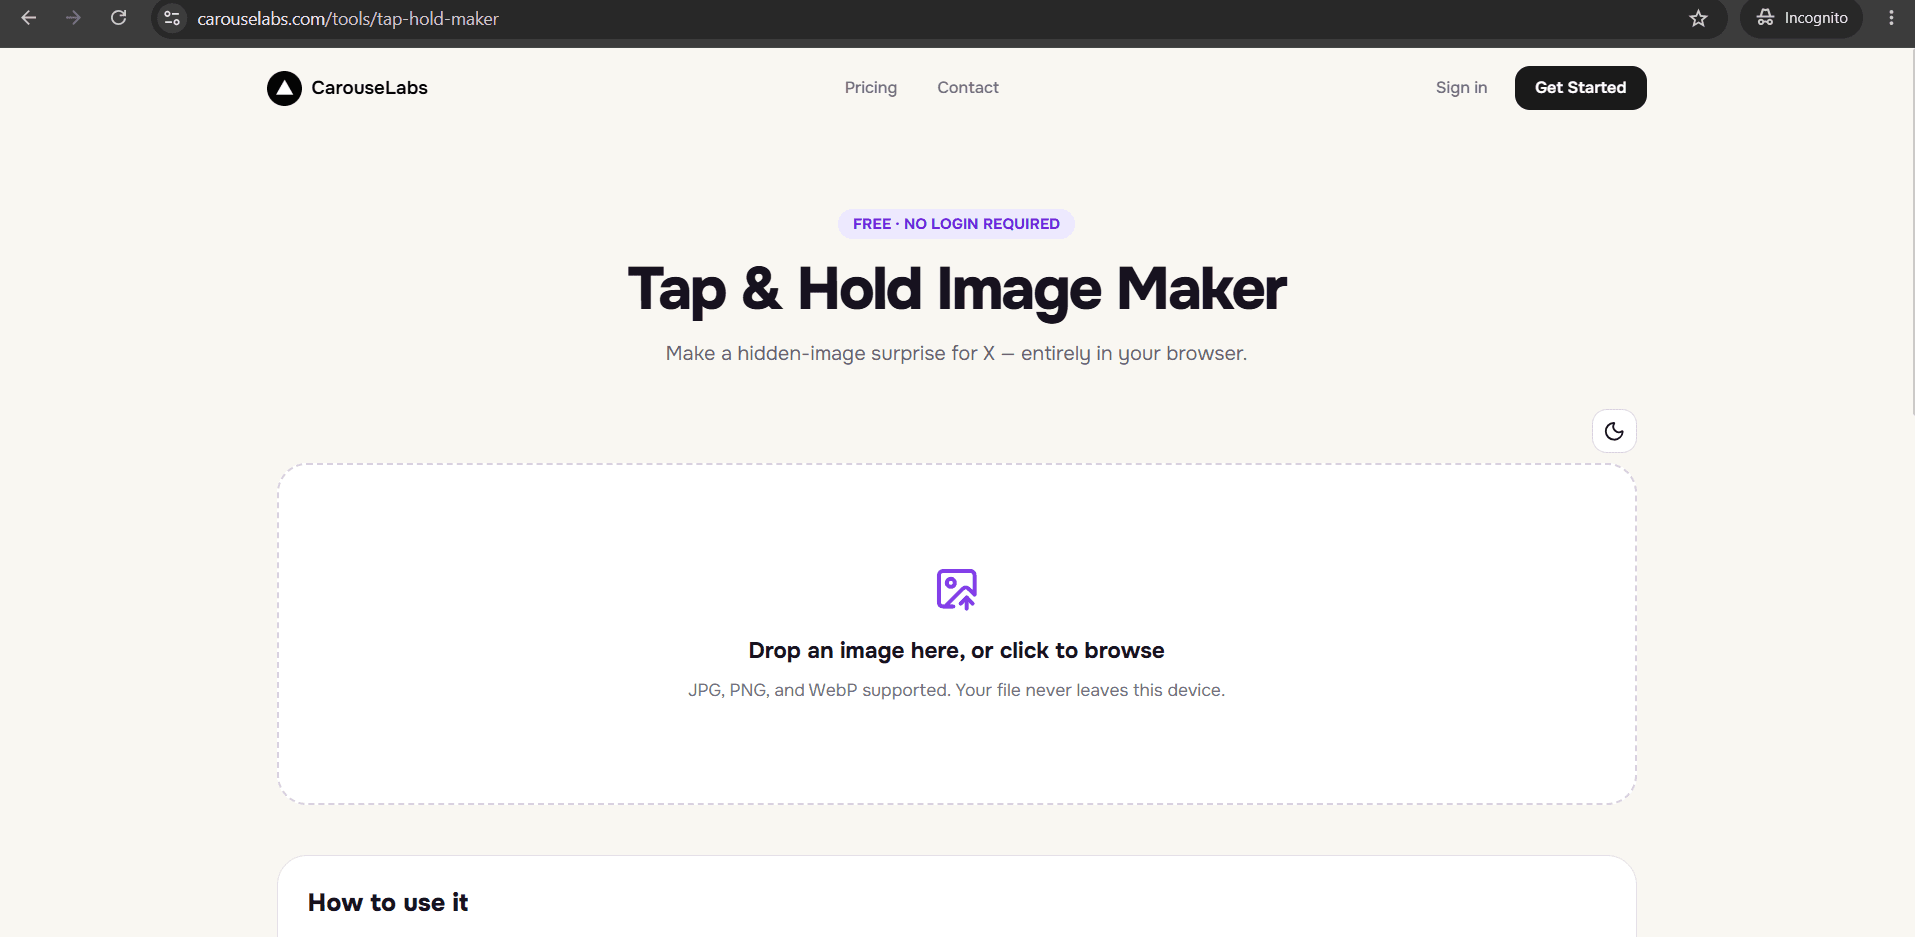
If you already know what a tap and hold image is and you're past the novelty of it, the natural next question is mechanical: how does pressing your thumb on a picture actually change what you see? The honest answer is that it doesn't change the image at all — it changes which rendering pipeline X uses to display it for a moment, and that pipeline swap is what does all the work.
This page walks through the actual mechanism step by step — what happens to an image file when it enters the timeline, what happens differently when you tap and hold it, and how a creator can deliberately design around that gap using the free CarouseLabs Tap & Hold Image Maker.
What “How Does Tap and Hold Image Work” Means
X, like most large-scale social platforms, doesn't serve every image at full resolution and full quality while you scroll — doing so would be far too slow and data-heavy. Instead, the timeline uses an aggressive compression and downscaling pass tuned for speed: it reduces color depth and sharpness, especially in low-contrast or visually complex regions, to keep the feed loading fast. When you tap and hold an image on mobile, X briefly switches to a closer, higher-fidelity render meant for inspecting the image before you commit to opening it fully — and that render uses much less aggressive compression.
A tap and hold image is built by understanding exactly which parts of a picture degrade the most under the timeline's compression pass, and deliberately putting the content you want hidden into those regions. The parts you want visible immediately go into high-contrast, structurally simple areas that survive compression well. The brush tool in the CarouseLabs Tap & Hold Image Maker is effectively a way to mark, region by region, 'let this survive the timeline pass' versus 'let this depend on the tap-and-hold pass' — you paint the survivors, and the tool and the platform's own rendering behavior handle the rest.
Why People Use This Effect
Understanding the mechanism is part of why the format spreads once someone learns it — it feels less like a trick and more like a discoverable rule of the platform, which makes people want to test it, replicate it, and share what they built. That curiosity is different from passively enjoying content; it's active engagement with how the platform itself behaves.
It also means the effect is consistent and repeatable rather than accidental, so once someone gets it to work once, they can reliably build it again — which is exactly why a dedicated maker tool, rather than trial and error in a generic editor, is the practical way to use the mechanism on purpose.
How to Create This with CarouseLabs
Here's how to put the mechanism to work and build your own tap and hold image using the free CarouseLabs Tap & Hold Image Maker.
- 1
Open the CarouseLabs Tap & Hold Image Maker
Go to /tools/tap-hold-maker in your browser. It's free, requires no account, and runs the whole process client-side.
30 sec - 2
Upload the source image
Add a JPG, PNG, or WebP by drag-and-drop or file picker. Nothing is uploaded to a server during editing — the file stays in your browser.
15 sec - 3
Mark which regions should survive timeline compression
Use the adjustable brush to paint the areas you want visible under compression. Unpainted areas are left dependent on the tap-and-hold render to become visible. Undo and Clear are available for corrections.
1-2 min - 4
Watch both rendering paths in the live previews
Timeline View simulates the compressed render; Tap & Hold View simulates the higher-fidelity press-and-hold render on a black background. Comparing them confirms the mechanism is working as intended before export.
30 sec - 5
Export the file in the compression-tuned format
Use 'Download for X' to get an indexed PNG-8 built to interact predictably with X's timeline compression, or export WebP for use outside of X.
10 sec - 6
Post from a desktop browser
Upload the downloaded file to X from desktop rather than the mobile app — the app applies its own compression pass on upload that can interfere with the mechanism. Viewers on mobile can then tap and hold to trigger the higher-fidelity render.
20 sec
Try it as you read
Open the maker in another tab and follow along with the steps above.
Tips for Better Results
Think in two rendering passes, not one image
Every decision you make with the brush is about which of X's two rendering passes a given region depends on — keep that framing in mind rather than thinking of it as simple editing.
High-contrast edges survive compression better than smooth gradients
If you want something reliably visible in the timeline, sharp contrast tends to hold up better than subtle shading.
Use Tap & Hold View to confirm the second pass, not just the first
It's easy to get the compressed view right and forget to verify the full reveal actually shows everything you intended.
Test on an actual X post before assuming failure
Preview panels are close approximations; the real confirmation is how the file behaves once actually posted and viewed on mobile.
Keep source images reasonably high resolution
A low-resolution source gives the compression pass less detail to work with, which can make the gap between the two renders smaller than intended.
Examples
High-contrast subject, low-contrast background
A sharply lit subject survives the timeline compression pass while a dim, low-contrast background depends on the tap-and-hold render.
Flat color block hiding a photo
A simple flat-colored region stays visible in the timeline pass while a detailed photo underneath needs the higher-fidelity render to appear.
Text overlay as the survivor region
Bold text is placed in the high-contrast, compression-resistant area; the image behind it is the region that depends on tap and hold.
Common Mistakes
Treating the effect as random rather than mechanical
Fix: It's a predictable outcome of X's two rendering paths, not luck. Understanding which regions survive compression lets you control the result deliberately.
Uploading through the X mobile app
Fix: Mobile upload applies an additional compression pass that can interfere with the timeline-versus-tap-and-hold gap the effect depends on. Post from a desktop browser instead.
Ignoring source image resolution
Fix: A low-resolution image limits how different the two rendering passes can look. Start with a reasonably high-resolution file.
Only checking one of the two preview panels
Fix: Confirming just the Timeline View or just the Tap & Hold View misses half the mechanism. Check both in the CarouseLabs Tap & Hold Image Maker before exporting.
Frequently Asked Questions
A tap and hold image works because X renders the same file two different ways — a fast, compressed pass for the timeline, and a closer, higher-fidelity pass for a tap-and-hold press — and the effect is built by deliberately choosing what depends on each pass.
The easiest way to see the mechanism in action is to build one yourself. Open the free CarouseLabs Tap & Hold Image Maker and compare the Timeline View and Tap & Hold View as you paint.
Make your how does tap and hold image work right now
Everything above happens inside one free browser tool — no signup, no design software.
Create your Tap & Hold image nowFree forever · Works entirely in your browser