PNG vs WebP for Tap and Hold Images
The real difference between PNG-8 and WebP for tap and hold images, and when to export each one from CarouseLabs.
Free · No login required
Skip ahead and start now, or read the full guide below.
The file format you export as is not a minor detail for a tap and hold image — it is one of the two or three things most likely to determine whether the effect survives being posted at all. PNG and WebP compress images in fundamentally different ways, and X's timeline treats them differently as a result.
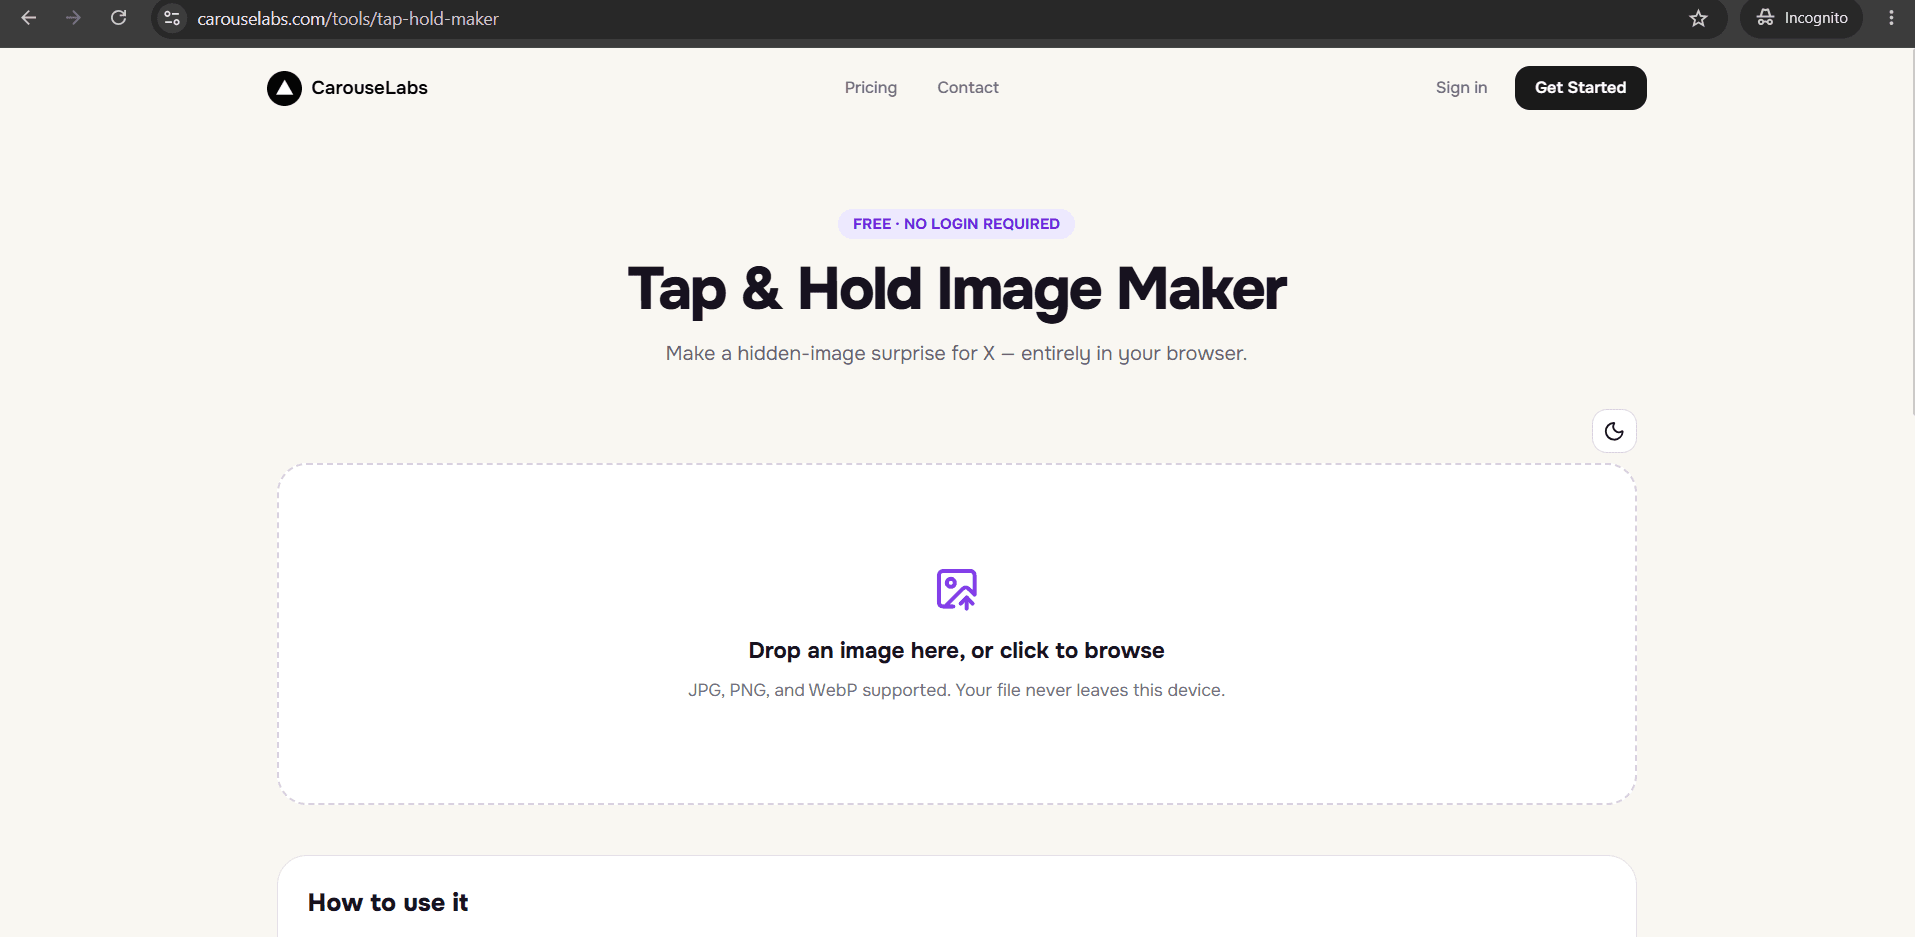
This page explains the actual technical tradeoff between the two, not just a rule to memorize, so you can make the right call depending on where the image is headed. The CarouseLabs Tap & Hold Image Maker offers both exports for exactly this reason.
What “PNG vs WebP for Tap and Hold Images” Means
PNG-8 is an indexed image format — it stores a limited palette of colors (up to 256) and maps every pixel to one of them, rather than storing full continuous color data. This makes files smaller for flat, low-color graphics and, importantly, means the compression behaves predictably and consistently when X reprocesses it for its timeline versus its tap-and-hold render, which is exactly the consistency a tap and hold image depends on.
WebP is a modern format that uses more sophisticated compression to preserve full color detail at a smaller file size than a standard PNG or JPG. It is an excellent general-purpose format, but its compression behavior is tuned differently than what X's timeline pipeline expects — which means the sharp, predictable gap between timeline view and tap-and-hold view that PNG-8 produces can be smoothed away when WebP is compressed further by X.
Why People Use This Effect
This comparison comes up constantly because the two formats seem interchangeable at a glance — both are common, both are supported everywhere, and both look identical in a normal image viewer. The difference only becomes visible once the file goes through X's specific compression pipeline, which is not something most people think to check.
It matters more for tap and hold images than for ordinary photos because the entire effect depends on a very specific, engineered mismatch between two compression states. A format choice that is perfectly fine for a normal post can quietly erase that mismatch.
How to Create This with CarouseLabs
Here is how to choose and export the right format for your situation using the free CarouseLabs Tap & Hold Image Maker.
- 1
Open the Tap & Hold Image Maker
Go to /tools/tap-hold-maker — it is free and works directly in your browser, with both export formats available after editing.
30 sec - 2
Upload your image and build the reveal
Upload your JPG, PNG, or WebP source file and use the brush to paint the visible area. This step is identical regardless of which export format you plan to use.
15 sec - 3
Preview both render states before deciding on format
Check Timeline View and Tap & Hold View to confirm the reveal itself looks correct before worrying about export format — format only matters once the underlying image is right.
1-2 min - 4
Choose Download for X if the post is going to X
This exports the indexed PNG-8 file, which is specifically tuned for X's timeline compression and is the safest default for any image you plan to post there.
30 sec - 5
Choose the WebP option only for non-X platforms
Use WebP when sharing the same image somewhere other than X's timeline — it preserves more visual detail but is not tuned for X's specific compression behavior.
10 sec - 6
Post the correctly exported file from a desktop browser
For X specifically, upload the PNG-8 file from desktop web rather than the mobile app, since the app applies its own additional compression regardless of the format you exported.
20 sec
Try it as you read
Open the maker in another tab and follow along with the steps above.
Tips for Better Results
Default to PNG-8 for anything going on X
Unless you have a specific reason to use WebP, the Download for X option is built for this exact platform and is the safer choice.
Use WebP for sharing outside X
If the same tap and hold image is going into a group chat, another platform, or a website, WebP gives you better visual quality at a smaller file size.
Do not assume WebP is simply the 'better' format
WebP is more efficient in general, but efficiency is not the same as compatibility with X's specific timeline compression — for this use case, PNG-8 wins.
Re-export if you switch platforms
If you built an image for X and now want to post it elsewhere, re-export as WebP rather than reusing the PNG-8 file — you will get better quality for that context.
Combine the correct format with the correct posting method
Format alone will not fix a broken reveal — pair the PNG-8 export with posting from desktop web for the most reliable result on X.
Examples
Posting straight to X
Use Download for X to get the PNG-8 export — this is the correct default for essentially every X post using this format.
Sharing in a group chat or on another platform
Use the WebP export for better visual fidelity where X's specific compression pipeline is not involved.
Archiving a high-quality copy for yourself
Keep your original uploaded source file (JPG or PNG) separately, rather than relying on either compressed export as your master copy.
Common Mistakes
Using the WebP export for an X post
Fix: Switch to Download for X to get the PNG-8 file. WebP is a fine general-purpose format but is not the one tuned for X's compression pipeline.
Assuming file format does not matter as long as the image looks right in the editor
Fix: Format specifically affects how the file survives X's own recompression after upload, which you cannot see until after posting — always match format to platform.
Using PNG-8 for high-detail images shared outside X
Fix: PNG-8's limited color palette can introduce visible banding in photos with lots of gradients or color detail. Use WebP for non-X sharing where full color range matters.
Re-uploading an already-exported file instead of the original source
Fix: Always build from your original image in the CarouseLabs Tap & Hold Image Maker rather than re-exporting a file that has already been compressed once.
Frequently Asked Questions
For tap and hold images posted to X, PNG-8 is the format built for the job — it compresses in a way that holds up to X's specific timeline pipeline. WebP is a strong choice, just not for this particular platform and use case.
Use Download for X whenever your image is headed to X, and reach for the WebP export only when sharing the same image somewhere else.
Make your png vs webp for tap and hold images right now
Everything above happens inside one free browser tool — no signup, no design software.
Create your Tap & Hold image nowFree forever · Works entirely in your browser