How to Make the Tap and Hold Effect
Learn the tap and hold effect once, and you can apply it to any image going forward — here is how to master the technique using the free CarouseLabs Tap & Hold Image Maker.
Free · No login required
Skip ahead and start now, or read the full guide below.
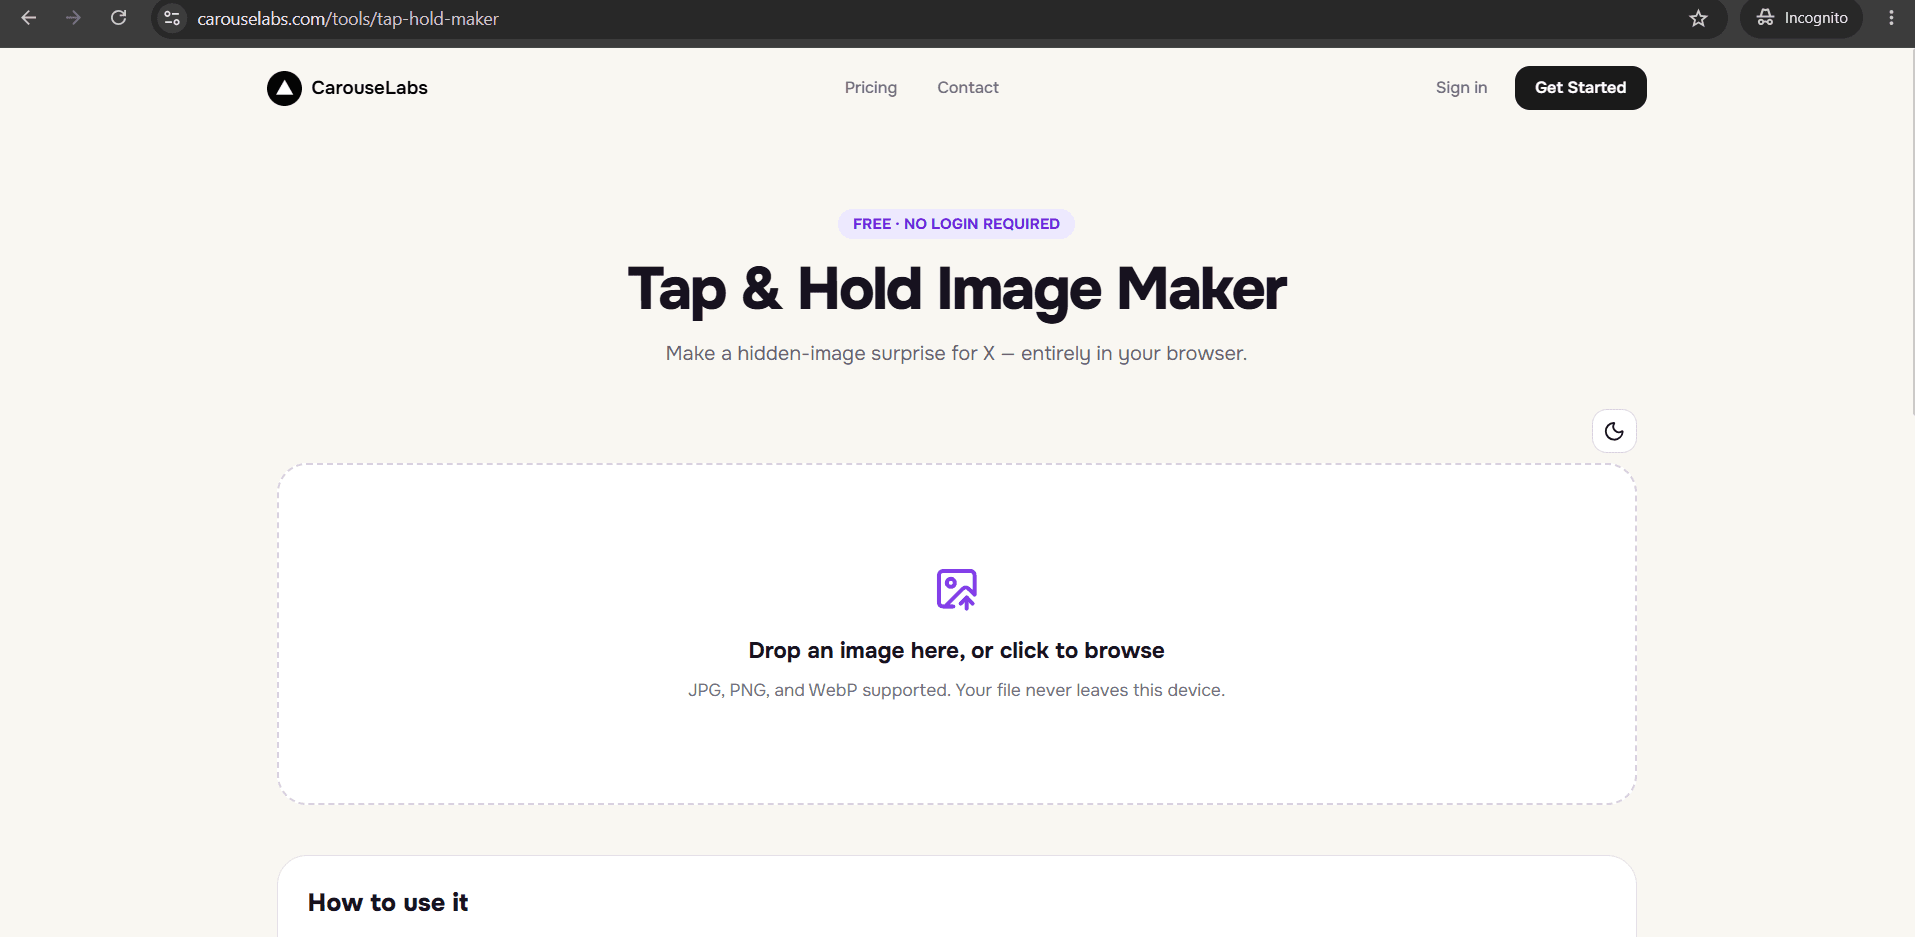
Most guides to this format focus on making one image. This one focuses on the effect itself — the underlying technique — so you can apply it consistently across as many posts as you want, rather than relearning it each time. Once you understand how the visible-versus-hidden split actually works, building the next one takes a fraction of the time the first one did.
The effect itself is simple once you have made a couple: paint what should stay visible, leave the rest hidden, and export a file built for X's compression. The free CarouseLabs Tap & Hold Image Maker is the tool built specifically for that workflow, and this guide covers how to turn it into a repeatable part of your posting routine.
What “How to Make Tap and Hold Effect” Means
The tap and hold effect is a rendering behavior, not a single image — it describes what happens when an image file is built so that X's compressed timeline render and its full-quality tap-and-hold render show different things. Any image can have this effect applied to it, as long as it is painted with that split in mind.
Applying the effect means using the CarouseLabs brush tool to mark which regions should survive compression and stay visible, versus which regions should only appear in the higher-quality render. It is the same underlying process every time, regardless of what the source image is or what you choose to hide.
Why People Use This Effect
Once creators realize the tap and hold effect is a repeatable technique rather than a one-off trick, it tends to become a recurring part of their posting style — a format followers start to recognize and specifically look forward to, similar to a running bit or a signature post type.
It also scales well as a technique because the variation comes from what you hide, not from the process itself. A meme account, a brand, and an artist can all use the exact same effect and produce completely different content, which is part of why it has stayed in circulation rather than being tied to one specific niche.
How to Create This with CarouseLabs
Here is the effect broken down into a repeatable process, using only the free CarouseLabs Tap & Hold Image Maker, so you can apply it to any image going forward.
- 1
Open the Tap & Hold Image Maker
Go to /tools/tap-hold-maker each time you want to apply the effect. It is free, requires no account, and works the same way every time.
30 sec - 2
Upload the image you want the effect applied to
Drag in a JPG, PNG, or WebP file. Each image needs its own upload and edit pass — the tool works on one image at a time, processed locally in your browser.
15 sec - 3
Apply your visible-versus-hidden split with the brush
Paint the areas that should stay visible under compression. The more you practice this step, the faster you will get at judging how much to leave visible for a consistent effect.
1-2 min - 4
Preview the effect in both views
Check Timeline View and Tap & Hold View every time, even once the process feels familiar, since every source image reacts slightly differently to the same brush approach.
30 sec - 5
Export the file
Use Download for X to get the PNG-8 built for X's compression each time you finish applying the effect to a new image.
10 sec - 6
Post it from desktop web
Upload from a desktop browser rather than the mobile app for every post using the effect, so the technique remains reliable across your entire series.
20 sec
Try it as you read
Open the maker in another tab and follow along with the steps above.
Tips for Better Results
Develop a consistent visible-area style
Using a similar proportion or placement for the visible area across posts — for example, always a small corner crop — helps followers instantly recognize your version of the effect.
Remember each image is processed individually
The tool does not batch-process multiple images at once, so budget a minute or two per image if you are applying the effect to several posts in one sitting.
Keep a mental checklist for every export
Upload, paint, check both previews, download the PNG-8, post from desktop — running through the same order every time reduces mistakes as the process becomes routine.
Vary the content, not the technique
The effect stays consistent, but what you choose to reveal should change post to post. Repeating the exact same reveal idea, not just the technique, is what causes fatigue.
Revisit older posts using the effect to spot patterns
Look back at which versions got the most engagement and note what the visible area looked like in each — this helps refine your default approach over time.
Keep source images on hand that suit the effect
High-contrast images with a clear subject apply more cleanly than busy or low-contrast ones, so it helps to keep an eye out for good candidates in advance.
Examples
Recurring meme format
The same visible-versus-hidden style applied consistently to a running meme series, building follower recognition over time.
Weekly reveal series
A brand or creator applies the effect once a week to a new image, building a habit followers check for.
Signature portrait style
An artist consistently applies the same small-crop-visible, full-reveal-hidden approach across a body of work.
Themed reveal set
A set of related images, each with the effect applied individually but tied together by a consistent visible-area style.
Common Mistakes
Assuming the tool can batch-process multiple images at once
Fix: It processes one image at a time — upload, paint, and export each one individually rather than expecting a bulk option.
Using the effect on every single post
Fix: Save it for content where the hidden payoff genuinely adds something. Applying it indiscriminately makes the technique feel routine rather than special.
Letting the visible-area size drift inconsistently across posts
Fix: Keep a rough, consistent proportion for the visible portion across your posts so the effect reads as a deliberate style rather than random each time.
Trying to apply the effect to video or GIFs
Fix: The CarouseLabs Tap & Hold Image Maker works with static JPG, PNG, and WebP images only. Choose a still frame if you want to apply the effect to video content.
Posting through the X mobile app
Fix: Always publish the exported file from a desktop browser, for every post, since the mobile app's compression pass can undo the effect on any individual image.
Frequently Asked Questions
The tap and hold effect is a technique, not a one-time trick — once you understand the visible-versus-hidden split, applying it to a new image is quick and repeatable using the free CarouseLabs Tap & Hold Image Maker. Each image still needs its own upload and edit pass, but the process itself becomes routine fast.
Open the free Tap & Hold Image Maker and start building the effect into your regular posting habits — the more you use it, the faster and more consistent it becomes.
Make your how to make tap and hold effect right now
Everything above happens inside one free browser tool — no signup, no design software.
Create your Tap & Hold image nowFree forever · Works entirely in your browser