Tap and Hold Guide
Everything you need to understand about tap and hold images — how they work, how to build one, and how to make them work reliably — using only the free CarouseLabs Tap & Hold Image Maker.
Free · No login required
Skip ahead and start now, or read the full guide below.
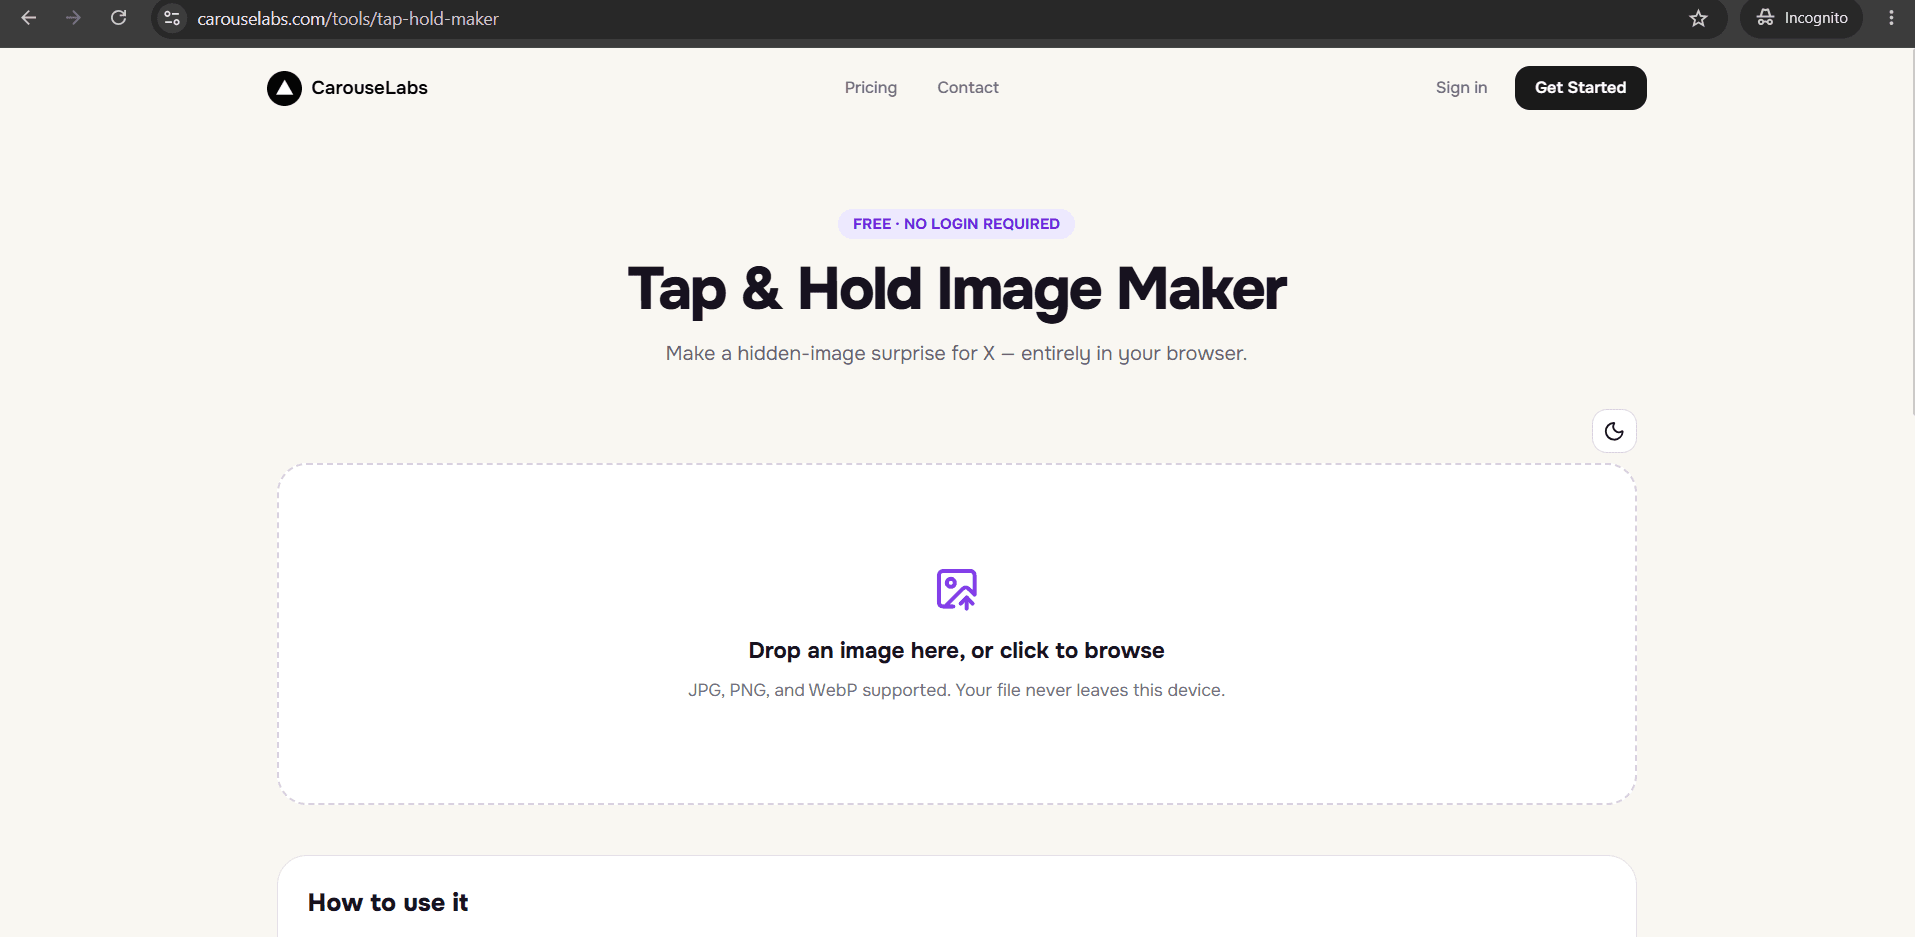
Think of this as the reference page rather than a strict recipe. Where a tutorial hands you numbered steps to copy, a guide is meant to give you the full picture — why the tap and hold effect exists, what is actually happening when it works, and how to make deliberate decisions each time you build one instead of following the same steps by rote.
You will still walk away knowing exactly how to make one, because the guide covers the practical workflow too. But the goal here is understanding, not just replication — so that once you have made a few of these, you can start making your own creative choices instead of copying someone else's format.
What “Tap and Hold Guide” Means
A tap and hold image relies on one core fact: X renders images differently in the scrolling timeline than it does during a tap-and-hold preview. The timeline compresses aggressively for speed and bandwidth. The tap-and-hold preview briefly renders the full file. A tap and hold image is built by exploiting that gap on purpose — painting certain regions so they read clearly under compression and others so they only appear once compression is bypassed.
The brush tool in the CarouseLabs Tap & Hold Image Maker is the mechanism for controlling that gap. Paint a region and it stays part of the visible, compressed timeline experience. Leave a region unpainted and it only shows up in the full-resolution tap-and-hold view. Every tap and hold image, regardless of subject or style, is built from that one binary choice repeated across the canvas.
Why People Use This Effect
The format's popularity comes down to incentive alignment: viewers get a small reward (something to discover) for a small cost (a press-and-hold gesture), and creators get more time-on-post and more interaction than a static image would earn. Both sides benefit, which is a rarer thing in social content than it sounds.
It also scales down to zero production budget. You do not need video, animation, or multiple assets — one photo and a few minutes with the CarouseLabs brush tool is enough to produce something that reads as genuinely interactive, which is a big part of why the format spread across accounts of every size rather than staying a big-budget trend.
How to Create This with CarouseLabs
Here is the practical workflow this guide has been building toward — the exact process for turning any image into a working tap and hold post using CarouseLabs.
- 1
Start at the Tap & Hold Image Maker
Navigate to /tools/tap-hold-maker. The tool is free and browser-based, with no account required, so there is no setup step to complete before you begin working.
30 sec - 2
Bring in your source image
Upload a JPG, PNG, or WebP by drag-and-drop or file picker. The file is processed locally in your browser throughout editing, which means your image is not sent anywhere until you choose to download and share it.
15 sec - 3
Decide your visible-to-hidden ratio, then paint it
Before painting, decide roughly how much of the image should stay visible versus stay hidden — this decision shapes the whole result. Then use the brush, with the size slider and Undo/Clear as needed, to paint accordingly.
1-2 min - 4
Validate the decision against both previews
Timeline View and Tap & Hold View update live as you paint. Use them to check whether your visible-to-hidden ratio actually reads the way you intended, and adjust brush strokes until it does.
30 sec - 5
Export the correct file for your platform
Choose Download for X to get an optimized PNG-8 tuned for X's compression, or download the WebP version if the image is headed somewhere other than X.
10 sec - 6
Publish deliberately
Post the downloaded file from X in a desktop browser rather than the mobile app, since the app's compression pass can undo the careful work you just did. Mobile followers can then tap and hold to reveal the hidden portion.
20 sec
Try it as you read
Open the maker in another tab and follow along with the steps above.
Tips for Better Results
Treat the visible area as a decision, not a default
Before you start painting, decide what percentage of the image should stay visible and why. Random brushing produces a weaker result than a deliberate ratio.
Match your brush size to your subject
A large brush works fine for simple scenes; detailed subjects like faces or text benefit from a smaller brush and slower, more careful strokes.
Use Undo liberally while you are still deciding
The CarouseLabs brush tool keeps up to 10 undo steps, so treat early strokes as drafts you can walk back rather than commitments.
Save your source image separately
Keep the original file so you can re-upload and try a different visible-area approach later without starting your search for the image over again.
Read both previews as two different audiences
Timeline View is what most people will ever see. Tap & Hold View is the reward for the people who engage. Design for both, not just one.
Export a fresh file every time you change the brush work
Downloads do not update retroactively — any edit made after a download requires exporting again before you post.
Examples
Minimal visible area
Paint only a sliver visible — a corner, an edge, a hint — for maximum contrast on reveal.
Balanced 30/70 split
Keep roughly a third of the image visible for context and hide the rest for a moderate, easy-to-parse reveal.
Layout-based reveal
Use the visible portion as a frame or border and hide the full scene in the center of the image.
Sequential guide reveal
Build a small series of tap and hold images that each reveal one step, encouraging followers to seek out the next post.
Data or stat reveal
Show a vague visible teaser and hide a chart, number, or detail underneath for informational posts.
Common Mistakes
Painting without a plan
Fix: Decide what the reveal should communicate before you start brushing. Undirected strokes usually need to be redone once you see the previews.
Ignoring the difference between the two exports
Fix: PNG-8 (Download for X) and WebP serve different purposes. Use PNG-8 for X specifically and WebP for other platforms.
Posting from the X app
Fix: Publish from a desktop browser. The X mobile app's compression is the most common reason a correctly built tap and hold image fails after posting.
Never revisiting the visible-area ratio
Fix: If early attempts feel flat, experiment with a smaller or larger visible portion rather than assuming the format itself is not working for your image.
Treating the guide as a one-time read
Fix: Come back to this page as a reference the first several times you build one — the ratio and brush decisions get easier with repetition, not by memorizing steps once.
Frequently Asked Questions
A tap and hold image is really just one deliberate decision — how much to reveal and how much to hide — expressed through brush strokes and validated with two live previews. Once that decision-making becomes familiar, the mechanical steps take only a couple of minutes per image.
Use this guide as a reference each time you sit down to make one, and let the CarouseLabs Tap & Hold Image Maker handle the technical side while you focus on the creative choice.
Make your tap and hold guide right now
Everything above happens inside one free browser tool — no signup, no design software.
Create your Tap & Hold image nowFree forever · Works entirely in your browser