The Complete Tap and Hold Tutorial
Everything in one place: how tap and hold images work, the complete step-by-step process, technique, common mistakes, and troubleshooting — using only the free CarouseLabs Tap & Hold Image Maker.
Free · No login required
Skip ahead and start now, or read the full guide below.
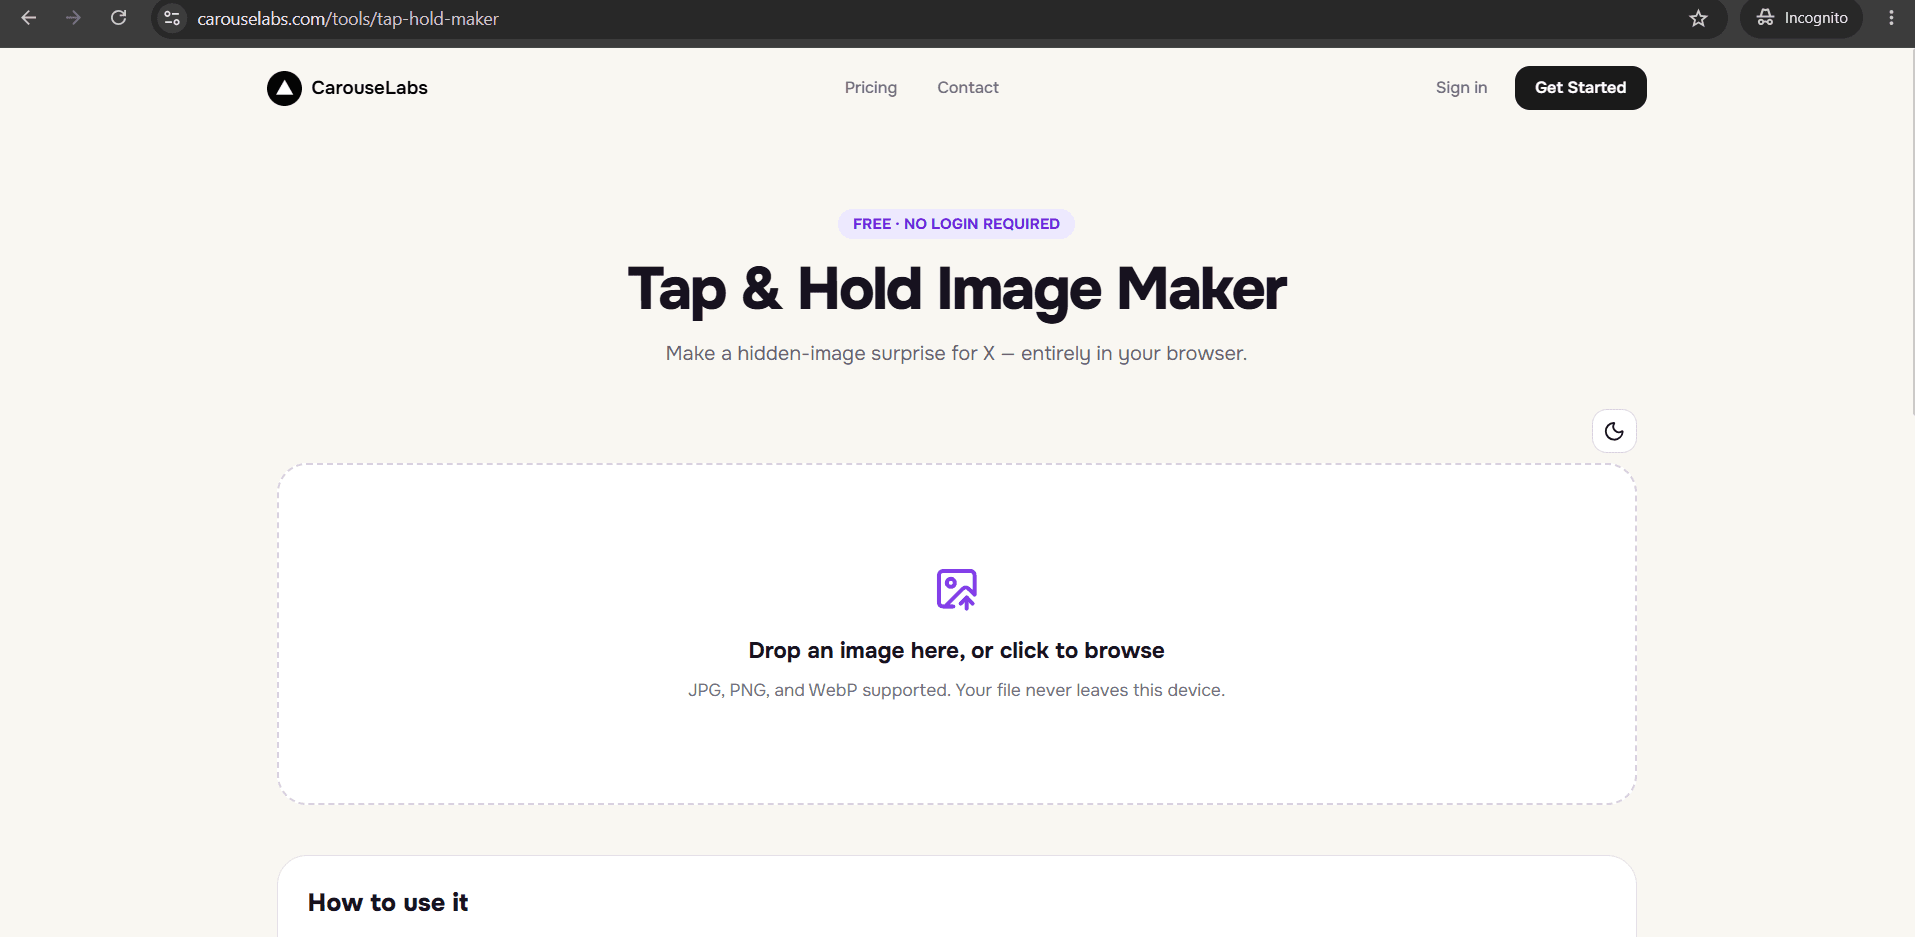
This is the long version — the tutorial to bookmark if you only want to read one page on tap and hold images and have it cover everything. It combines the mechanics of how the format works, a full step-by-step build, technique for getting a cleaner result, the mistakes that most often break it, and answers to the questions that come up most.
As with every tutorial on this site, the entire process happens inside one tool: the free CarouseLabs Tap & Hold Image Maker at /tools/tap-hold-maker. No account, no other software, and no hidden steps outside of what is described here.
What “Complete Tap and Hold Tutorial” Means
A tap and hold image is a single image file that intentionally displays differently depending on how X renders it. In the scrolling timeline, X compresses images for speed, and a tap and hold image is built so that compression leaves most of it hard to make out. When a viewer presses and holds the image, X briefly renders the full, uncompressed version — revealing whatever was designed to stay hidden.
This is achieved by painting the image with a brush tool: regions you paint stay part of the clearly visible timeline experience, and regions you leave unpainted become the part that only appears on tap and hold. That single mechanic — paint visible, leave the rest hidden — is the entire technical foundation of every tap and hold image, from the simplest to the most elaborate.
Why People Use This Effect
The format spread because it changes what an image asks of a viewer. A normal photo is consumed passively in under a second. A tap and hold image asks for a small physical action — pressing and holding — in exchange for a reveal, and that small exchange creates far more engagement time and interaction than a static post of the same subject would.
It has also stayed popular rather than fading because it is genuinely reusable. Unlike a meme format tied to one joke, the underlying mechanic (hide part, reveal on hold) can be applied to art, humor, marketing, personal photos, and announcements alike, which keeps it circulating across very different types of accounts.
How to Create This with CarouseLabs
Below is the complete build process, from opening the tool to publishing a working post, with the reasoning behind each step included so nothing is a black box.
- 1
Open the CarouseLabs Tap & Hold Image Maker
Navigate to /tools/tap-hold-maker. It is completely free, requires no account or login, and works in any modern desktop or mobile browser. There is no setup step — the tool is ready the moment the page loads.
30 sec - 2
Upload your source image
Drag a JPG, PNG, or WebP onto the upload area, or click to browse your files. The image is processed entirely on your device during editing — it is not sent to a server until, and unless, you choose to download the finished result.
15 sec - 3
Paint the visible area with the brush tool
Adjust the brush size using the slider, then paint over exactly the parts of the image that should stay visible in X's compressed timeline. Everything left unpainted becomes the hidden portion revealed only on tap and hold. Undo steps back through your last strokes (up to 10 steps), and Clear resets the canvas completely if you want to start over.
1-2 min - 4
Check Timeline View and Tap & Hold View
Two live preview panels update as you paint. Timeline View approximates what a follower scrolling their feed will see; Tap & Hold View shows the entire image on a black background, exactly as it appears during the press-and-hold reveal. Compare both, and keep adjusting brush strokes until the balance between them matches what you intended.
30 sec - 5
Download the correct file for where you're posting
Click Download for X to export an optimized indexed PNG-8 file — the format specifically tuned to survive X's timeline compression without losing the hidden effect. If you are sharing the image somewhere other than X, use the WebP download instead.
10 sec - 6
Post it on X the right way
Open X in a desktop browser — not the mobile app — and upload the downloaded file to a new post. This step matters because the X mobile app applies its own additional compression on upload, which can undo the careful separation between visible and hidden areas you just built. Once live, followers viewing the post on mobile can tap and hold it to reveal the hidden portion.
20 sec
Try it as you read
Open the maker in another tab and follow along with the steps above.
Tips for Better Results
Always post from a desktop browser
This single habit prevents the most common cause of a tap and hold image failing after it is posted, since the X mobile app recompresses uploads differently than desktop web.
Keep the visible area under roughly a third of the image
The smaller the visible portion, the more dramatic the contrast when the full image appears on tap and hold. Large visible areas dilute the effect.
Check both preview panels after every meaningful brush change
It is easy for a stroke that looks right in one preview to accidentally reveal or hide too much in the other. Make checking both a habit, not an afterthought.
Use source images with a clear subject and good contrast
Busy, low-contrast photos make it harder for viewers to tell what changed between the hidden and revealed states. A clear subject against a simpler background reads more clearly.
Re-download after any edit
Downloads are a snapshot of your work at that moment. If you adjust the brush afterward, export again before posting — the earlier file will not reflect the change.
Vary brush size for different parts of the image
A larger brush is fine for broad areas, but switching to a smaller brush around detailed subjects like faces, hands, or text produces a cleaner, more intentional-looking result.
Examples
Portrait reveal
Keep only a small crop of a face visible while hiding the rest, so the full portrait appears on tap and hold.
Before-and-after reveal
Show a plain 'before' state visible and hide a dramatically different 'after' state beneath it.
Punchline reveal
Use the visible area as a setup image or caption and hide the punchline image underneath.
Layered detail reveal
For more complex images, hide two or three separate small regions rather than one large block, rewarding a closer look.
Product or launch teaser
Show a silhouette or edge of a product visible while hiding the full reveal shot for an announcement post.
Common Mistakes
Posting through the X mobile app instead of desktop
Fix: Always publish the downloaded file from X in a desktop web browser. This is the single most common reason a correctly built tap and hold image stops working after posting.
Choosing WebP instead of PNG-8 for an X post
Fix: Use Download for X specifically when your destination is X — it is the PNG-8 format CarouseLabs tunes for that platform's compression. Save WebP for other platforms.
Painting too much of the image as visible
Fix: If Timeline View shows more than roughly a third of the image clearly, the reveal loses impact. Use a smaller brush and check Timeline View frequently while working.
Skipping the Tap & Hold View check before exporting
Fix: This is the only preview that shows the actual reveal a viewer will experience. Always look at it at least once before downloading.
Assuming one attempt will be perfect
Fix: It is normal to adjust brush strokes two or three times before a tap and hold image feels right. Use Undo freely and treat early attempts as drafts.
Frequently Asked Questions
This tutorial covers the complete process end to end: what a tap and hold image is, why the format resonates with viewers, the full six-step build process, the technique that produces a cleaner result, the mistakes that most often break it, and the questions that come up most often. Everything described here is achievable with a single free tool.
Open the CarouseLabs Tap & Hold Image Maker, pick an image, and work through the six steps above from start to finish — by the end you will have a complete, working tap and hold image ready to post.
Make your complete tap and hold tutorial right now
Everything above happens inside one free browser tool — no signup, no design software.
Create your Tap & Hold image nowFree forever · Works entirely in your browser