X Hidden Image Tutorial
A tutorial focused entirely on X (formerly Twitter): how X's timeline compression creates the hidden-image effect, and how to build and post one correctly, using the free CarouseLabs Tap & Hold Image Maker.
Free · No login required
Skip ahead and start now, or read the full guide below.
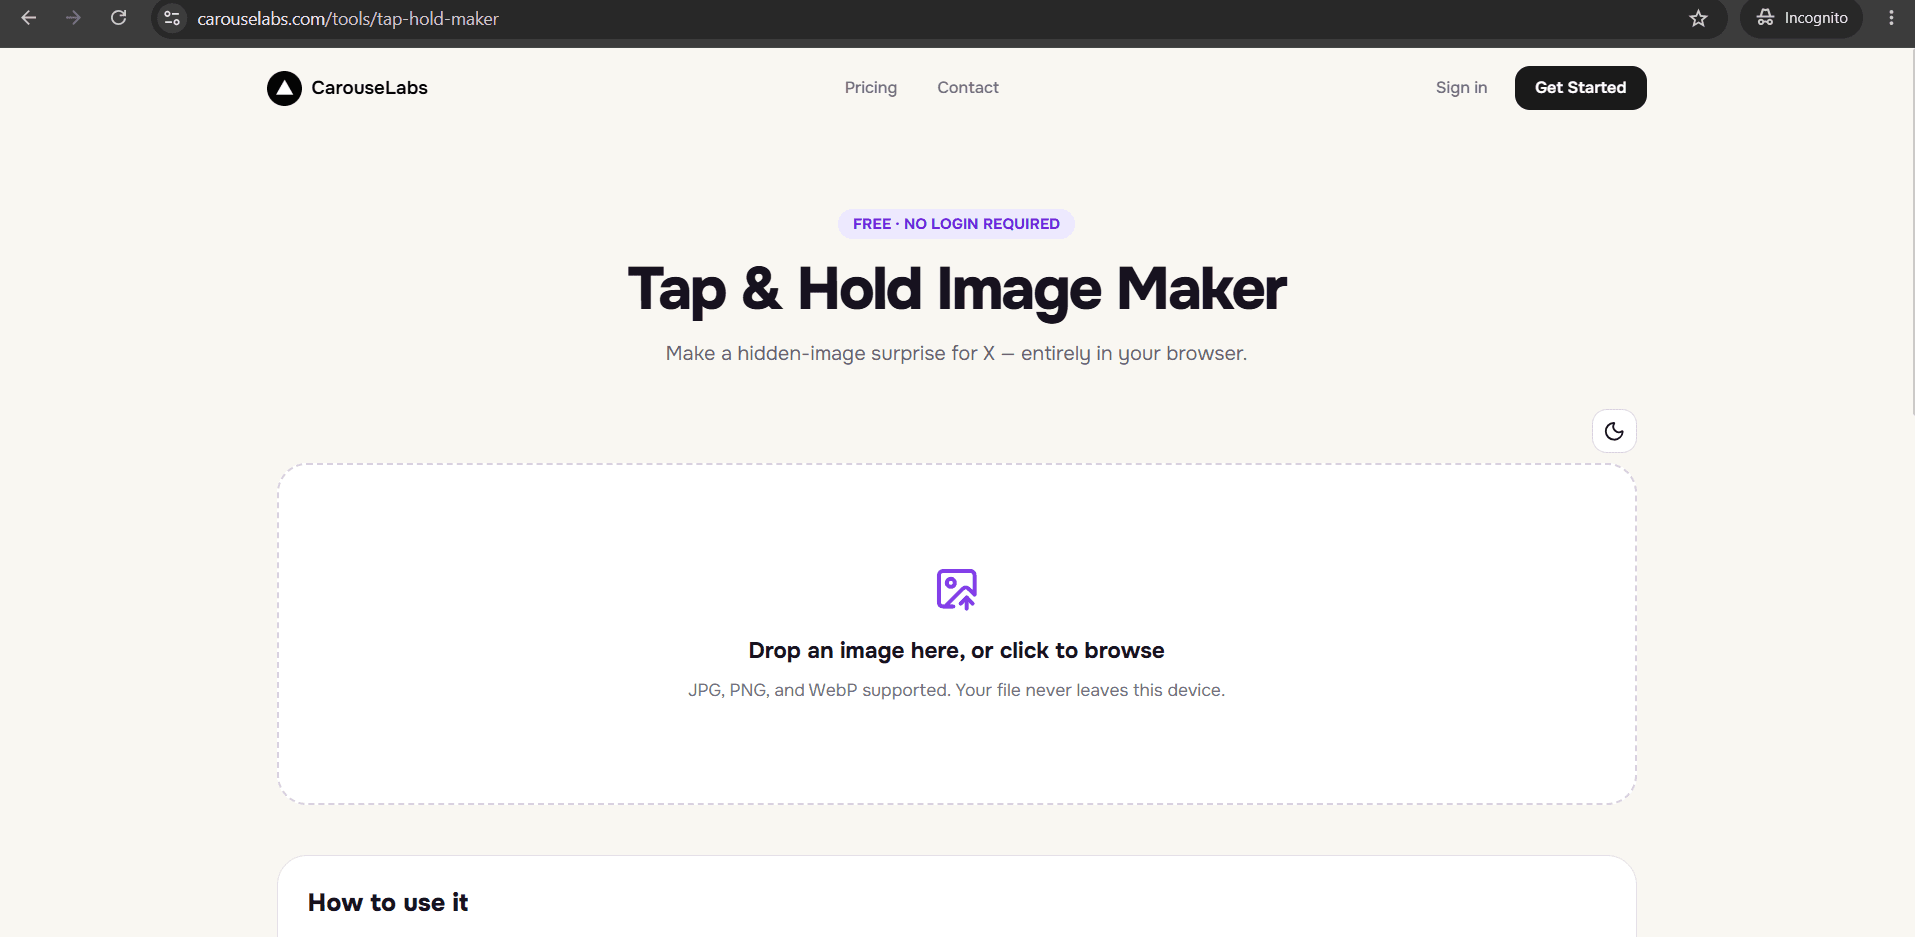
This tutorial is specific to X. The hidden-image effect depends on how X, specifically, renders images differently in its scrolling timeline versus its tap-and-hold preview — it is a platform-specific behavior, not a general image trick, so every step here is written with X's posting rules and quirks in mind.
Everything is built with the free CarouseLabs Tap & Hold Image Maker, which includes an export option — Download for X — built specifically around this platform's compression behavior. No other tool or app is needed at any point.
What “X Hidden Image Tutorial” Means
On X, images shown in the scrolling timeline are compressed for fast loading, especially on mobile. But when a user presses and holds an image in their timeline, X briefly renders a higher-quality, closer-to-original version before releasing back to the compressed view. A hidden image on X is built specifically to take advantage of that gap.
You create the gap using the brush tool in the CarouseLabs Tap & Hold Image Maker: paint the regions that should survive X's timeline compression clearly, and leave the rest unpainted so it only becomes visible during that brief tap-and-hold render. Because this is tied to X's specific rendering pipeline, the technique and export settings used here are tuned for X in particular.
Why People Use This Effect
On X, timelines move fast and most posts get a fraction of a second of attention while scrolling. A hidden image breaks that pattern because it cannot be fully understood by scrolling past — it requires a viewer to stop and press, which is a much stronger engagement signal than a like or a glance, and X's own algorithm tends to reward posts that hold attention longer.
It is also a format that spreads specifically within X's culture of quote-posting and replying — someone surprised by a reveal on X is likely to reply or quote-post describing what they found, right there on the platform, which keeps the engagement loop contained to X rather than sending traffic elsewhere.
How to Create This with CarouseLabs
Here is the process for building a hidden image specifically for X, including the posting details that matter for this platform in particular.
- 1
Open the Tap & Hold Image Maker
Go to /tools/tap-hold-maker on CarouseLabs. It is free, requires no login, and is built with an X-specific export option, which is what makes it suited to this tutorial.
30 sec - 2
Upload the image you plan to post on X
Drag in a JPG, PNG, or WebP file, or use the file picker. The image is processed locally in your browser and is not uploaded to X, or anywhere else, until you post it yourself.
15 sec - 3
Paint the visible area with X's compression in mind
Use the brush and size slider to paint the parts that should survive X's timeline compression as the visible portion. Everything unpainted becomes hidden until a viewer taps and holds within X specifically. Undo and Clear are available if you want to rework your strokes.
1-2 min - 4
Preview how it will look in X's timeline versus tap and hold
Timeline View approximates X's compressed scrolling feed specifically. Tap & Hold View shows the full image as it appears during X's press-and-hold render. Check both, since this tutorial's whole premise depends on that specific X behavior holding up.
30 sec - 5
Download using the X-specific export
Always choose Download for X, which produces the optimized PNG-8 format tuned for X's particular compression algorithm. This is the option built specifically for this platform, as opposed to the WebP option intended for other sites.
10 sec - 6
Post from X on desktop, not the X app
Log into X in a desktop browser and create your post there using the downloaded file. The X mobile app applies its own extra compression pass on upload, which is the most common way a correctly built hidden image breaks specifically on this platform. Once posted, followers viewing X on mobile can tap and hold to reveal the hidden portion.
20 sec
Try it as you read
Open the maker in another tab and follow along with the steps above.
Tips for Better Results
Always post to X from a desktop browser
This is the single most important X-specific rule. The X app's upload pipeline compresses images differently from X's desktop web upload, and that difference is enough to break the hidden effect.
Use Download for X, not the WebP export
The PNG-8 export from CarouseLabs is specifically tuned for how X compresses timeline images. Choosing WebP for an X post skips that platform-specific optimization.
Keep the visible portion small for X's fast-scrolling timeline
Because X timelines move quickly, a smaller visible area creates a more noticeable contrast against the full reveal, which stands out more as people scroll past on X.
Preview Timeline View as your X-feed stand-in
Timeline View is built to approximate specifically how your image will look in X's compressed feed — treat it as your best available preview of the real X experience before posting.
Consider X's active hours when posting
Since the format depends on someone pausing to tap and hold, posting when your X audience is actively scrolling gives the hidden image more chances to be noticed and interacted with.
Examples
X reply-bait reveal
Design a hidden image meant to surprise viewers into replying or quote-posting directly on X once they discover the reveal.
X thread teaser
Post a hidden image as the first post in an X thread, using the reveal to encourage readers to keep scrolling into the thread.
X announcement reveal
Hide a launch, product, or announcement detail behind a simple visible teaser designed for X's timeline specifically.
X meme punchline
Use a visible setup image and a hidden punchline, timed for X's fast, high-volume scrolling culture.
Common Mistakes
Uploading through the X mobile app
Fix: Switch to a desktop browser for X when posting your downloaded file. This is the leading cause of hidden images breaking specifically on X.
Downloading the WebP version for an X post
Fix: Use Download for X (PNG-8) whenever X is the destination platform. WebP is intended for sharing outside of X.
Leaving too much of the image visible in X's timeline
Fix: Reduce the visible area with a smaller brush if Timeline View shows more than roughly a third of the image clearly — this weakens the reveal specifically in X's fast-scrolling feed.
Not checking Tap & Hold View before posting to X
Fix: This preview is the closest available approximation of X's actual tap-and-hold render. Always check it before exporting for X.
Assuming the effect works the same on every platform
Fix: This tutorial and the Download for X export are tuned specifically for X's rendering behavior. If sharing elsewhere, use the WebP export instead and expect different results.
Frequently Asked Questions
Because the hidden-image effect depends on a rendering behavior specific to X, every detail in this tutorial — from the Download for X export to posting from desktop rather than the X app — is tuned around that one platform. Skip any of those X-specific details and the effect is far more likely to break.
Build your next hidden image with X in mind from the start: upload, paint with X's compressed timeline in view, export using Download for X, and post from X on desktop.
Make your x hidden image tutorial right now
Everything above happens inside one free browser tool — no signup, no design software.
Create your Tap & Hold image nowFree forever · Works entirely in your browser