Advanced Tap and Hold Guide
Beyond the basics: precision brush control, layered hidden regions, and reveal timing for creators who have already made a few tap and hold images and want sharper results.
Free · No login required
Skip ahead and start now, or read the full guide below.
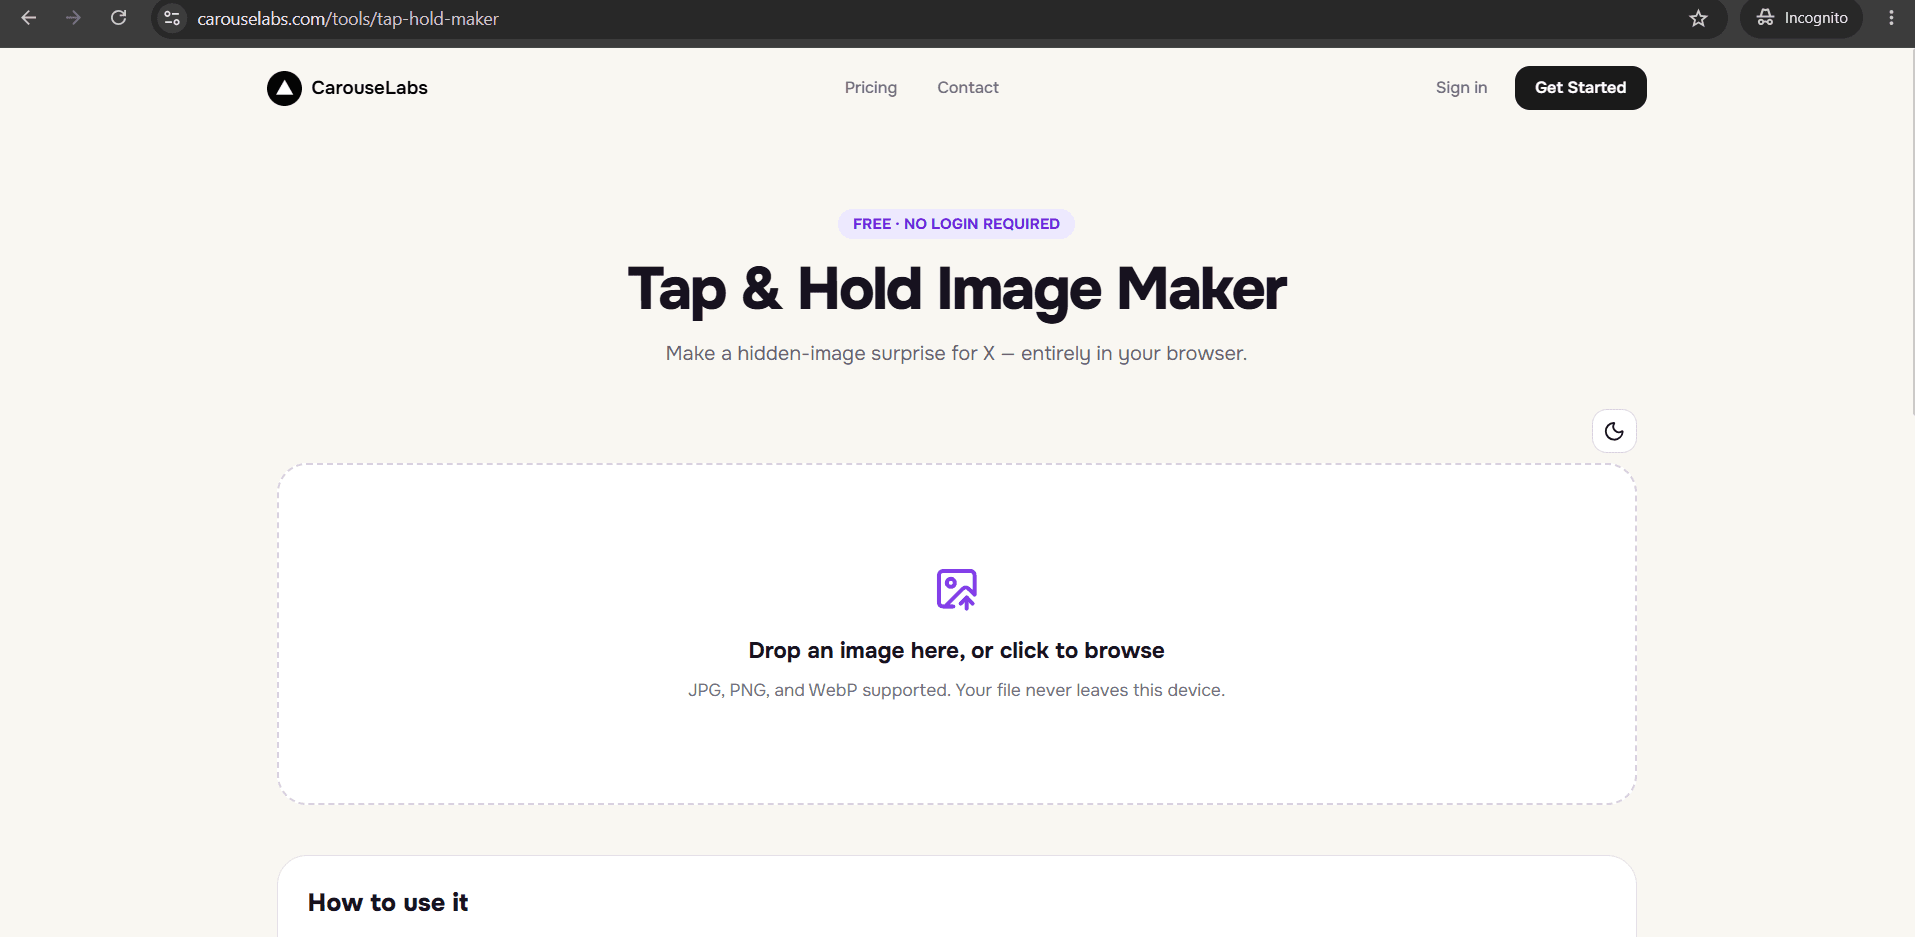
This guide assumes you have already made at least one tap and hold image and understand the basic mechanic — paint what stays visible, leave the rest hidden, export, and post from desktop. If that is new to you, the beginner guide is a better starting point. From here, we are going past the basics into the technique that separates a functional tap and hold image from one that looks intentional and polished.
Everything below is still done entirely with the free CarouseLabs Tap & Hold Image Maker. There is no advanced software or paid tier involved — the depth here comes from how you use the brush, the ratios you choose, and the decisions you make around each image, not from any extra tool.
What “Advanced Tap and Hold Guide” Means
At an advanced level, it helps to think of the brush tool not as an on/off switch but as a compositional instrument. Every stroke you paint is a decision about exactly how much of the image's information survives X's timeline compression, and exactly what shape that surviving information takes. Sloppy, quick strokes tend to produce a visible area with jagged, unintentional edges; deliberate, controlled strokes produce a visible area that reads as a designed silhouette or frame.
The same logic applies to the hidden side. A single hidden region behaves predictably, but multiple distinct hidden regions — separated by visible space — can be layered within one image, each with a different sense of what it reveals. This is where the format moves from a novelty trick to an actual compositional tool.
Why People Use This Effect
Advanced tap and hold images tend to outperform basic ones because the extra care shows. A cleanly painted visible edge or a thoughtfully layered set of hidden regions reads as deliberate craftsmanship, which builds more trust and curiosity in a viewer than a rough, obviously default-settings version of the same idea.
There is also a timing dimension advanced creators use: because tap and hold images ask for more interaction than a normal post, posting when your audience is most actively scrolling (rather than at a random hour) gives the format more chances to be discovered while people are still paying attention, which compounds the engagement advantage the format already has.
How to Create This with CarouseLabs
The six-step workflow does not change at an advanced level — what changes is the precision and intent behind each step. Here is that same workflow with the added technique.
- 1
Open the maker and pre-plan your composition
Go to /tools/tap-hold-maker. Before uploading, have a specific composition in mind — not just 'hide most of it,' but a defined shape, region, or set of regions you intend to reveal, since advanced results come from planning ahead of the brush.
30 sec - 2
Upload a source image suited to precision work
Choose a JPG, PNG, or WebP with clear edges or defined subjects — these hold up better under precise brushing than low-contrast or heavily textured images. The file processes locally in your browser, same as any upload.
15 sec - 3
Use variable brush sizing and layered regions
Switch brush size deliberately: a larger size for broad visible areas, a much smaller size for tracing precise edges around a subject like a face, hand, or object. For complex images, consider painting more than one separate hidden region rather than a single block, so the reveal has multiple points of interest. Undo and Clear let you rework any region without starting over.
1-2 min - 4
Cross-check every region across both previews
With layered or multi-region work, check Timeline View and Tap & Hold View after each region, not just once at the end — it is easy for one added region to unintentionally affect how another one reads once compression is applied.
30 sec - 5
Export with the platform-specific format
Use Download for X for the PNG-8 export, which is the format tuned to hold up precise edges and multiple hidden regions under X's timeline compression most reliably. Use WebP only for non-X platforms.
10 sec - 6
Time your post for when your audience is active
Publish from a desktop browser, and where possible, post when your audience is most likely to be actively scrolling rather than at a random time — an advanced tap and hold image still depends on people discovering it while it is fresh in the timeline.
20 sec
Try it as you read
Open the maker in another tab and follow along with the steps above.
Tips for Better Results
Match visible-area size to the image type
A close-up portrait can support a very small visible sliver without losing legibility, while a busy wide scene may need a slightly larger visible area just to give viewers enough context to be curious.
Use multiple hidden regions for complex subjects
Rather than one large hidden block, try painting visible 'frames' around two or three separate hidden regions — each becomes its own small reveal within the same image.
Slow down for edge precision
Fast brush strokes near a subject's outline tend to leave a rough, obviously-edited boundary. Slow, smaller strokes along edges produce a cleaner separation between visible and hidden.
Build a mental library of ratios that have worked
Once you notice a visible-to-hidden ratio that performed well, reuse it as a starting point for your next image rather than re-deriving it from scratch each time.
Post when your audience is actually online
Because the format depends on people discovering and interacting with the post, posting during your audience's most active hours matters more for tap and hold images than for a typical static post.
Review Tap & Hold View at full attention, not a glance
For layered, multi-region images especially, briefly scan the whole reveal rather than just checking that 'something' shows — advanced work has more to verify than a single hidden block.
Examples
Multi-region portrait
Hide the eyes and mouth as two separate regions on an otherwise visible face, creating two small reveals in one tap and hold.
Framed object reveal
Paint a precise visible border or frame shape around a completely hidden central object for a gallery-like reveal.
Layered scene reveal
In a wide scene, hide two or three unrelated details across the frame so each area rewards a closer look.
Edge-precise silhouette
Use small-brush precision to trace a subject's exact outline as the visible area, hiding all interior detail until tap and hold.
Timed launch reveal
Pair a precisely composed hidden region with a post scheduled for peak audience activity to maximize early discovery.
Common Mistakes
Layering hidden regions without checking how they interact
Fix: Each additional hidden region changes the overall visible-to-hidden balance. Recheck Timeline View after adding each region, not only at the very end.
Using one brush size for the entire image
Fix: Vary brush size deliberately — large for broad strokes, small for precise edges — rather than leaving the slider at one setting for the whole session.
Overcomplicating an image that does not need it
Fix: Not every image benefits from multiple hidden regions. Save layered technique for genuinely complex subjects; simple images often still work best with one clean hidden area.
Posting advanced work at a random time
Fix: A precisely built tap and hold image still needs an audience actively scrolling to be discovered. Post during hours when your followers are typically active.
Forgetting the platform export still matters at an advanced level
Fix: No amount of brush precision survives being exported in the wrong format. Always use Download for X (PNG-8) when the destination is X.
Frequently Asked Questions
Advanced tap and hold work is not about a different tool — it is the same free CarouseLabs Tap & Hold Image Maker used with more deliberate brush control, thoughtful region layering, and attention to when you post. Every technique in this guide builds directly on the basic six-step workflow.
Take an image you have already made once with the basic method and rebuild it using variable brush sizing or a second hidden region — the difference in polish is usually noticeable immediately in both preview panels.
Make your advanced tap and hold guide right now
Everything above happens inside one free browser tool — no signup, no design software.
Create your Tap & Hold image nowFree forever · Works entirely in your browser