Reveal Image Tutorial
Design the reveal, not just the image. This tutorial walks through building a tap-to-reveal photo with the free CarouseLabs Tap & Hold Image Maker.
Free · No login required
Skip ahead and start now, or read the full guide below.
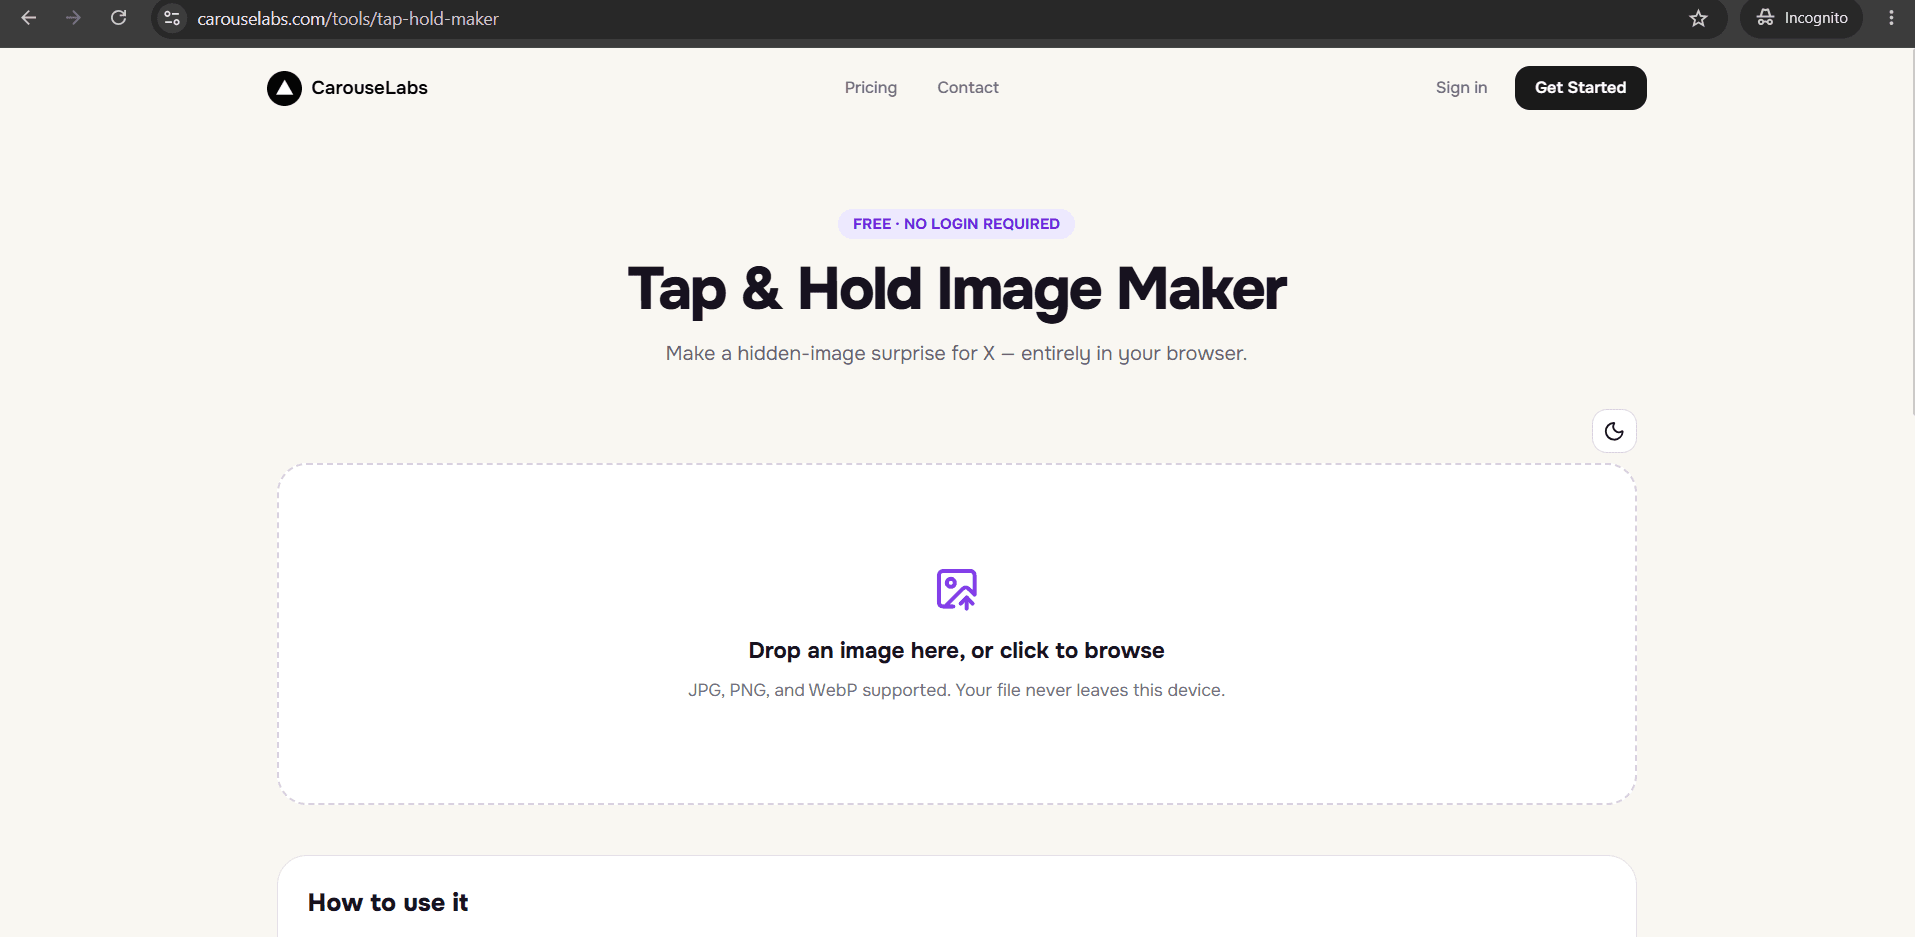
A reveal image lives or dies by one moment: the second someone presses and holds and the full picture appears. Everything else — the upload, the brushing, the export — exists to set up that single moment well. This tutorial treats the reveal itself as the thing you are designing, not just a side effect of hiding part of a photo.
You will build a full reveal image from start to finish using the free CarouseLabs Tap & Hold Image Maker, but at each step you will also think about how that step shapes the reveal a viewer eventually experiences.
What “Reveal Image Tutorial” Means
A reveal image is a single file that presents almost nothing in the X timeline and something meaningfully different once a viewer taps and holds. The gap between those two states is the reveal — the bigger and more deliberate that gap, the stronger the moment feels.
That gap is created with the brush tool: paint the small, deliberately chosen area that stays visible in the timeline, and leave the rest for the reveal. The CarouseLabs Tap & Hold Image Maker's two live previews let you watch the 'before' and 'after' of the reveal side by side as you work.
Why People Use This Effect
A well-designed reveal creates a tiny, satisfying payoff, and payoffs are what make people want to repeat an action — in this case, tapping and holding the next post they see from you. That is the mechanism behind why the format keeps people engaging with an account rather than just one post.
Reveals also invite sharing in a way flat images do not. Someone who is surprised by a reveal is more likely to quote-post or reply describing what they found, which puts the reveal in front of an audience that never saw the original post.
How to Create This with CarouseLabs
Here is how to design and build a reveal image end to end, from choosing what the reveal should be to publishing it on X.
- 1
Open the Tap & Hold Image Maker and plan your reveal
Go to /tools/tap-hold-maker — it is free and requires no account. Before uploading, decide what the reveal moment should communicate: surprise, humor, information, or contrast.
30 sec - 2
Upload the image that contains your reveal
Bring in a JPG, PNG, or WebP file by drag-and-drop or file picker. It is processed locally in your browser, so your reveal stays private until you choose to export it.
15 sec - 3
Paint a minimal, deliberate visible area
Use the brush and size slider to paint only enough of the image visible to create intrigue — not enough to give away the reveal. Undo and Clear are available if a stroke reveals too much too early.
1-2 min - 4
Preview the before-and-after of your reveal
Timeline View is the 'before' — what most viewers will ever see. Tap & Hold View is the 'after' — the reveal itself. Toggle between them to judge whether the gap between the two feels strong enough.
30 sec - 5
Export the file that preserves the reveal
Choose Download for X for an optimized PNG-8 that holds up under X's compression, keeping the 'before' state properly subdued. Use WebP if posting elsewhere.
10 sec - 6
Publish and let the reveal happen organically
Post from a desktop browser on X, not the mobile app, so the reveal is not flattened by extra compression. From there, every tap and hold from a follower re-creates the reveal you designed.
20 sec
Try it as you read
Open the maker in another tab and follow along with the steps above.
Tips for Better Results
Design the reveal before you touch the brush
Decide in one sentence what the viewer should feel at the moment of reveal — surprise, humor, relief — and let that guide how much you paint visible.
Smaller visible areas create bigger reveals
The less that is given away in Timeline View, the more contrast there is when Tap & Hold View shows the full image.
Use Tap & Hold View as your final judge
Since this is the exact experience a viewer gets on reveal, always check it last, right before downloading, as a final gut check.
Pick images with a genuine payoff
A reveal only feels satisfying if there is something worth revealing — a strong visual, an unexpected detail, or a clear before-and-after.
Re-export after every change to the reveal
If you tweak your brush strokes to adjust the reveal, download again — the earlier export will not reflect your latest version.
Examples
Contrast reveal
Show a plain, ordinary visible area and hide something dramatically different for a strong before-and-after moment.
Punchline reveal
Use the visible portion as a setup and the hidden portion as the payoff, structured like a one-line joke.
Identity reveal
Hide a face or name and keep context clues visible, letting the viewer's own curiosity drive the tap.
Progress reveal
Show a rough or early version visible and hide the finished result, ideal for creative or before/after work.
Mystery object reveal
Keep a scene mostly visible but hide one specific item within it, turning the reveal into a small game of 'spot the difference.'
Common Mistakes
Giving away too much before the reveal
Fix: If Timeline View already shows most of the interesting content, there is little left to reveal. Reduce the visible area with a smaller brush.
Building a reveal with no real payoff
Fix: Choose source images where the hidden portion is genuinely worth uncovering — a weak reveal will not hold attention even if the mechanic works technically.
Never comparing the two preview states directly
Fix: Always flip between Timeline View and Tap & Hold View before exporting, so you experience the reveal the way your audience will.
Uploading through the X mobile app
Fix: Post from a desktop browser instead. App-side compression can weaken or break the reveal after it was carefully built in CarouseLabs.
Frequently Asked Questions
A strong reveal image is designed backward from the moment it creates, not just built forward from an upload. Decide what the reveal should feel like, then use the brush tool to shape exactly that much contrast between the two preview states.
The free CarouseLabs Tap & Hold Image Maker gives you both previews side by side specifically so you can judge the reveal before anyone else sees it — use that to refine your next one.
Make your reveal image tutorial right now
Everything above happens inside one free browser tool — no signup, no design software.
Create your Tap & Hold image nowFree forever · Works entirely in your browser